How to Make Good Coffee at Home: 8 Small Upgrades That Make It Feel Special
Learning how to make good coffee at home doesn’t take an expensive espresso machine or barista training. It comes down to a handful of small upgrades: fresher beans, the right grind, filtered water at the right temperature, a measured ratio and a warm mug. Each one costs little or nothing, and together they turn a forgettable cup into one you actually look forward to.
I drink my coffee the same way almost every day: a pour-over, finished with frothed barista-style plant milk, usually oat. I’m not a coffee snob, but I did spend one long winter testing every variable on this list, mostly because my home coffee tasted nothing like the cup at my favorite café. These are the changes that made the biggest difference.
1. Start with Fresh Beans
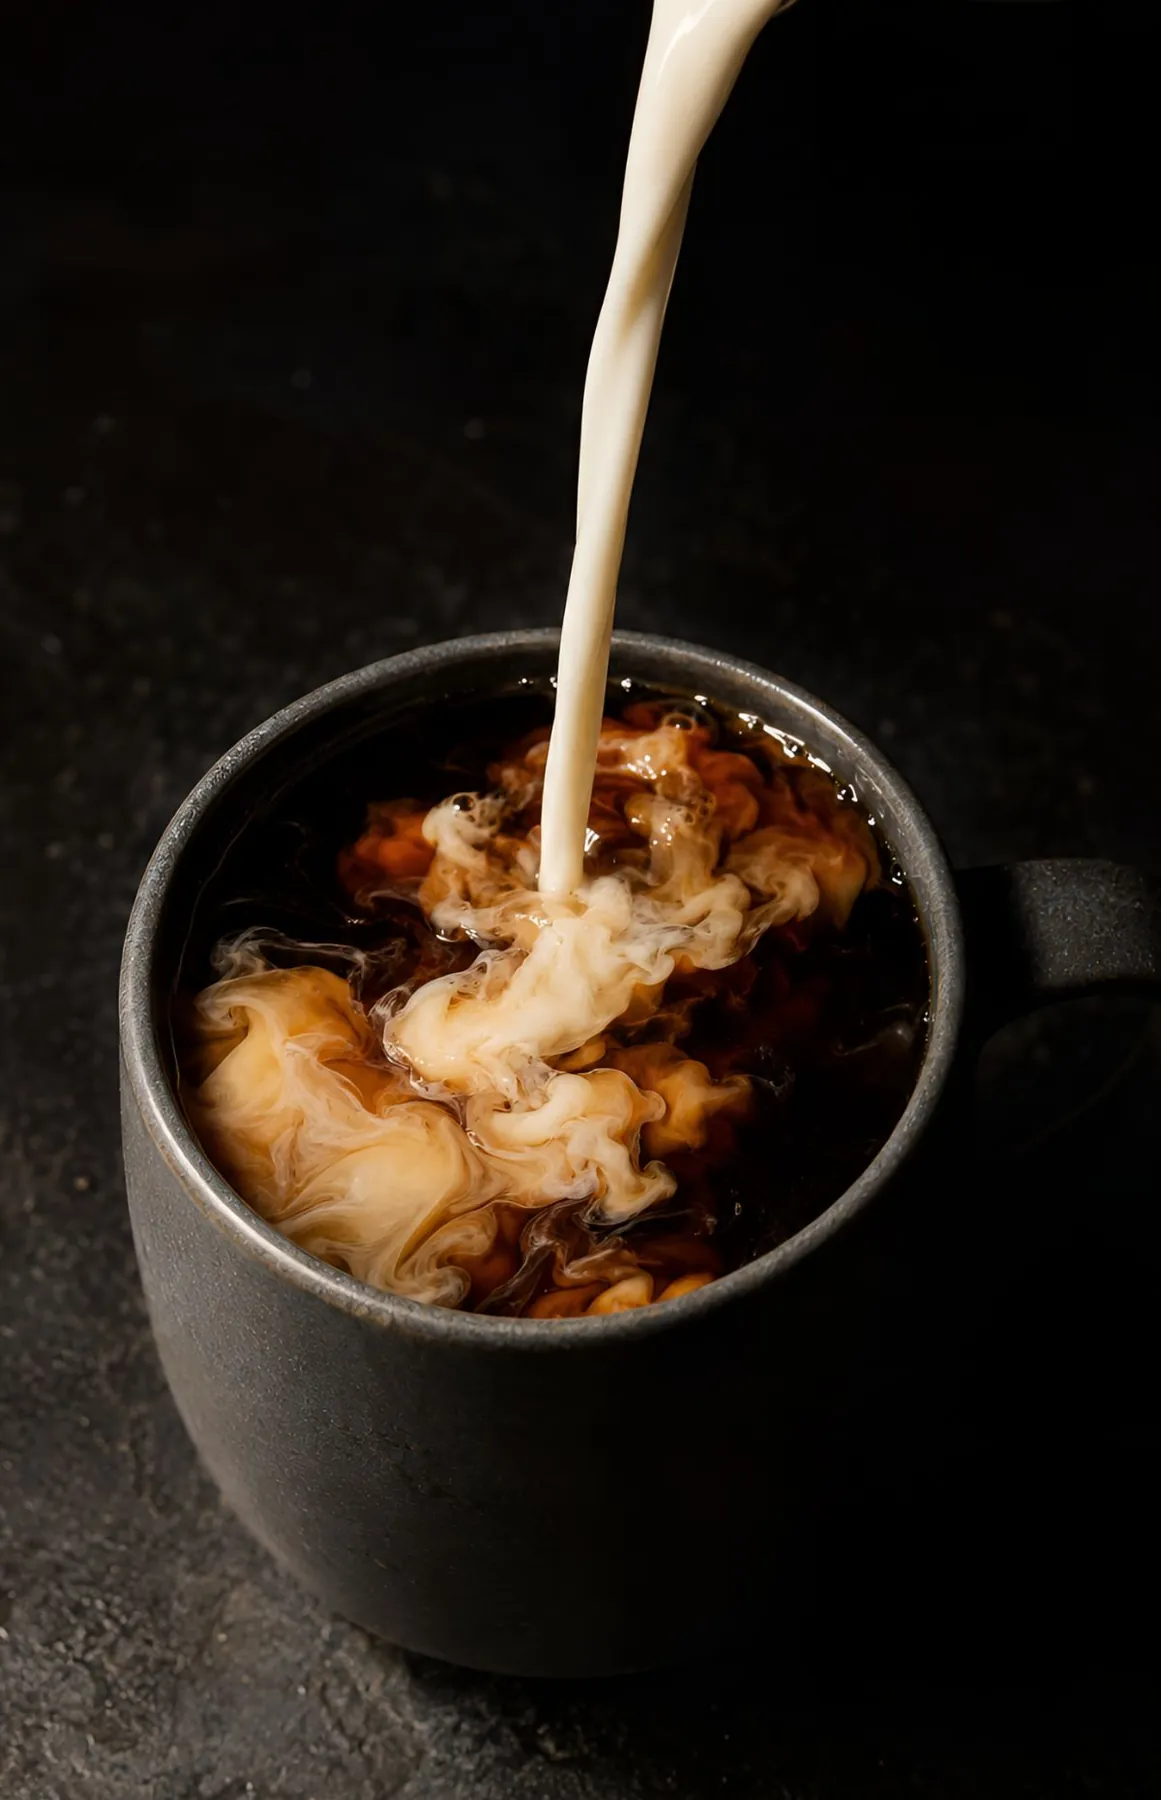
Coffee beans begin losing their aroma within weeks of roasting. That bag that’s been sitting in your pantry for three months? It’s working against you. Buy smaller bags, check the roast date (not just the best-before date) and try to finish each bag within about a month of opening it.
Whole beans stay fresh much longer than pre-ground coffee, so grinding right before brewing keeps more of the volatile aromatics that make coffee smell and taste like something worth drinking. Store beans in an airtight, opaque container at room temperature. The fridge isn’t your friend here: it adds moisture and picks up smells from everything else on the shelf.
2. Match the Grind to Your Brewer
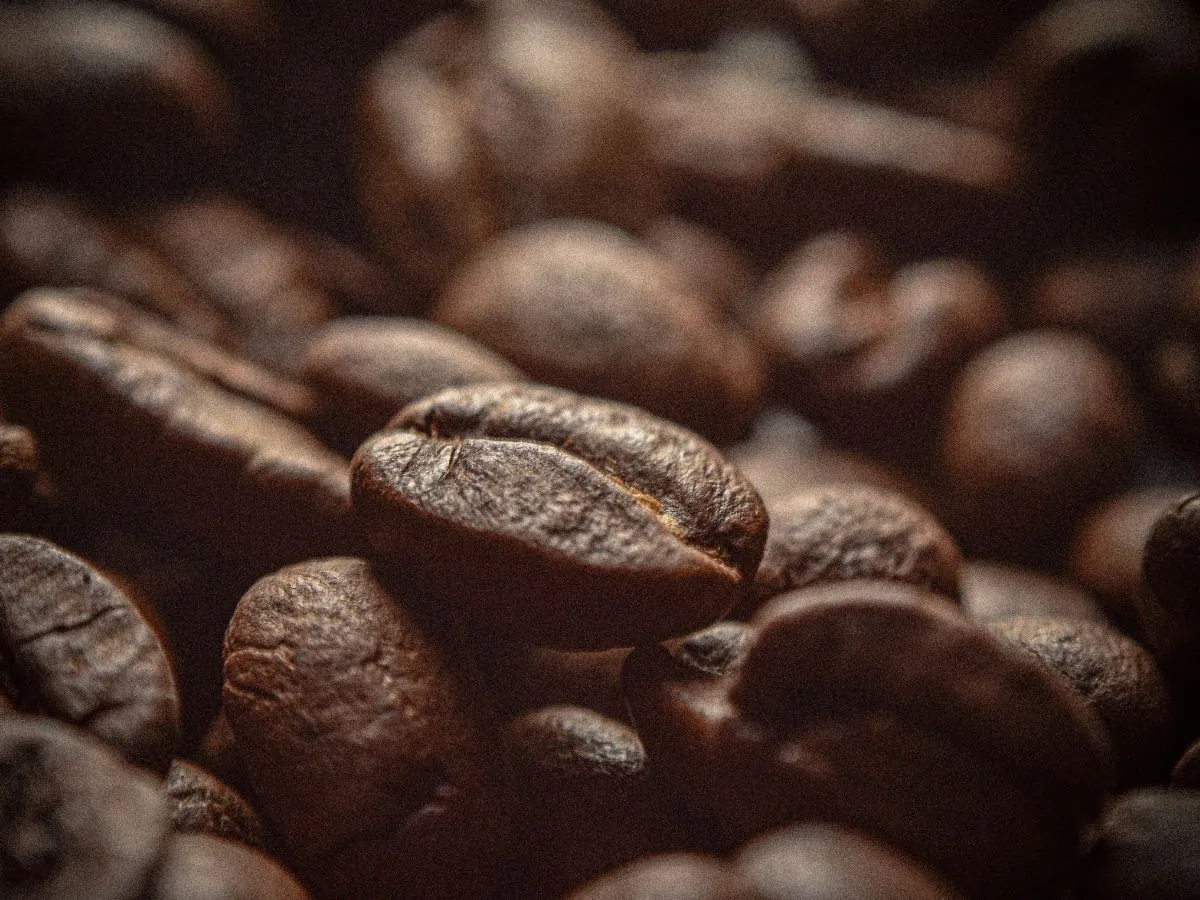
Grind size controls how quickly water pulls flavor out of the coffee. Too fine for your method and the cup turns bitter; too coarse and it tastes weak and sour. A burr grinder gives a far more even grind than a blade grinder, and that evenness shows in the cup.
| Brewing method | Grind size | Roughly the texture of |
|---|---|---|
| French press | Coarse | Coarse sea salt |
| Drip machine | Medium | Sand |
| Pour-over (cone or Chemex) | Medium | Kosher salt |
| Moka pot | Medium-fine | Table salt |
| Espresso | Fine | Slightly finer than table salt |
3. Use Filtered Water
A cup of coffee is almost entirely water, so the water you use matters as much as the beans. Heavily chlorinated or very hard tap water can flatten the flavor and leave a chalky aftertaste (and scale in your kettle). A simple jug filter is enough. The National Coffee Association’s pour-over brewing guide recommends cold water, filtered if possible, and suggests avoiding distilled or softened water.
4. Get the Water Temperature Right
Water that’s too hot extracts bitter compounds. Water that’s not hot enough leaves coffee tasting flat and sour. The sweet spot is 90 to 96°C (195 to 205°F). If you don’t have a temperature-controlled kettle, bring the water to a boil and let it rest for about thirty seconds. That short pause between boiling and pouring makes a real difference in the cup.
5. Measure Instead of Guessing
Eyeballing grounds and water leads to inconsistent results: one morning the cup tastes weak, the next it’s almost undrinkably strong. A kitchen scale and a consistent ratio remove the guesswork. A good coffee to water ratio to start with is 1:16, about 1 gram of coffee for every 16 grams of water, adjusted to taste between 1:15 (stronger) and 1:17 (lighter).
| How much coffee | Water | Ground coffee at 1:16 |
|---|---|---|
| 1 mug | 250 ml (250 g) | 16 g (about 3 tablespoons) |
| 2 mugs | 500 ml (500 g) | 31 g (about 6 tablespoons) |
| Small carafe | 1 liter (1,000 g) | 62 g (about 12 tablespoons) |
French press fans often go a little stronger, closer to 1:14. Once you find your ratio, write it on a sticky note inside the cupboard and you can repeat it every morning without thinking.
6. Warm Your Mug First
Pouring hot coffee into a cold ceramic mug drops its temperature immediately. Fill the mug with hot water while the coffee brews, then empty it just before pouring. This thirty-second step costs nothing and keeps your coffee at a pleasant drinking temperature for longer, especially in winter, when a mug left on the counter gets properly cold.
7. Experiment With Your Creamer
The right addition can complement coffee rather than mask it. A quality non dairy coffee creamer adds texture and flavor notes that pair well with different roast profiles. Lighter roasts with fruit-forward characteristics work differently with creamer than darker, more chocolatey roasts. Trying different combinations helps you find pairings that suit your preferences rather than defaulting to the same routine every morning.
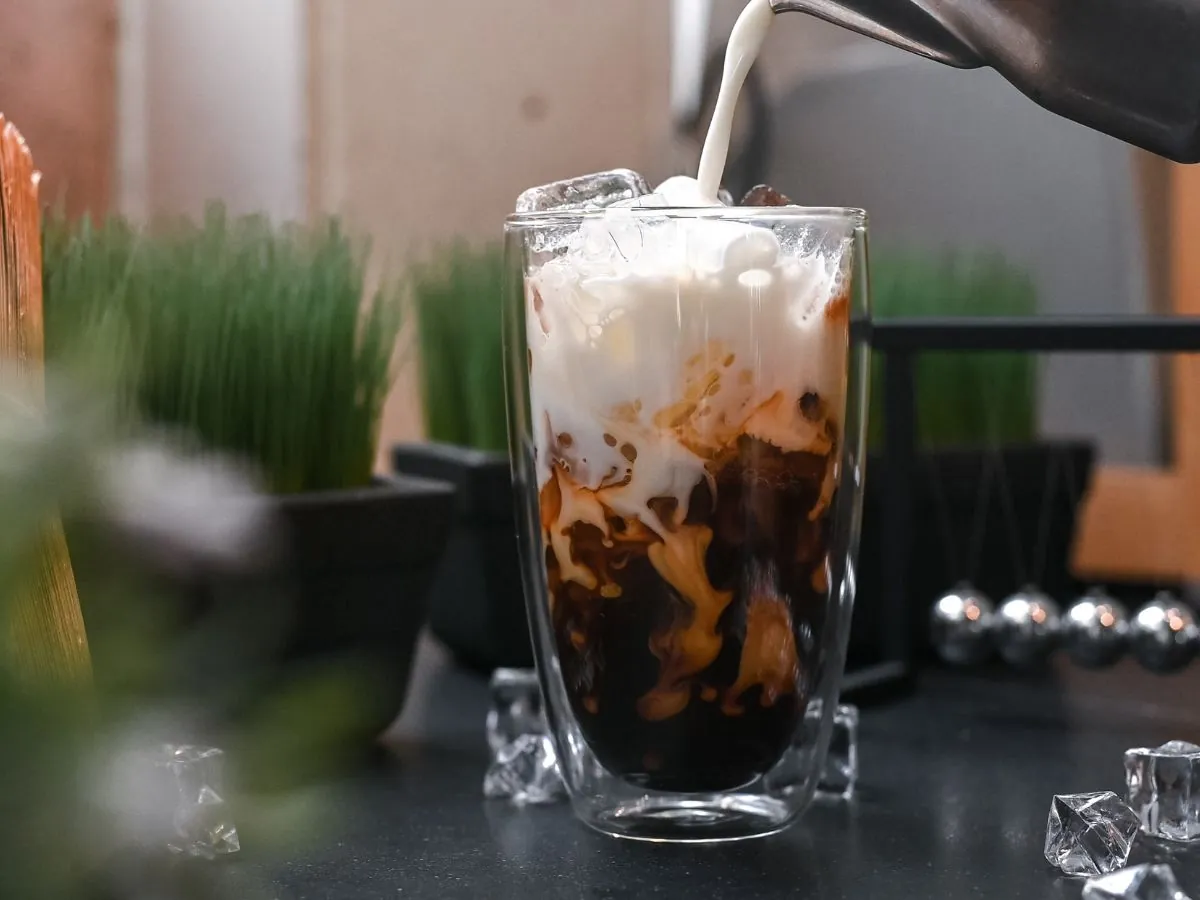
Creamer and milk do slightly different jobs. A creamer brings flavor and richness in a small splash, while milk is more about volume and foam. On weekdays, I reach for barista-style plant milk, which is made to froth and holds up in hot coffee without splitting. I heat it to about 60-65°C, because hotter milk loses its natural sweetness and the foam collapses faster. If you like café drinks, I share how I recreate my favorite coffee drinks at home, plus a list of healthy vegan coffee drinks from iced lattes to mochas.
8. Slow Down the Routine
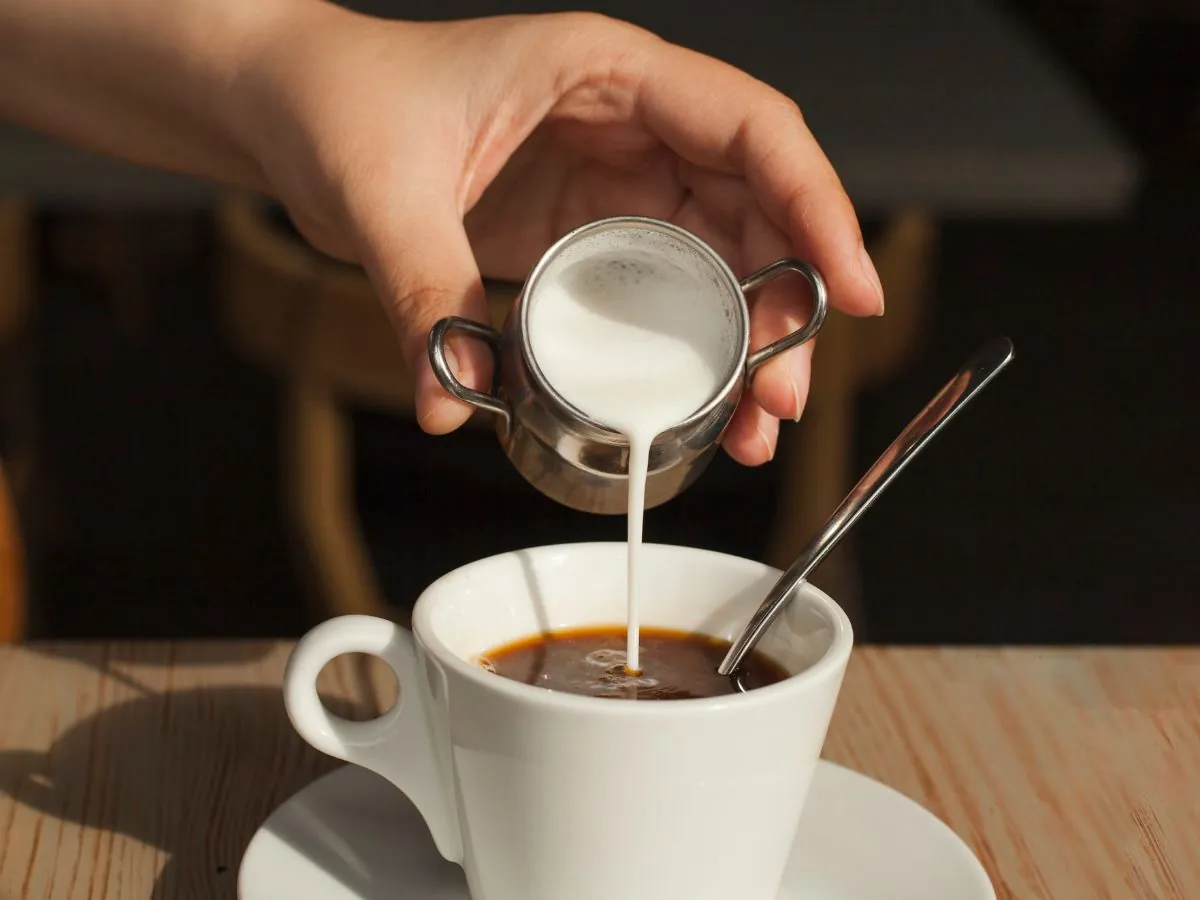
Rushing through coffee usually means cutting the corners that matter most. Taking an extra minute or two to heat the water properly, weigh the beans and let the coffee brew fully gives a better result than racing to get caffeine into your system. The morning cup becomes something you anticipate rather than another task to tick off. (It’s one of the habits in my calm morning routine, too.) And on hot days, try cold brew, which is all slowness and almost no effort.
Bitter, Sour or Weak? Quick Fixes
| Your coffee tastes… | Likely cause | Try this |
|---|---|---|
| Bitter, harsh | Grind too fine, water too hot or brewed too long | Grind coarser, let the water rest 30 seconds off the boil, shorten the brew |
| Sour, thin | Grind too coarse or water too cool | Grind finer, use water closer to 96°C |
| Weak, watery | Too little coffee for the water | Move from 1:17 toward 1:15 |
| Flat, stale | Old beans or pre-ground coffee left open | Buy smaller bags and grind just before brewing |
| Chalky or metallic | Hard or chlorinated water, or a dirty brewer | Filter the water, descale the kettle, clean the equipment |

Home Coffee Questions
Use a pour-over cone or a French press, freshly ground beans, a 1:16 coffee to water ratio and water just off the boil (90 to 96°C). A simple cone with paper filters costs very little and gives a clean, café-style cup.
A good starting point is 1:16, which is about 16 g of coffee for 250 ml of water. Go toward 1:15 for a stronger cup or 1:17 for a lighter one.
Between 90 and 96°C (195 to 205°F). Without a temperature-controlled kettle, let boiled water rest for about 30 seconds before pouring.
Grind a little coarser, use slightly cooler water and don’t let it brew too long. Stale beans and a dirty brewer also add bitterness, so check those too.
In an airtight, opaque container at room temperature, away from heat and light. Buy amounts you’ll finish within about a month and grind them just before brewing.
Small upgrades stack on each other. Fresh beans brewed with filtered water at the right temperature, poured into a warm mug with your favorite creamer, make a noticeably different cup from whatever’s convenient. None of these changes need a big investment or special expertise. They simply ask for a bit more attention to a routine you’re already doing.