
Pear Nectar (Easy Homemade, Chilled or Warm & Spiced)
This homemade pear nectar blends ripe pears with a little water and lemon into a thick, naturally sweet, vegan drink that comes together in minutes. Unlike a clear pressed juice, nectar keeps the soft pear pulp, so it is fuller bodied and more filling.
Once you have made it from real fruit, the boxed stuff feels like a distant cousin. It is essentially just blended pears loosened with water, so everything rides on the fruit itself. Use pears that are properly ripe and a little soft, fragrant enough to smell across the kitchen; under-ripe ones turn out grainy and bland and tempt you to add sugar you should not need. A squeeze of lemon keeps the pale flesh from browning.
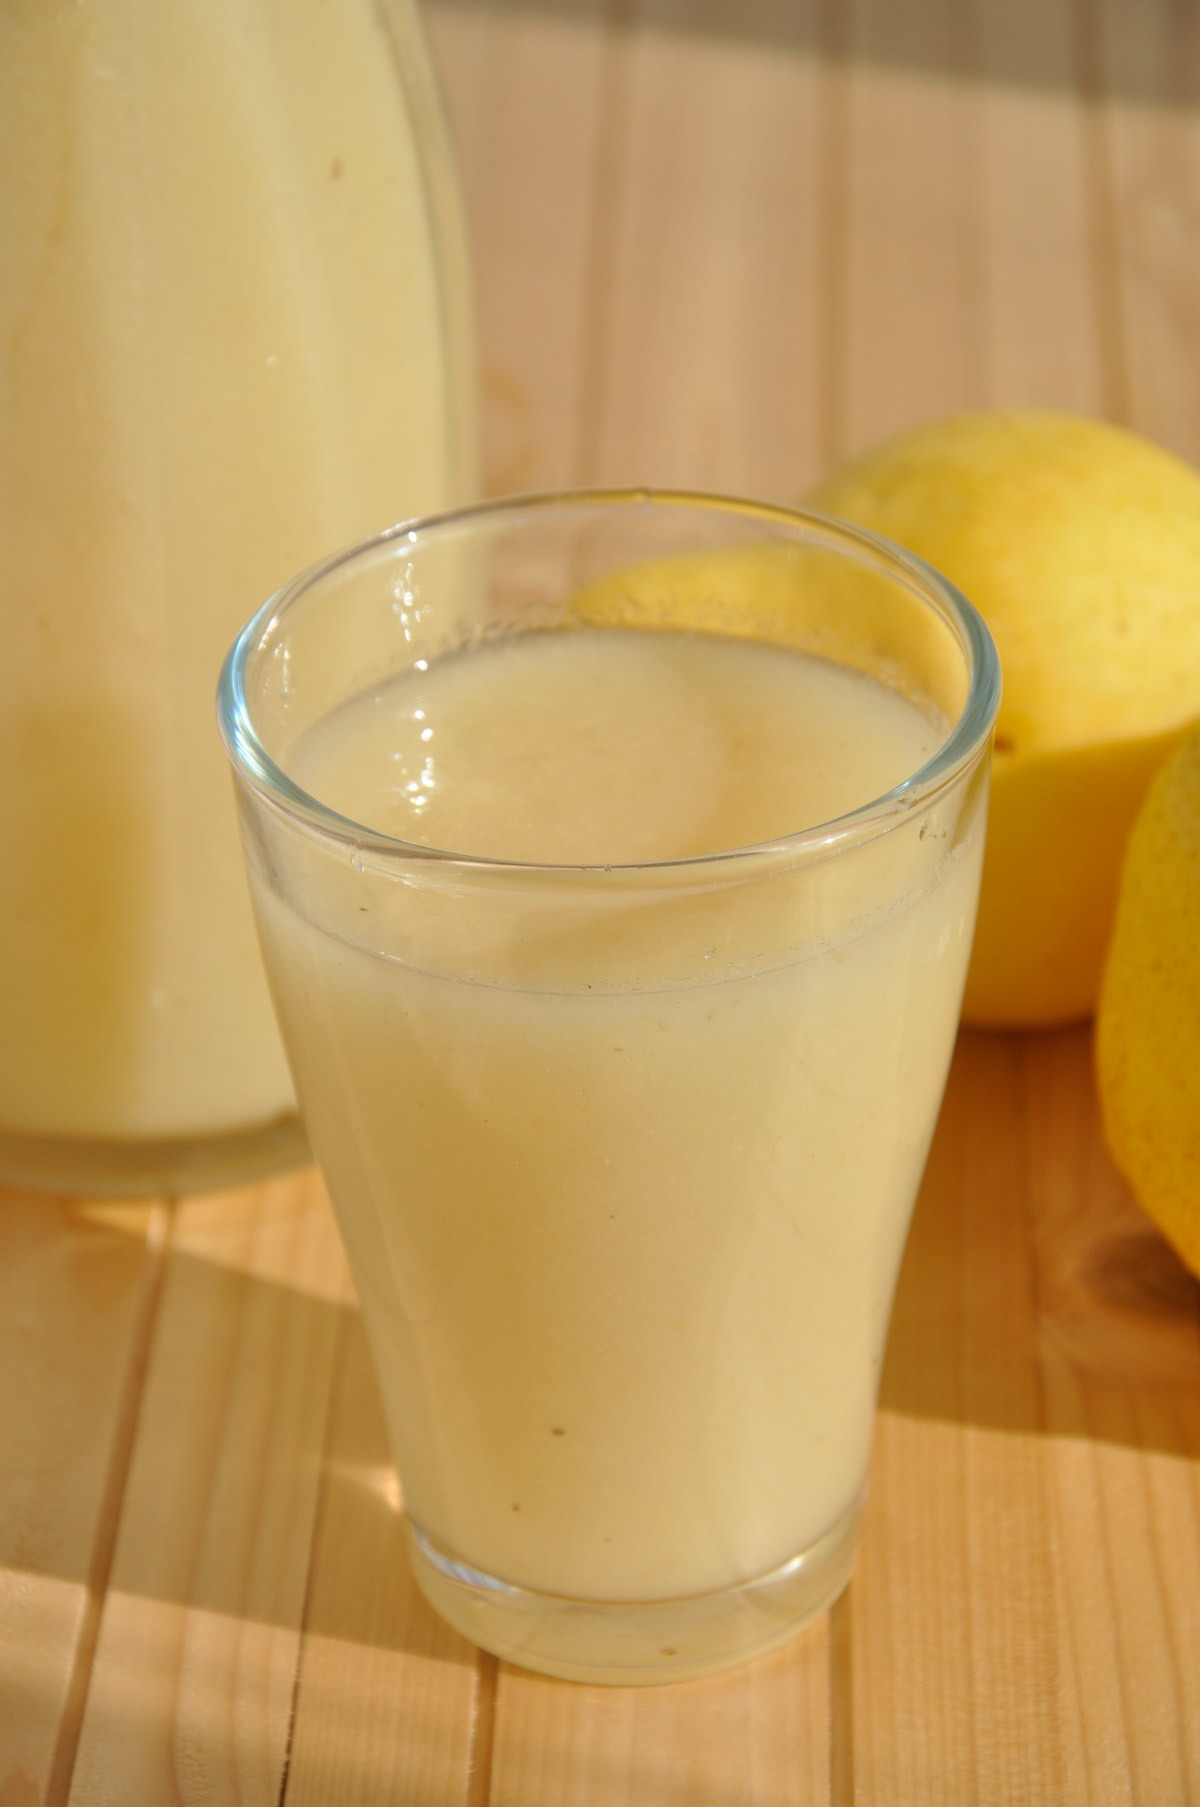
Nectar vs clear pear juice
Nectar is blended fruit loosened with water, so it holds onto the pulp and stays thick and cloudy. Clear juice is pressed or strained until the pulp is gone, leaving it thin and see-through. If you want that lighter version instead, make our homemade pear juice. This one is the pulpy, spoon-coating kind.
Blending it to the consistency you want
Good nectar pours but still clings to the back of a spoon. Blend the pears first, then add water a spoonful at a time until it flows the way you like, and stop early rather than late since too much water thins out the flavor fast. If you prefer it smoother with barely any texture, pass the blended nectar through a fine sieve. Serve it well chilled, or blend in a couple of ice cubes to drink it straight away.
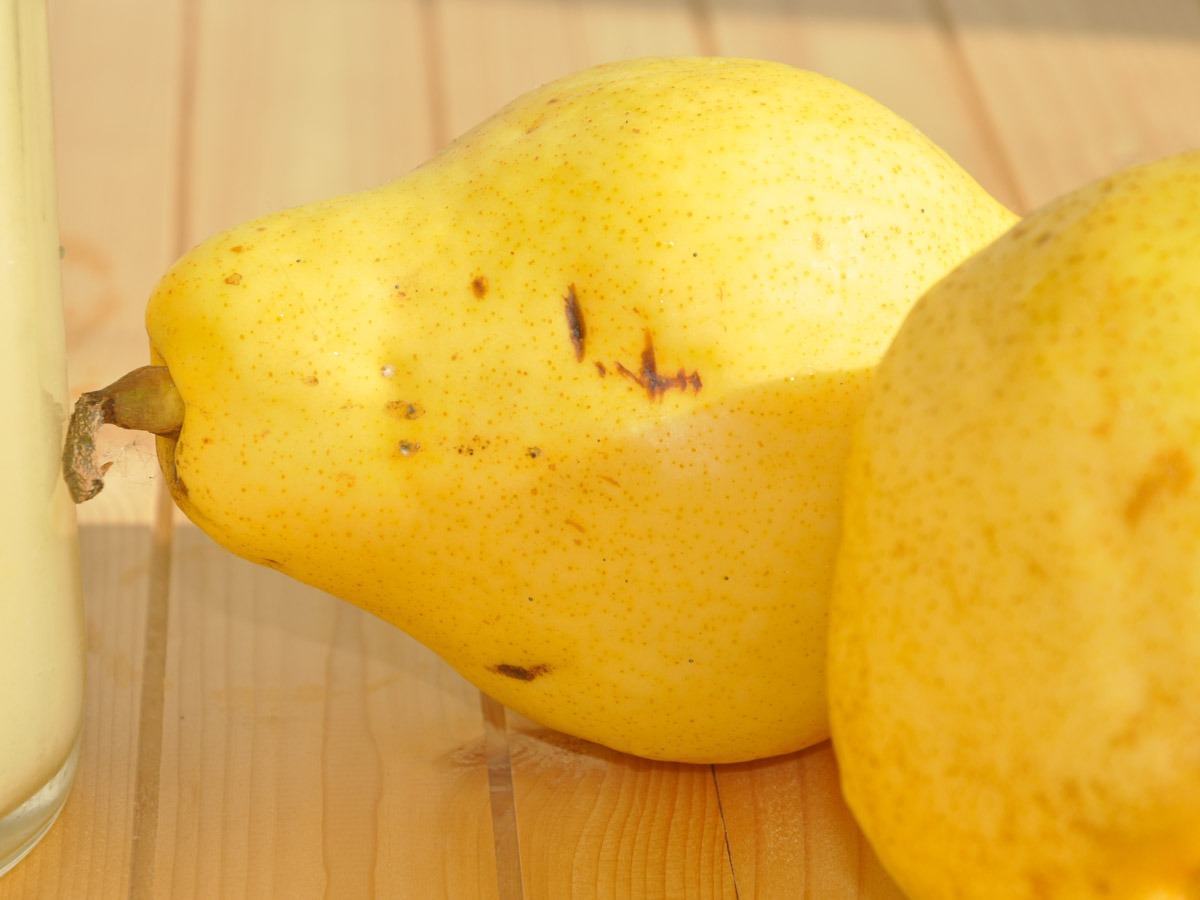
Flavours that suit pear
Ripe pears rarely need sugar, but a few additions make the nectar more interesting. That squeeze of lemon does double duty, sharpening the sweetness as well as holding the colour. A pinch of cinnamon, a little grated fresh ginger, or a few drops of vanilla all pair naturally with pear. Add them to the blender and taste as you go, since ripe fruit varies a lot in sweetness.
Make it warm and spiced (a fall version)
Pear nectar does not have to be a cold drink. As soon as the weather turns, I warm a batch gently on the stove with a cinnamon stick, a few coins of fresh ginger, and a star anise, letting it steep for about five minutes before straining it into mugs — think mulled pear, without the wine. Do not let it boil; you only want it hot enough to draw out the spice. A tiny grating of nutmeg or a strip of orange peel makes it cosier still, and it fills the kitchen with the smell of autumn. It is the same recipe, just served hot and spiced, which carries pear season straight into the cold months.
How long pear nectar keeps
- Fridge: keep it in a sealed bottle for up to 2 days. It is at its best the day you make it, before the fresh flavour softens.
- Shake before pouring: the pulp settles and the water rises, so give the bottle a good shake or stir each time.
- Freezer: freeze in single portions for up to 1 month, then thaw in the fridge and stir back together.
For more fruity drinks and treats, try our pear tarte tatin, refreshing cucumber grape juice, or a cozy vegan pear cobbler, or a frothy apricot juice.
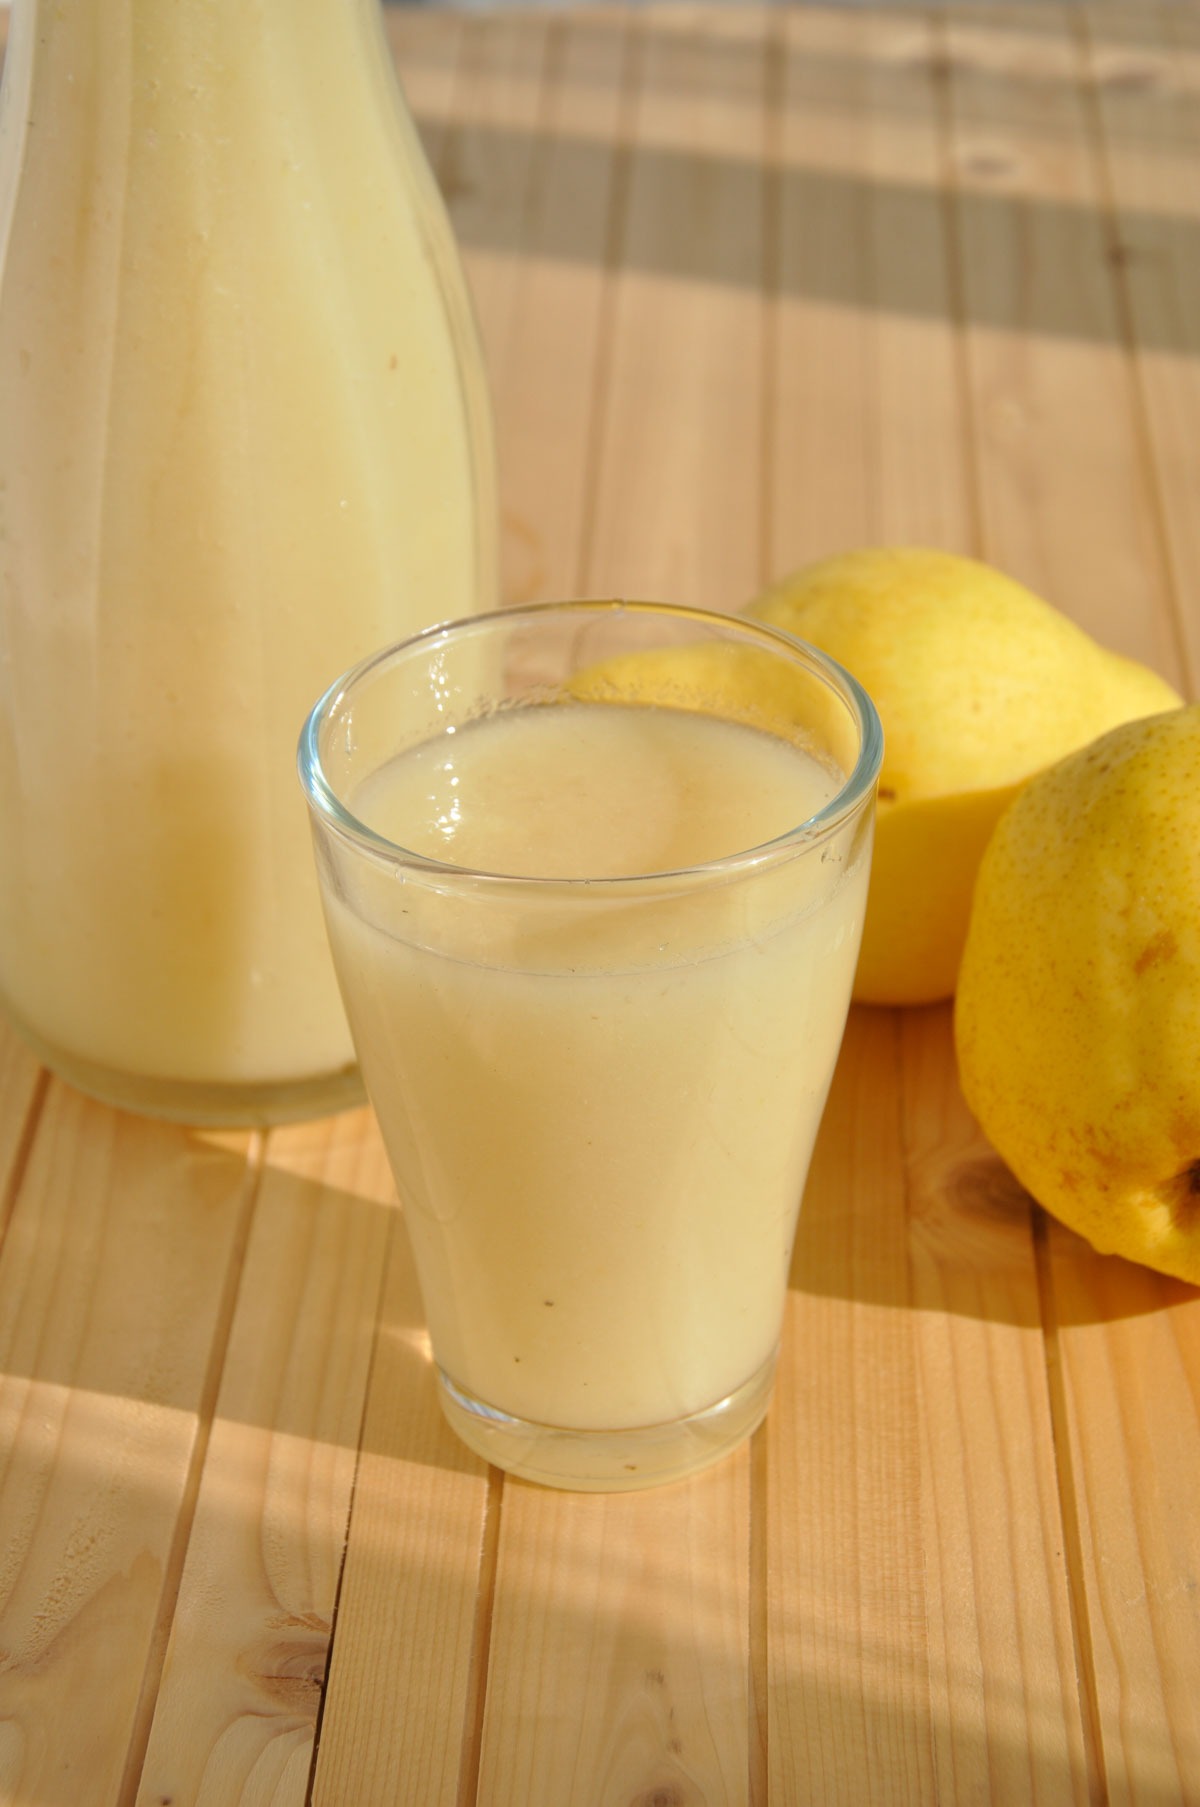
Pear Nectar
Equipment
- Blender
- Fine sieve (optional)
- Bottle or jar
Ingredients
- 4 pears ripe, cored and chopped
- 1 cup water plus more to taste
- 1 tbsp lemon juice
- 1 pinch cinnamon optional
- Ice to serve, optional
- 1 inch fresh ginger optional, for the warm spiced version
- 1 star anise optional, for the warm spiced version
Instructions
- Core and chop the pears. Peel them first if the skins are tough or you want a smoother nectar.
- Add the pears, water, and lemon juice to a blender and blend until completely smooth.
- Add more water, a little at a time, until the nectar reaches a thick but drinkable consistency.
- For a smoother nectar, strain through a fine sieve. Stir in a pinch of cinnamon if you like.
- Serve right away over ice, or chill. Stir or shake before serving, as the pulp settles.
- For a warm, spiced version, gently heat the blended nectar with a cinnamon stick, a few slices of fresh ginger, and a star anise for about 5 minutes without boiling, then strain and serve hot.
Notes
Frequently Asked Questions
Pear nectar is blended fruit loosened with water, so it keeps the pulp and fiber and stays thick and cloudy. Pear juice is pressed or strained to remove the pulp, so it is thin and clear. Nectar is fuller bodied and more filling.
No. Ripe pears are naturally sweet, so no added sugar is needed. If your pears are underripe, you can add a little maple syrup or a date to taste, but with ripe fruit it is rarely necessary.
Peeling is optional. Leaving the skin on keeps more fiber and gives a slightly more textured nectar. Peel them if you want a smoother, paler drink, especially if the skins are tough.
Store it in a sealed bottle in the fridge for up to 2 days. The pulp settles, so shake or stir before serving. You can also freeze it in portions for up to 1 month.
Pears oxidize and brown quickly once blended. A squeeze of lemon juice slows this down and keeps the color pale. Drinking it fresh or chilling it right away also helps.
Yes. This recipe uses a regular blender, not a juicer. You blend the pears with water, which is exactly what makes it a pulpy nectar rather than a clear, strained juice.



Absolutely delicious! I’ll definitely make this again.