How to Take Amazing Photos of Your Food and Recipes — Every Time
In the world of food photography, everything can be picture-perfect on the plate but getting that to translate to a photo is a whole different ball game. Lighting, angles, even the color of your plate can dramatically impact the result.
I believe in presenting food as authentically as possible, not only because it aligns with my philosophy, but also because my readers are not just looking for a visually pleasing recipe; they are looking for something they can recreate at home, exactly how it appears in the image.
A photograph tells a story, and sometimes it may take a few shots until you find the best way to narrate your tale. You may have to move around your table set-up or wait for the perfect natural lighting. But once everything aligns – it’s magic!
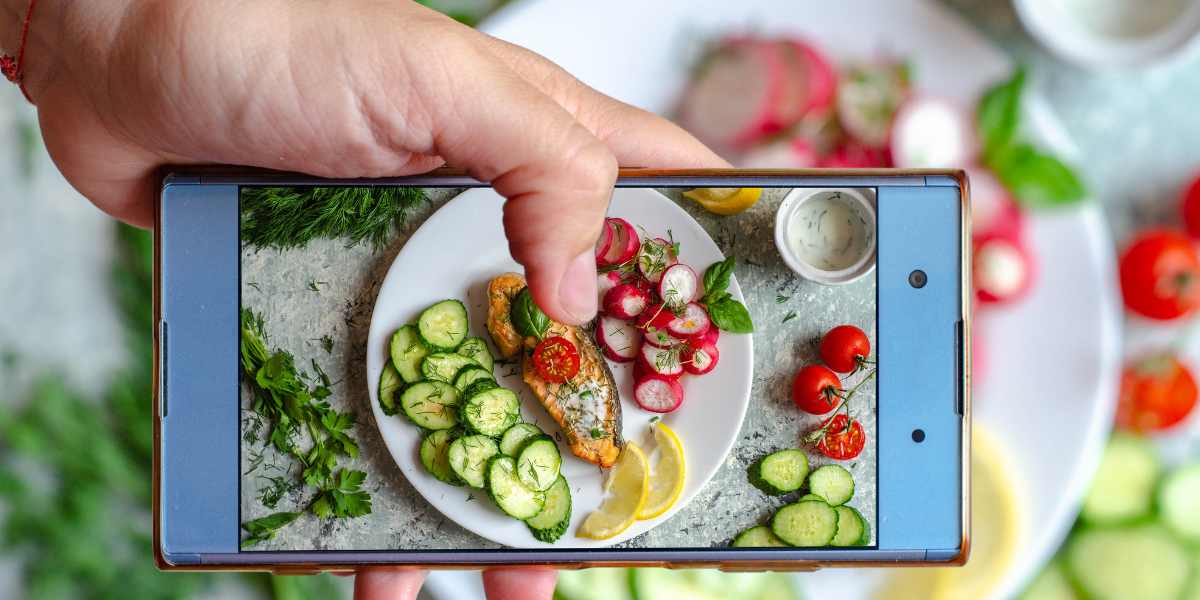
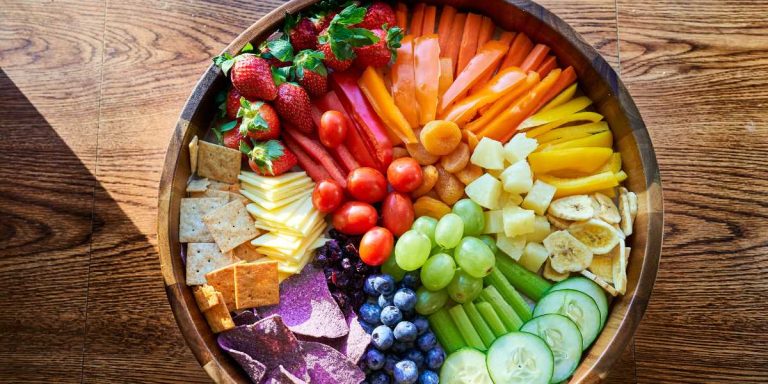
I do use staging to enhance the aesthetic appeal of the dish, but in ways that remain true to the actual food. I’ll use fresh ingredients, arrange the elements in an appealing way, play with bright, natural colors, and try to get the best lighting. I find that when food is fresh and vibrant, it doesn’t need tricks to look great.
Hints and Tips for Fool-Proof Food Photos
Use a good camera
In the realm of food photography, achieving that perfect shot goes beyond just presenting a visually appealing dish. It’s about capturing the essence and beauty of the culinary creation in a way that resonates with viewers. Using the best camera for food photography is crucial in this process. These cameras bring out the vivid colors, intricate textures, and subtle nuances that make food photography an art form in its own right.
The choice of camera can make a significant difference in how the food is portrayed. Whether it’s the depth of field to highlight the dish’s details, the color accuracy to ensure the food looks as appetizing as possible, or the sensor size for the best image quality, selecting the right camera is key. For anyone venturing into the delicious world of food photography, understanding and utilizing the capabilities of professional cameras for food photography is a game changer, transforming good shots into great ones.
Use Natural Light
Natural light is your absolute best friend when it comes to food photography. It helps highlight the natural colors and textures of your food. Avoid using the direct harsh noon sunlight or harsh artificial light, as it can cause unappealing shadows and distorted colors. Sometimes artificial light is required, but it requires more knowledge on your part, so do your research well before using, in order to get the best possible photos.
Think About Composition and Storytelling
Try to tell a story with your photo. Is it a Sunday breakfast? A quick weekday meal? A festive feast? What props and setting will help to tell this story?
Work with Angles
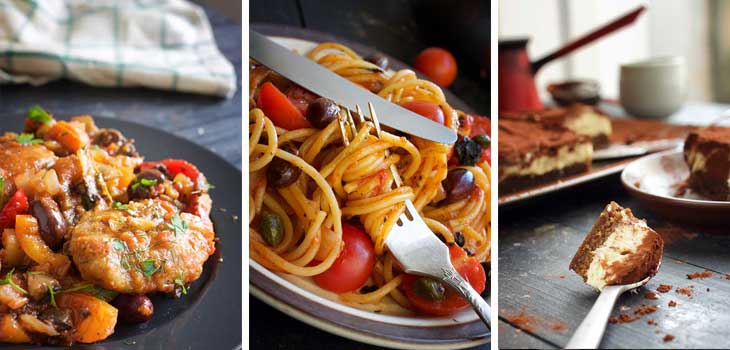
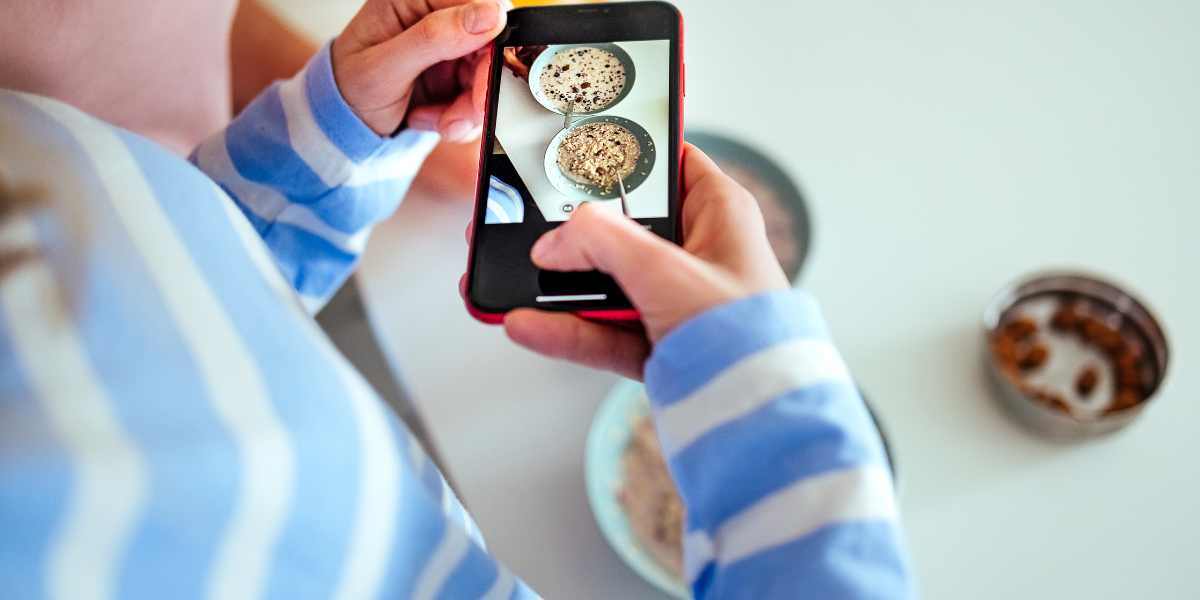
Not all food looks its best from the same angle. Pizzas, for example, are often photographed from above, so all the toppings are visible. With a stack of pancakes, however, you’ll want to get on their level to showcase the syrup dripping down the sides.
Pay Attention to the Plate
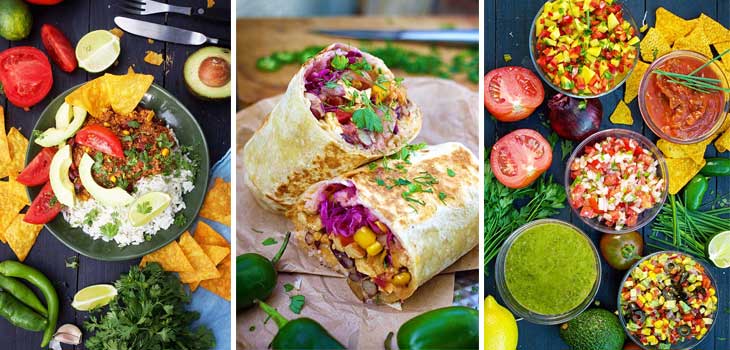
A plate in a contrasting color can make your food stand out, while a complementary one may make the colors of the food pop. For instance, a vibrant green salad might pop against a white dish, while a beetroot curry could stand out beautifully on a teal plate.
Location, Location, Location
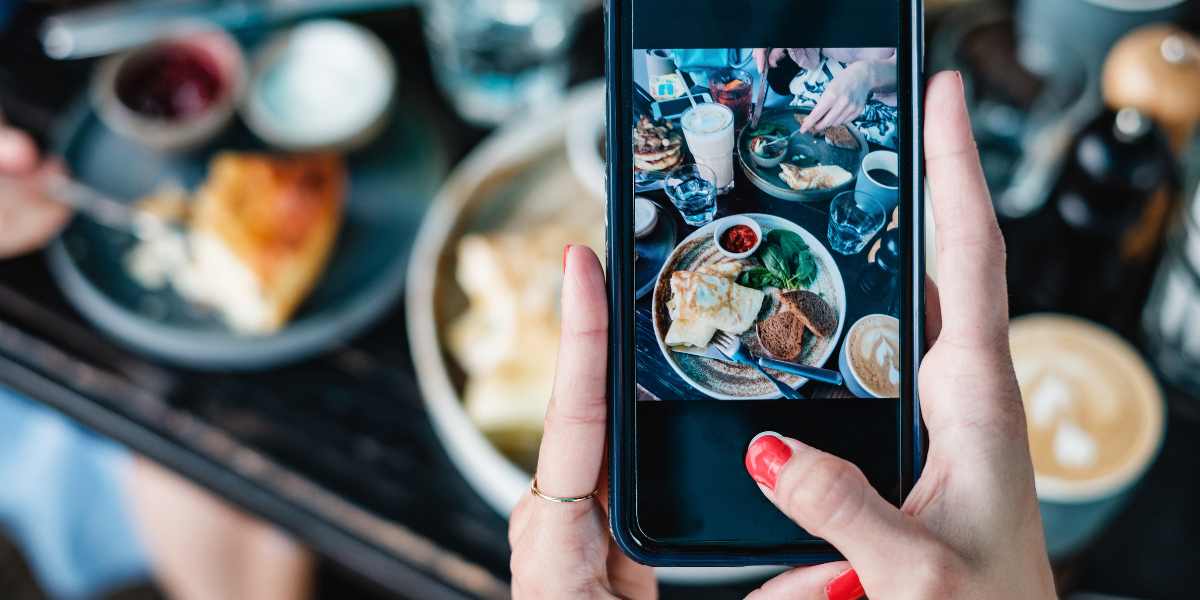
Sometimes, changing the location of your shoot can dramatically increase the quality of your photo. A rustic wooden table, a chic marble countertop, or a bright ceramic tiled floor, can all provide interesting and dynamic backgrounds for your shots.
Editing is Essential
Even the best photographers edit their pictures. You don’t need to go overboard with effects, but do consider adjusting the brightness, contrast, and saturation. Remember, your aim is to enhance the photo, not transform it into something else entirely.
Don’t Forget to Style Your Food
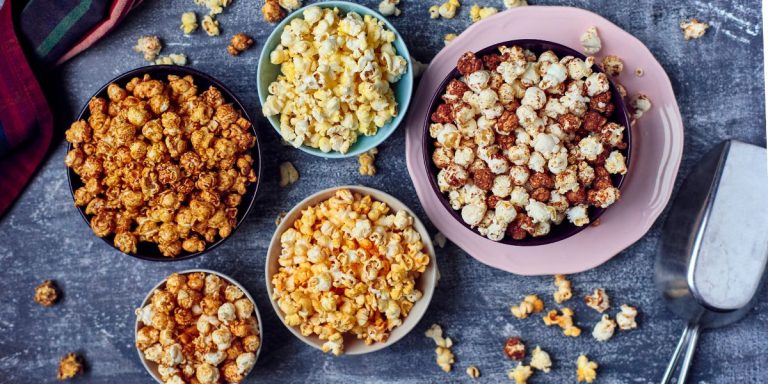
Invest some time in arranging your food. Negative space can sometimes have a bigger impact than filling the plate. A little bit of mess, like crumbs or a spoon with sauce, can also make the shot feel more real.
Practice Makes Perfect
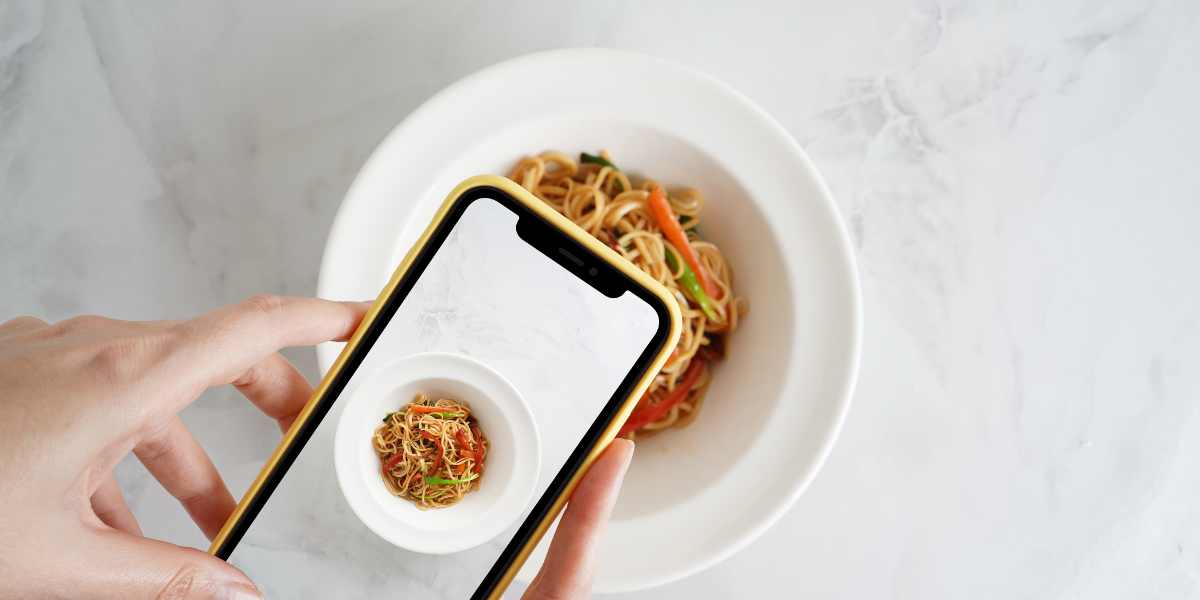
The most important tip of all! The more you shoot, the more you’ll understand what works best for you. Try different approaches, mix it up, and learn from your mistakes.
Have Fun and Keep Track of Your Progress
Every bad photo is a good lesson. And that’s really how you improve – through recognizing what you don’t like, trying something new, and seeing how it changes the end result. It’s sort of like cooking – a constant cycle of experimenting, tasting, adjusting, and seeing how it turns out! Over the years my recipe books look a lot like fun photo books that have charted my growth and progress over time.
Also, remember that in the digital age, you have the luxury of taking multiple shots from various angles, with different settings. You can experiment and instantly see the results, then adjust accordingly.
If you make this, please leave a review and rating if you liked this recipe! ★★★★★

