
Halloween Pumpkin Pie (Jack-o’-Lantern Pie
This vegan Halloween pumpkin pie is a spiced pumpkin filling baked inside an easy homemade crust, topped with a carved jack-o’-lantern face for the spookiest table centerpiece. It comes together with pantry staples, no eggs and no dairy required, and it works for both a festive Halloween dessert and a cozy fall treat. If you want one showstopper pie that pleases kids and adults alike, this is it.
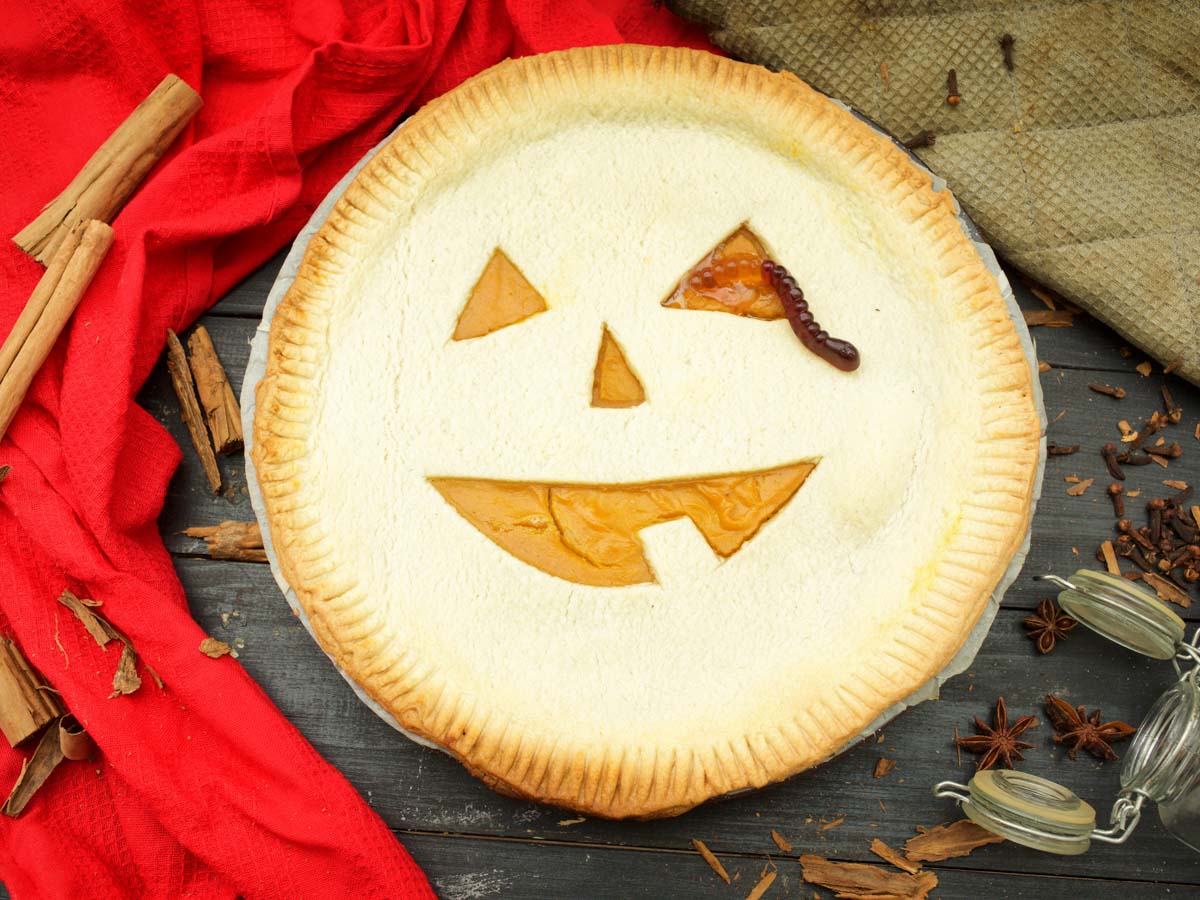
Halloween is my excuse to let pumpkin be the star of the season, and nothing says “fall” better than a freshly baked pumpkin pie, sprinkled with a little sugar and served warm. For this recipe I created a very easy crust that gets filled with a finger-licking-good filling made of pumpkin and autumn-inspired spices such as cloves, vanilla, anise, cinnamon and, of course, some ginger. Carve a pumpkin face into the top crust and you have a Jack-o’-Lantern pie that feels like a celebration all on its own.
What goes into this pumpkin pie
There are two parts here, and both come from ingredients you likely already have. Knowing what each one does makes the pie easier to get right on the first try.
- All-purpose flour, baking powder, salt and a little brown sugar build the crust. The baking powder gives it a slightly tender, biscuit-like lift rather than a hard pastry shell.
- Soft butter (vegan or dairy) and milk (vegan or dairy) bind the crust dough. This recipe is fully plant-based when you use vegan butter and a plant milk, which is how I make it — the “or dairy” note is just there in case that is what you have on hand.
- A teaspoon of lemon juice in the crust liquid adds a touch of acidity that helps the dough stay tender.
- Pumpkin puree is the heart of the filling. Use plain puree, not pumpkin pie mix, so you control the sweetness and spice yourself.
- Brown sugar, cinnamon, ginger, anise and cloves give that warm, autumnal flavor. Cloves are strong, so the small ⅛ teaspoon is deliberate.
- Tapioca flour or cornstarch thickens the filling as it bakes so the slices hold their shape.
- Milk and vanilla extract loosen the filling to a smooth, pourable consistency and round out the flavor.
Fresh pumpkin puree vs canned
You can absolutely buy some canned pumpkin puree, but I assure you that nothing competes with freshly baked pumpkin puree that is both healthy and full of authentic flavor. Another option is to boil the pumpkin, but I pick roasting every time because it preserves that amazing, comforting flavor we all know so well.
Because the squash is very hard and can be difficult to cut in half, I recommend baking the whole pumpkin in the oven at 180C for about 45 minutes — that softens it and makes it far easier to cut and scoop. Regardless of which method you choose, roasting concentrates the flesh and drives off excess moisture, which is exactly what keeps your filling thick instead of watery.
How to carve the jack-o’-lantern top
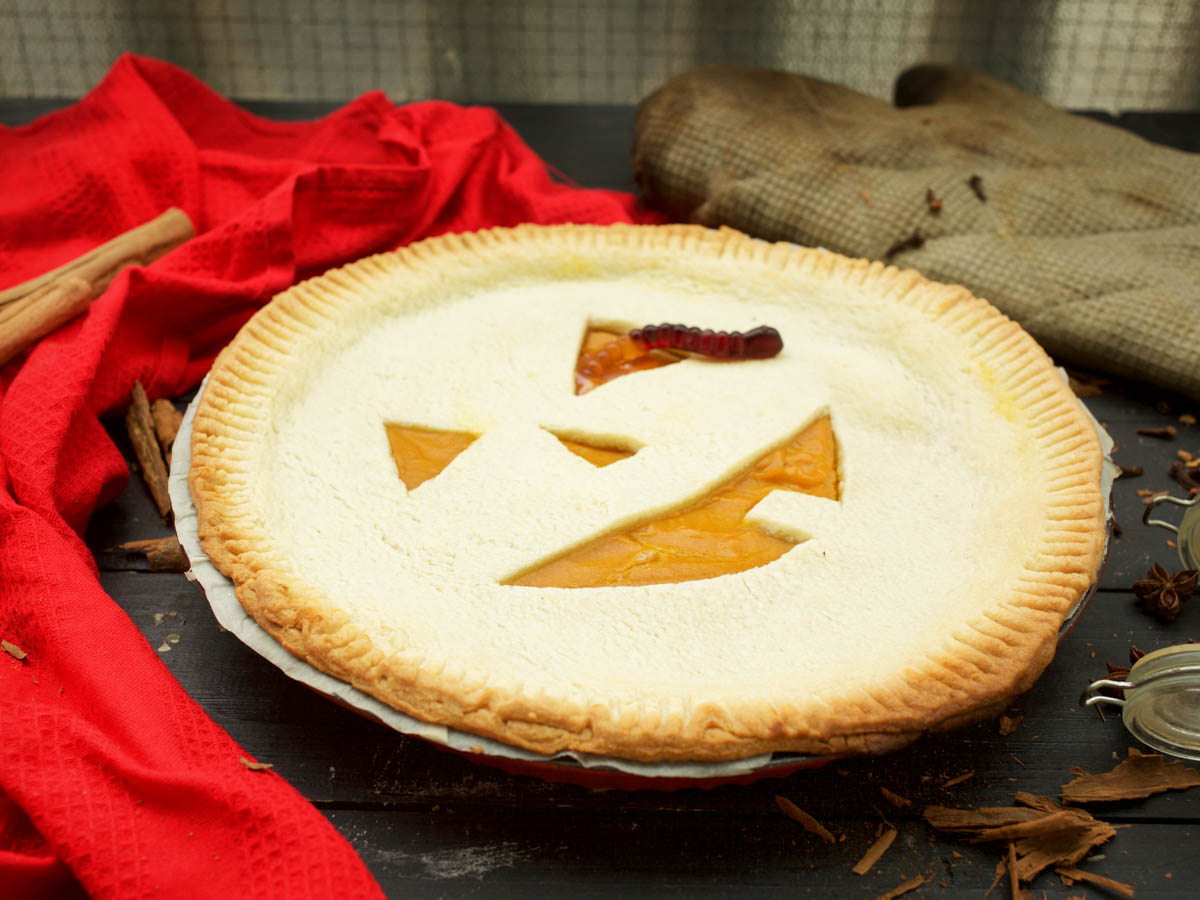
The face is what turns an everyday pumpkin pie into a Halloween one, and it is simpler than it looks. Roll the dough into two same-size circles. Fit one into the pie plate as the base, then cut a pumpkin face — eyes, nose and a toothy grin — into the second circle with the tip of a sharp knife before it goes on top.
- Work on a lightly floured surface with a floured rolling pin so the dough does not stick or tear as you lift it.
- Cut the face while the top circle is still flat on the counter, not after it is over the filling — you get cleaner lines and the openings let steam escape.
- Keep the cut-outs a little chunky rather than thin and pointy; delicate shapes can close up or brown too fast in the oven.
- Lay the carved circle over the filling and crimp the edges to seal the two crusts together.
Tips for a pie that sets and slices cleanly
A pumpkin pie is mostly about patience once it comes out of the oven. Here is how to get neat slices instead of a runny center.
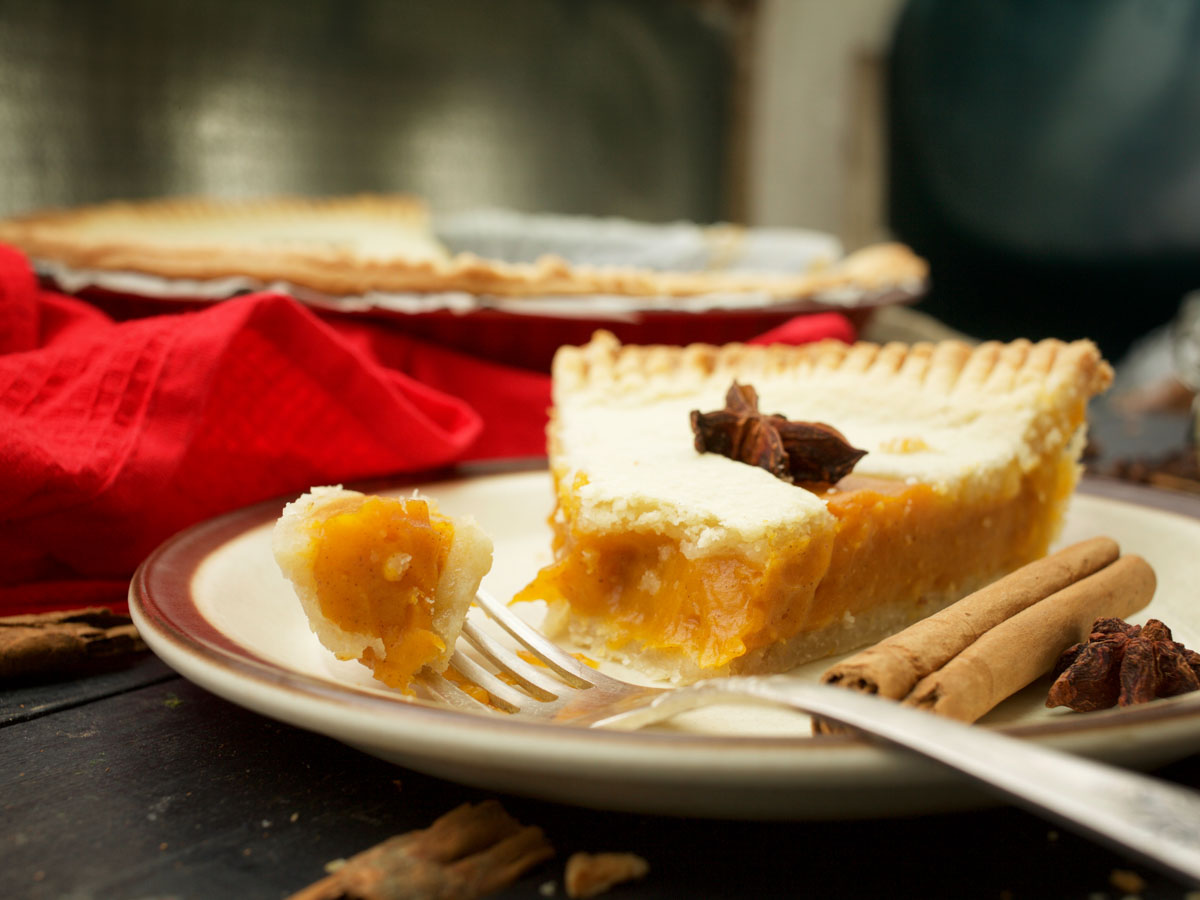
- Do not skip the cooling. Let the pie cool for about an hour, then move it to the refrigerator. The filling continues to set as it chills, which is why cold slices hold their shape and warm ones can slump.
- Trust the tapioca or cornstarch. The filling will look soft when the timer goes off after roughly 45 minutes — that is normal. It firms up during the rest, so resist the urge to overbake and dry it out.
- Taste your puree first. Fresh homemade puree varies in sweetness and moisture, so give the filling a taste before it goes in and nudge the sugar or spice if you like.
- Measure the cloves carefully. That ⅛ teaspoon is easy to overpour; too much clove will overpower the gentler cinnamon and ginger.
Storing and making it ahead
This pie is a great make-ahead dessert, which is a relief when you are also juggling costumes and candy. Once fully cooled, keep it covered in the refrigerator for up to 3 to 4 days; the flavor deepens overnight as the spices settle. It slices best straight from the fridge. If you want to prep even further ahead, roast and puree the pumpkin a day or two in advance and store it chilled, then assemble and bake when you are ready. If you love baking with pumpkin, you will find plenty more ideas in my collection of vegan pumpkin recipes, and for an easier no-crust version try this crustless pumpkin pie with coconut.
What to serve with your Halloween pie
Decorate the finished pie with a little Halloween candy and serve it as the centerpiece of a fall spread. It pairs beautifully with a warm drink — a homemade vegan pumpkin spice latte doubles down on the cozy pumpkin theme, or keep it fruity and bright with a super antioxidant pumpkin smoothie. If you are building a whole pumpkin-themed dessert table, a batch of vegan pumpkin muffins rounds it out nicely for a crowd.
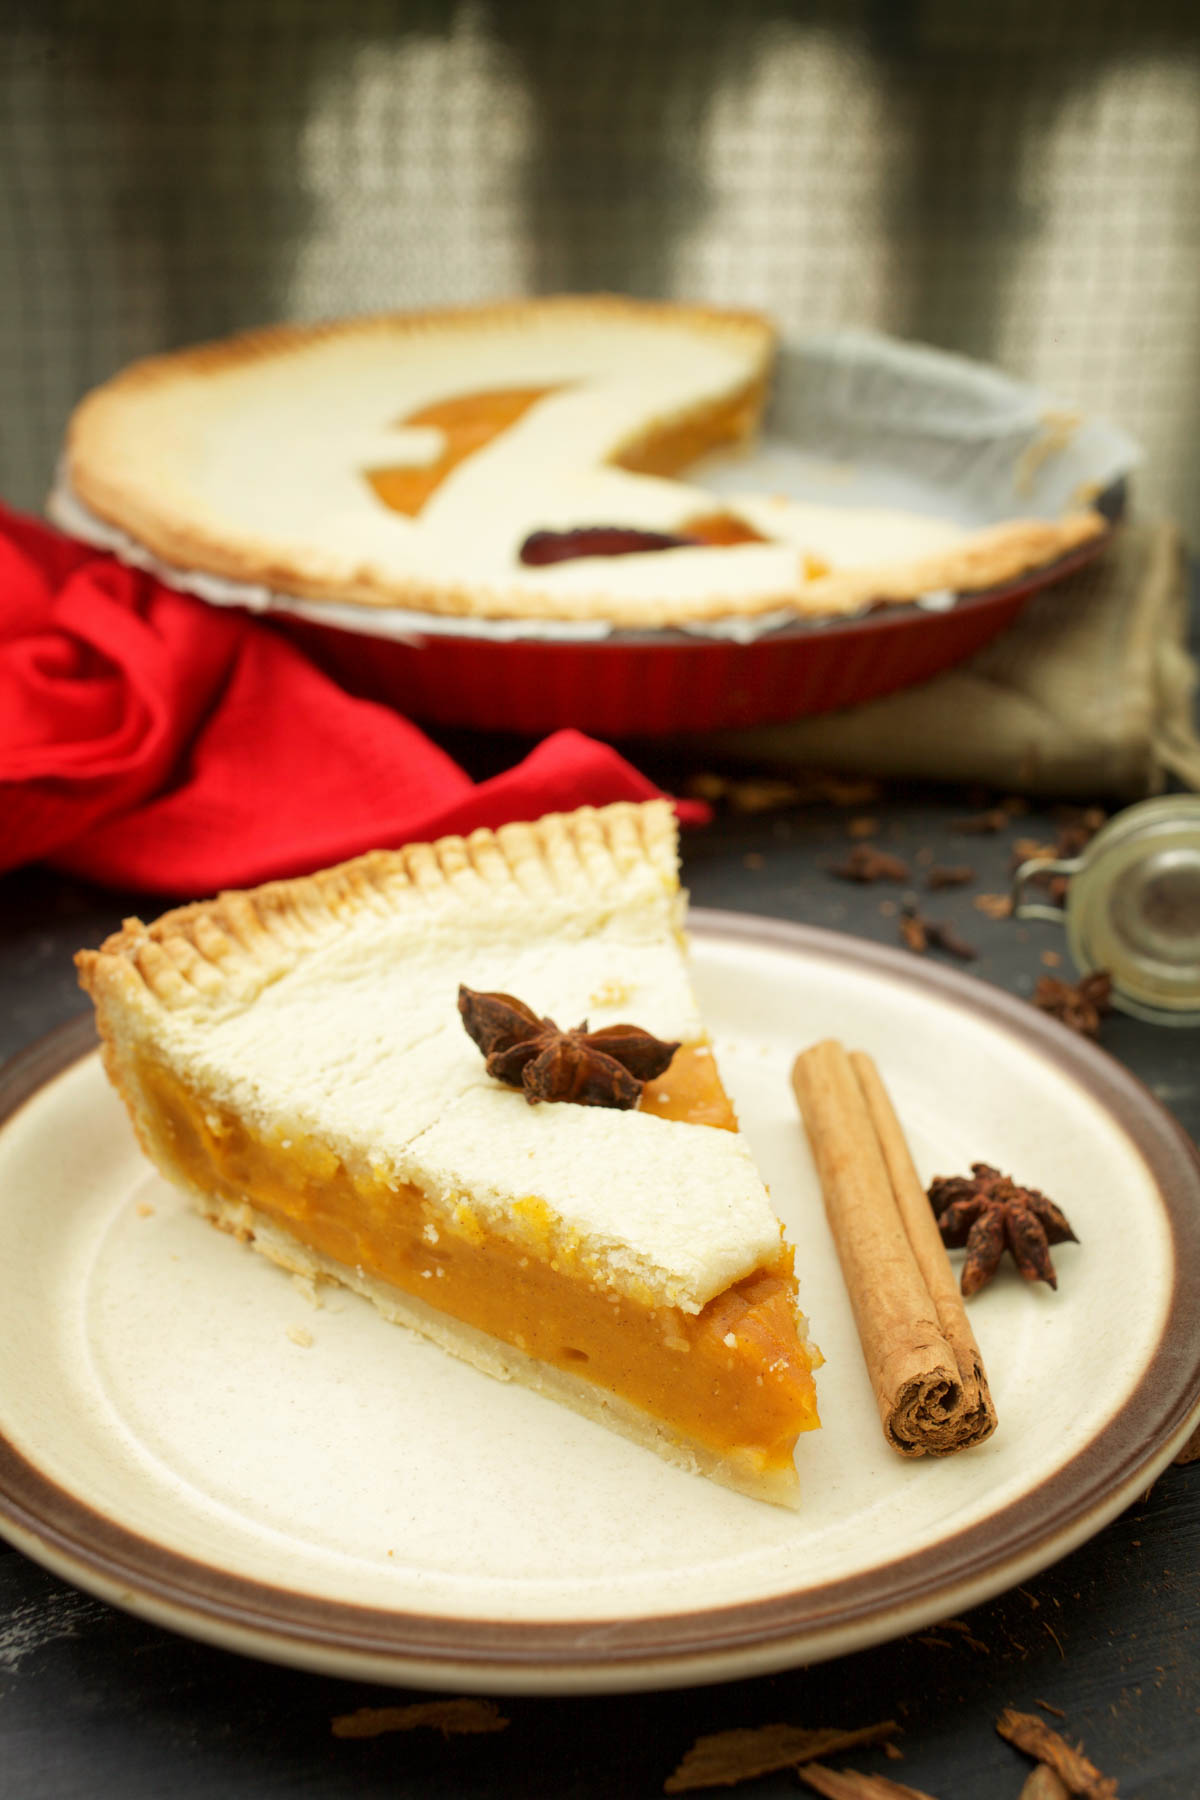
If you carve up a jack-o’-lantern face on your pie, I would love to see how it turned out — give the recipe a star rating below and drop a comment telling me which spices you leaned into or how your crust design came out. Happy Halloween baking!
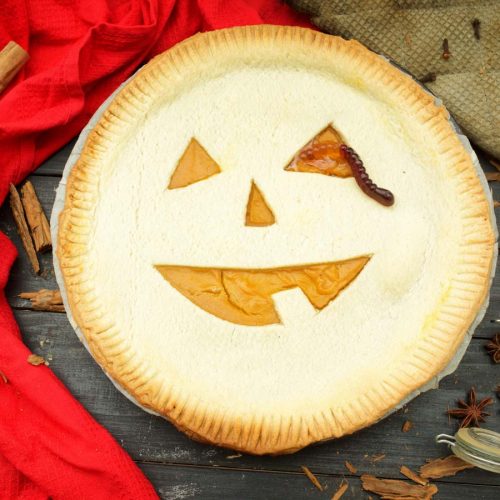
Halloween Pumpkin Pie / Jack-o’-Lantern Pie
Ingredients
For the crust:
- 2 cups all-purpose flour
- 2 tsp baking powder
- 1 tsp salt
- 1 Tbsp brown sugar
- 6 Tbsp plant milk e.g. almond
- 6 Tbsp vegan butter soft
- 4 Tbsp water
- 1 tsp lemon juice
For the pumpkin filling:
- 2 cups pumpkin puree
- ⅔ cup brown sugar
- 3 Tbsp tapioca flour or corn starch
- 1 tsp ground cinnamon
- ½ tsp ground ginger
- ½ tsp ground anise
- ⅛ tsp ground cloves
- ½ cup plant milk e.g. almond
- 1 tsp vanilla extract
Instructions
- Preheat the oven to 180°C (350°F).
- Making the crust:
- In a medium bowl, whisk together the flour, baking powder, salt, and brown sugar.
- In another small bowl, combine the plant milk, softened butter, water, and lemon juice.
- Pour the milk mixture into the flour mixture and stir until a dough comes together.
- Roll out the dough on a lightly floured surface with a floured rolling pin into 2 circles of the same size.
- Transfer one of the circles to the pie plate/pan.
- Decorate the second circle by cutting out a pumpkin face with a sharp knife.
- Making the filling:
- In a mixer bowl, add the brown sugar, tapioca flour, cinnamon, ginger, anise, and cloves.
- Stir in the pumpkin puree, 1/2 cup plant milk, and the vanilla extract until smooth and combined.
- Pour the filling into the pie crust, cover with the pumpkin face circle, and crimp the edges.
- Bake in the preheated oven for about 45 minutes.
- Let the pie cool for about an hour, then transfer it to the refrigerator to set.
- Decorate with Halloween candy and serve.
Notes
Frequently Asked Questions
Yes. Made with vegan butter and a plant milk, this pie is fully plant-based with no eggs and no dairy. The recipe lists milk and butter as ‘vegan or dairy’ only so you can use whichever you have on hand, but as written it is a vegan pie.
You can. Canned pumpkin puree works and saves time, but freshly roasted pumpkin puree has a deeper, more authentic flavor and less excess moisture. If you use canned, choose plain pumpkin puree rather than pumpkin pie mix so you control the sweetness and spice.
Roll the dough into two same-size circles, fit one into the pie plate as the base, and cut a pumpkin face into the second circle with a sharp knife while it is still flat on the counter. Then lay the carved circle over the filling and crimp the edges to seal. Cutting the face before it goes on the pie gives cleaner lines and lets steam escape as it bakes.
The filling looks soft right out of the oven and needs time to set. Let the pie cool for about an hour, then refrigerate it — the tapioca flour or cornstarch continues to firm the filling as it chills. A watery filling can also come from very wet puree, which is why roasting the pumpkin (rather than boiling) helps.
It is a great make-ahead dessert. Bake it fully, cool it, and keep it covered in the fridge for up to 3 to 4 days; the spice flavor deepens overnight. You can also roast and puree the pumpkin a day or two ahead, store it chilled, and assemble and bake when you are ready.
Cornstarch works as a direct swap for the tapioca flour in this recipe — both thicken the filling as it bakes so the slices hold their shape. Use the same 3 tablespoons called for in the card.


Pumpkin pie is one of my favorite childhood desserts and I waited so long until I tried your recipe. Doing it again soon, it’s just perfect!
Thank you!