
Vegan Chocolate Cheesecake
This vegan chocolate cheesecake is a no-bake dessert made from just four core ingredients: cocoa biscuits, coconut oil, full-fat canned coconut milk and dark chocolate. It comes together in under 15 minutes of hands-on work, then sets in the fridge into a rich, mousse-like chocolate cream that melts in your mouth. If you want an impressive chocolate dessert with almost no effort and no oven time, this is the one to make.
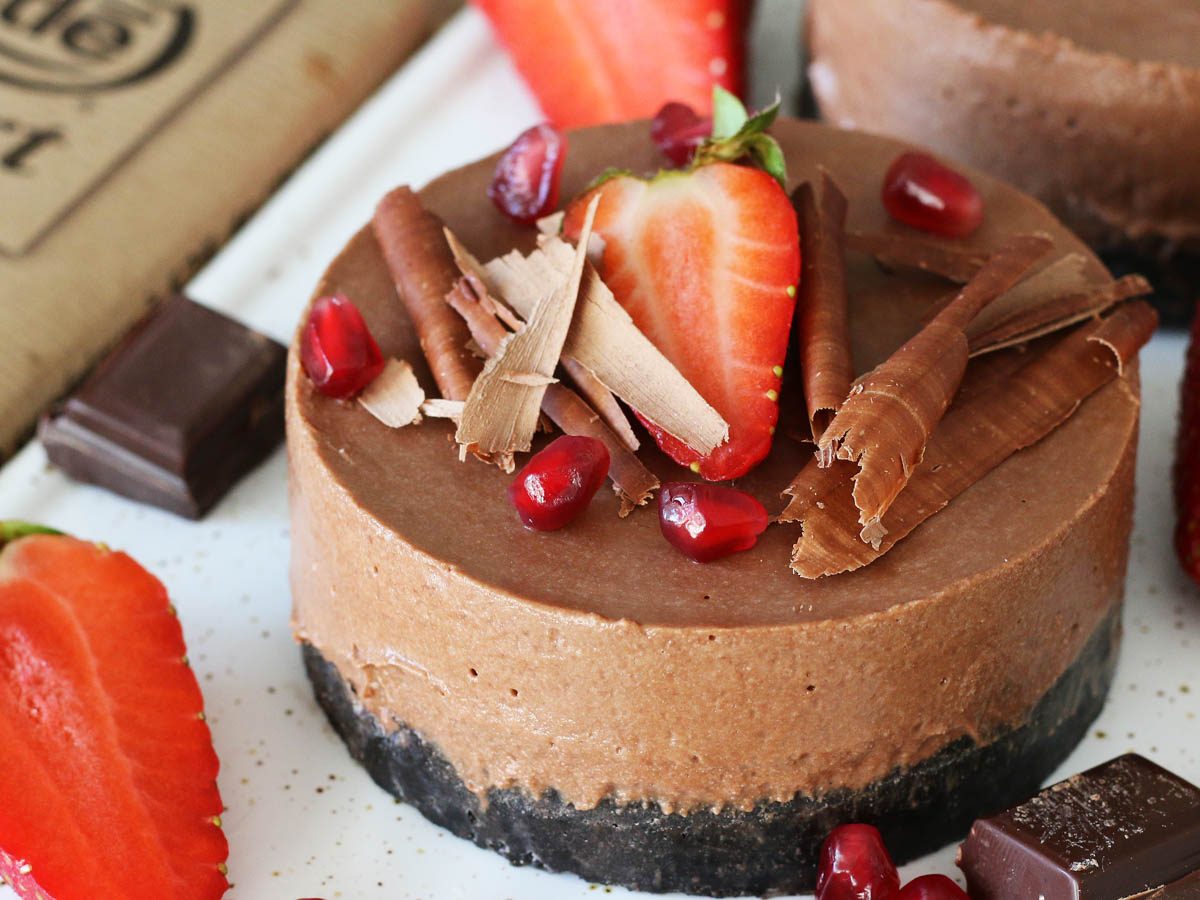
This is the easiest vegan chocolate cheesecake recipe I’ve ever made, and by far the best one. The cream is so rich and chocolatey, with a smooth, mousse-like texture that simply melts in your mouth. Simple chocolate desserts are my favorite, and this one has earned a permanent spot in my rotation because there’s no baking, no fuss, and no long ingredient list to shop for.
The four ingredients that make it work
Every ingredient here pulls its weight, so it’s worth choosing them well. The cocoa biscuits form the crust: pulse them into fine crumbs and bind them with melted coconut oil, which sets firm once chilled and gives you a base that holds together when you cut into it. The coconut milk has to be the full-fat canned kind, not the thin drinking beverage in a carton. That thick, high-fat coconut milk is what whips up airy and then sets into the mousse-like body of the filling. The thin stuff will not firm up.
For the chocolate, I used the Nestle Dessert Noir. I’d heard about it before but this was the first time I tried it, and I am impressed. Any good-quality dark chocolate works, and dark chocolate is what keeps this cheesecake vegan, so check the label to make sure there’s no milk solids if you want to keep it fully plant-based. Finish with berries of your choice: strawberries, pomegranate seeds, a little extra chopped chocolate, or fresh mint all work beautifully.
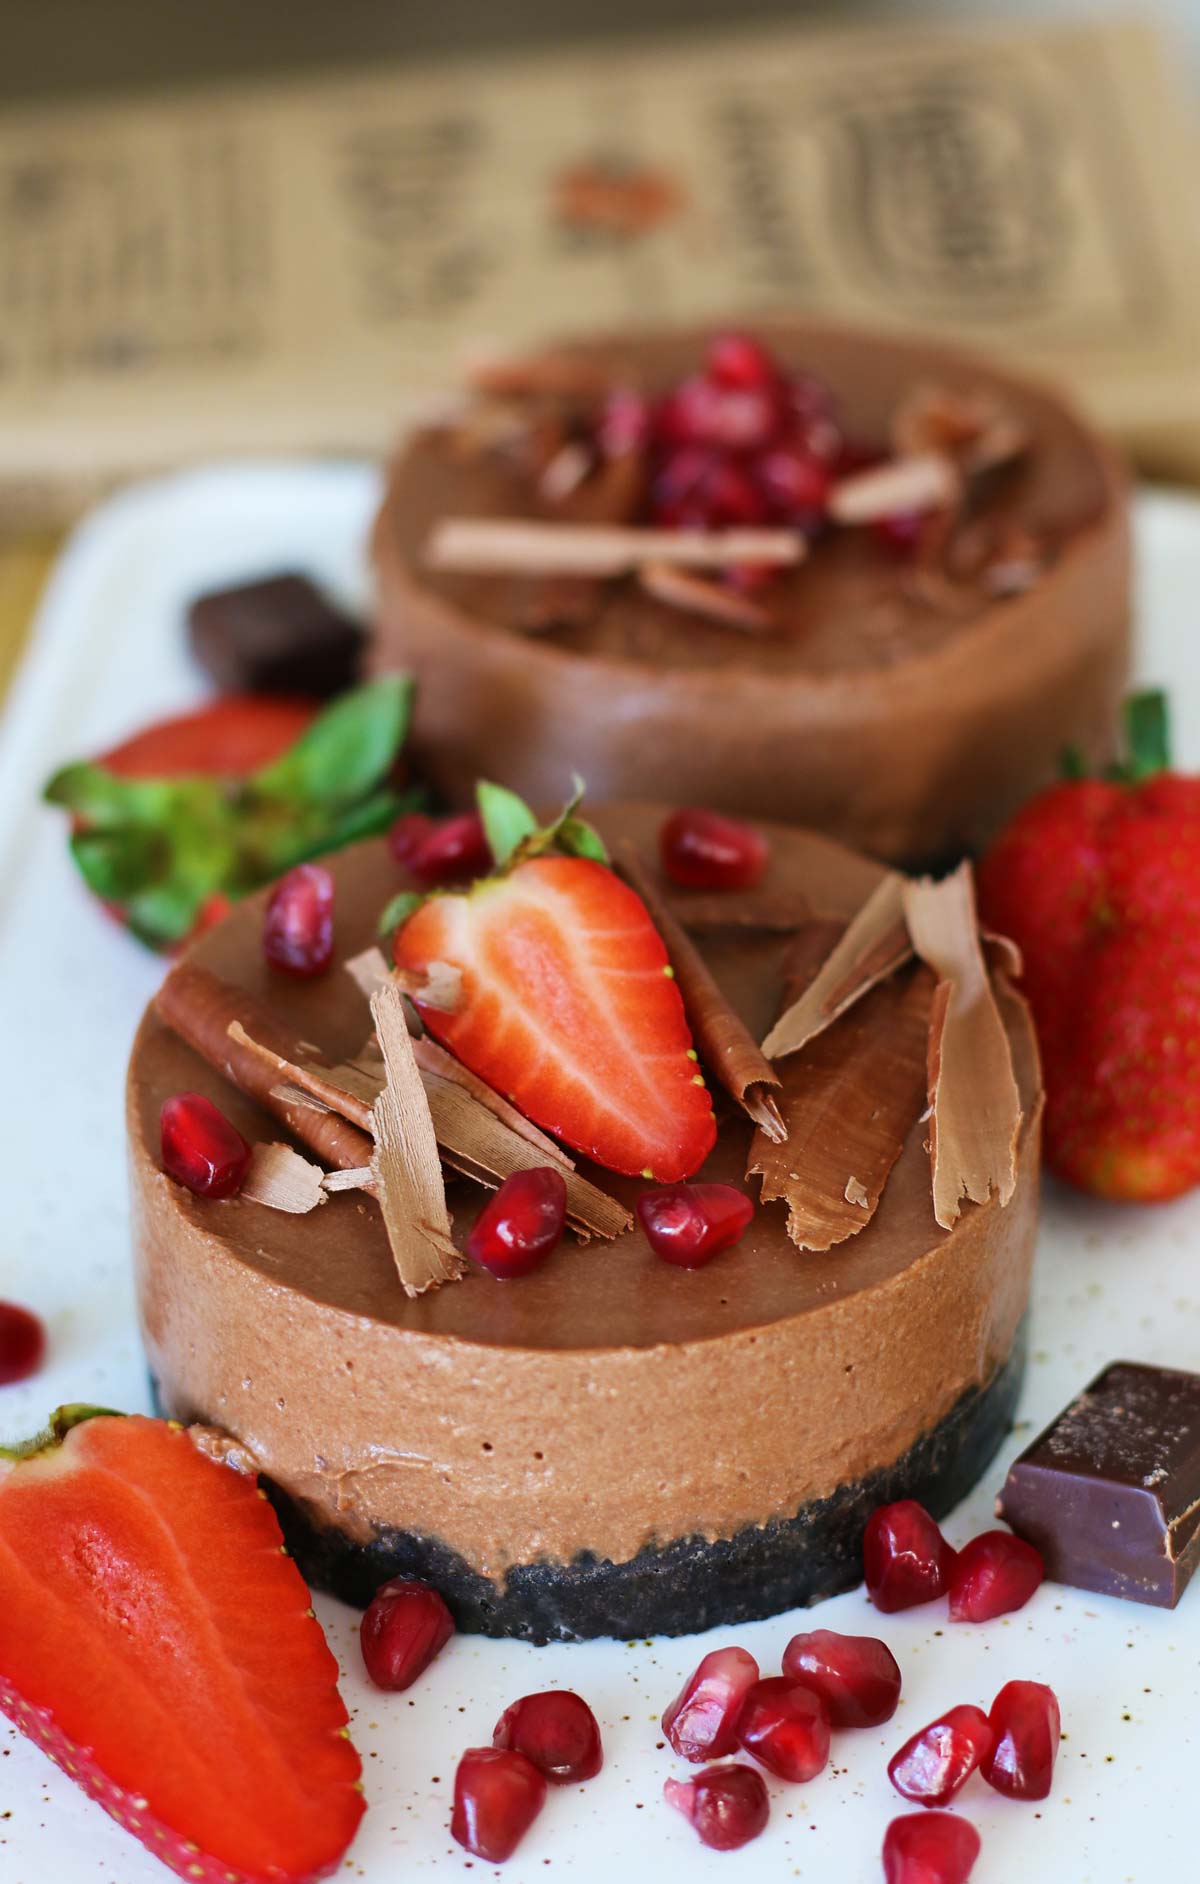
How to get that mousse-like texture right
The whole appeal of this cheesecake is the light, creamy set, and two steps make or break it. First, mix the coconut milk on its own with a hand mixer for a full five minutes before you add anything else. This aerates it and gives the filling that airy lift instead of a dense, heavy cream. Second, watch the temperature of your melted chocolate. Let it cool for a minute or two so it’s fluid but not hot, then pour it over the coconut milk and mix well. If the chocolate is too hot it can seize or split the coconut milk; if it’s too cool it will set in streaks before it’s evenly combined.
For the crust, press the biscuit-and-coconut-oil mixture gently but firmly into the bottom of your tins. A light, even layer of 2 to 3 tablespoons per portion is plenty. Then pour the chocolate cream on top and let the fridge do the rest. If you love this kind of rich, no-bake chocolate treat, my easy chocolate mousse recipe uses the same melt-in-your-mouth approach.
Assembling and serving
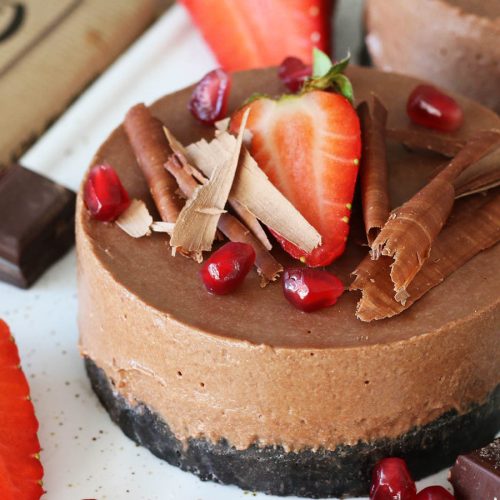
I make these as individual portions using mini-cake tins or metal rings set on a plate, which gives you clean, restaurant-style rounds that lift off neatly once set. Add the crust first, press it down, pour in the cream, then chill for 1 to 2 hours until firm. Serve topped with strawberries, pomegranate and a little more chocolate. The tartness of fresh berries cuts through the deep chocolate and keeps each bite from feeling too heavy.
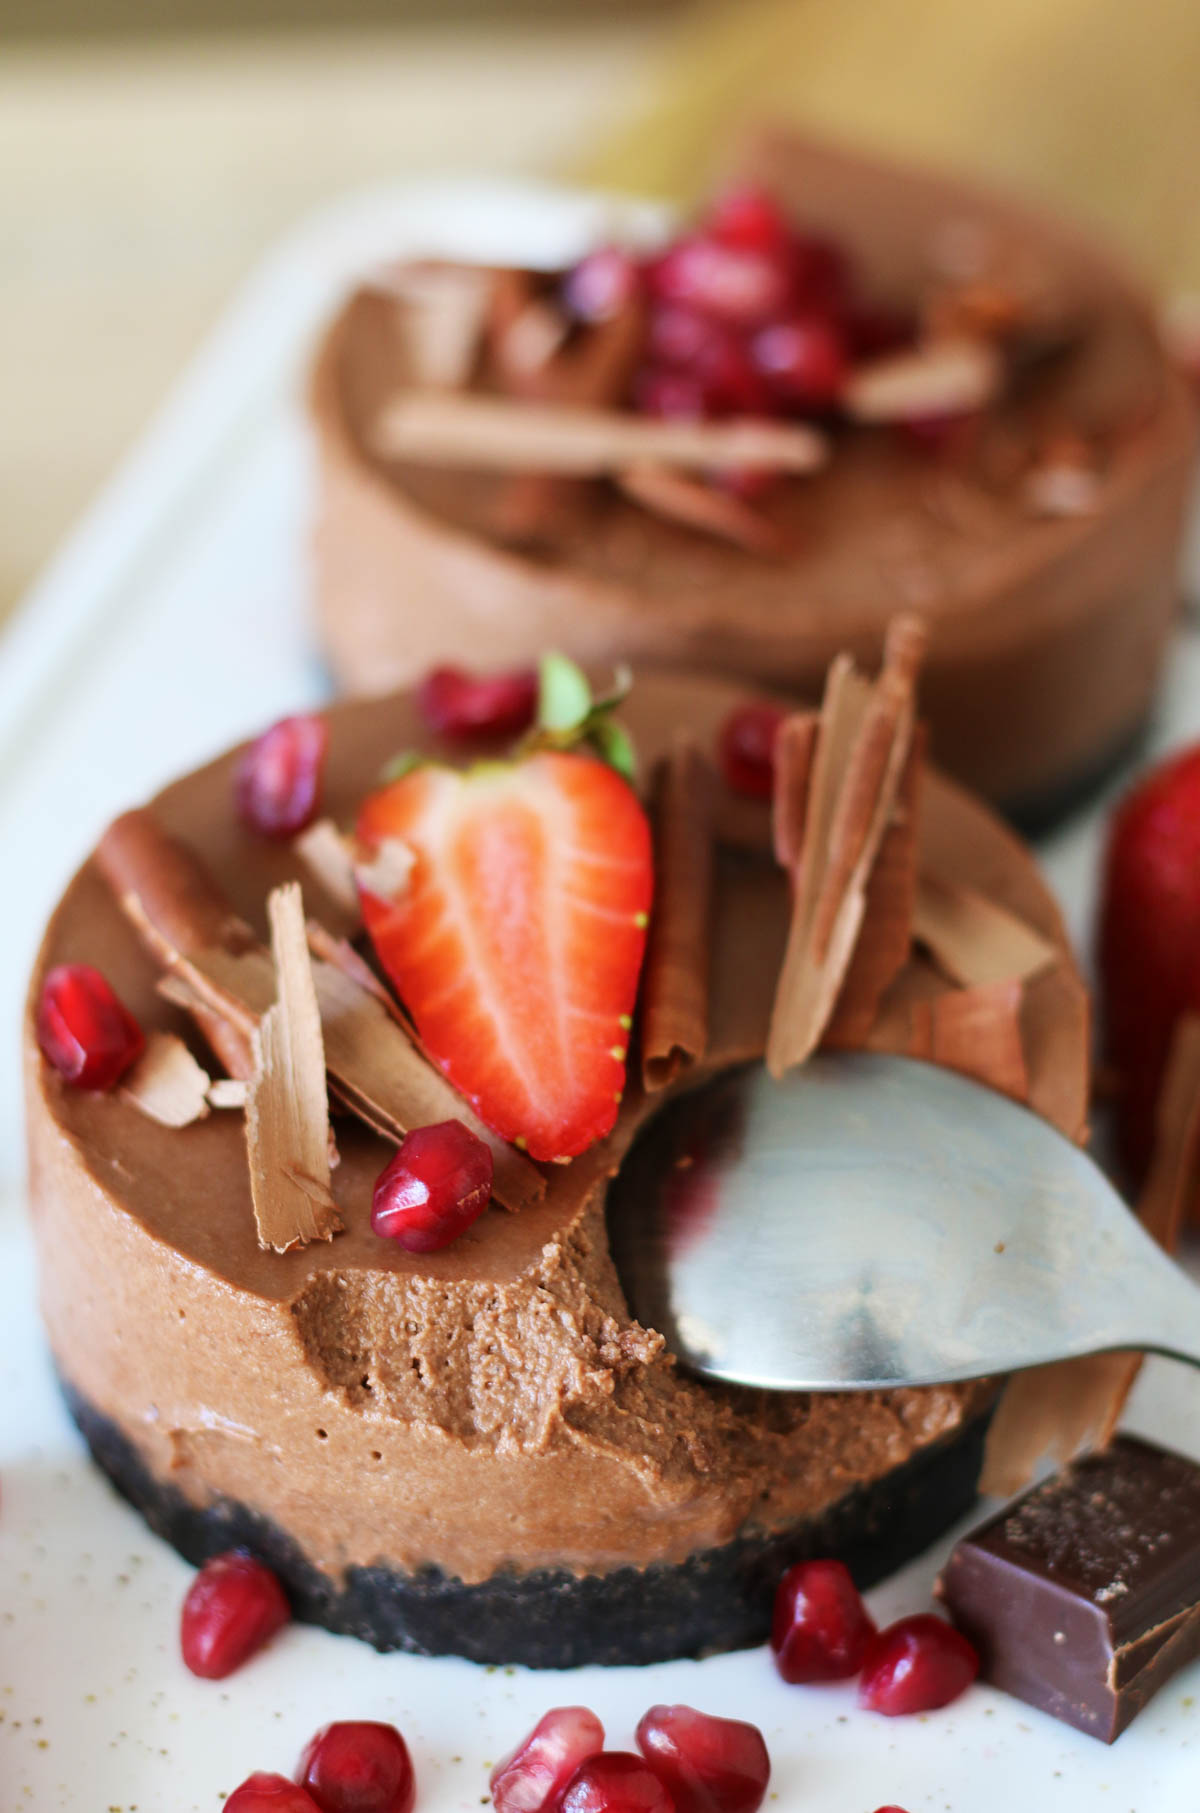
This makes a lovely finish to a dinner party or holiday meal, and it fits right in on a dessert table alongside other crowd-pleasers. If you’re building a spread, browse my roundup of the most decadent chocolate desserts for more ideas, or pair it with a raw vegan chocolate and raspberry cake for a fully chocolate-themed table.
Make-ahead and storage tips
This dessert is made for making ahead, which is part of why it’s such a stress-free option for entertaining. Because it needs 1 to 2 hours in the fridge to set anyway, you can prepare it the morning of, or even the day before, and keep it chilled and covered until you’re ready to serve. Store any leftovers in an airtight container in the fridge for up to 3 to 4 days; keep the fresh berry topping separate and add it just before serving so it stays bright.
You can also freeze the cheesecakes without the topping for a firmer, semifrozen texture; let them soften in the fridge for 15 to 20 minutes before serving. Once you’ve mastered this base, the same coconut-milk-and-dark-chocolate method opens up other treats. I’m already thinking about using this chocolate to make some lava cakes, and if you like warm chocolate puddings, my dark chocolate and pear souffle is a good next step.
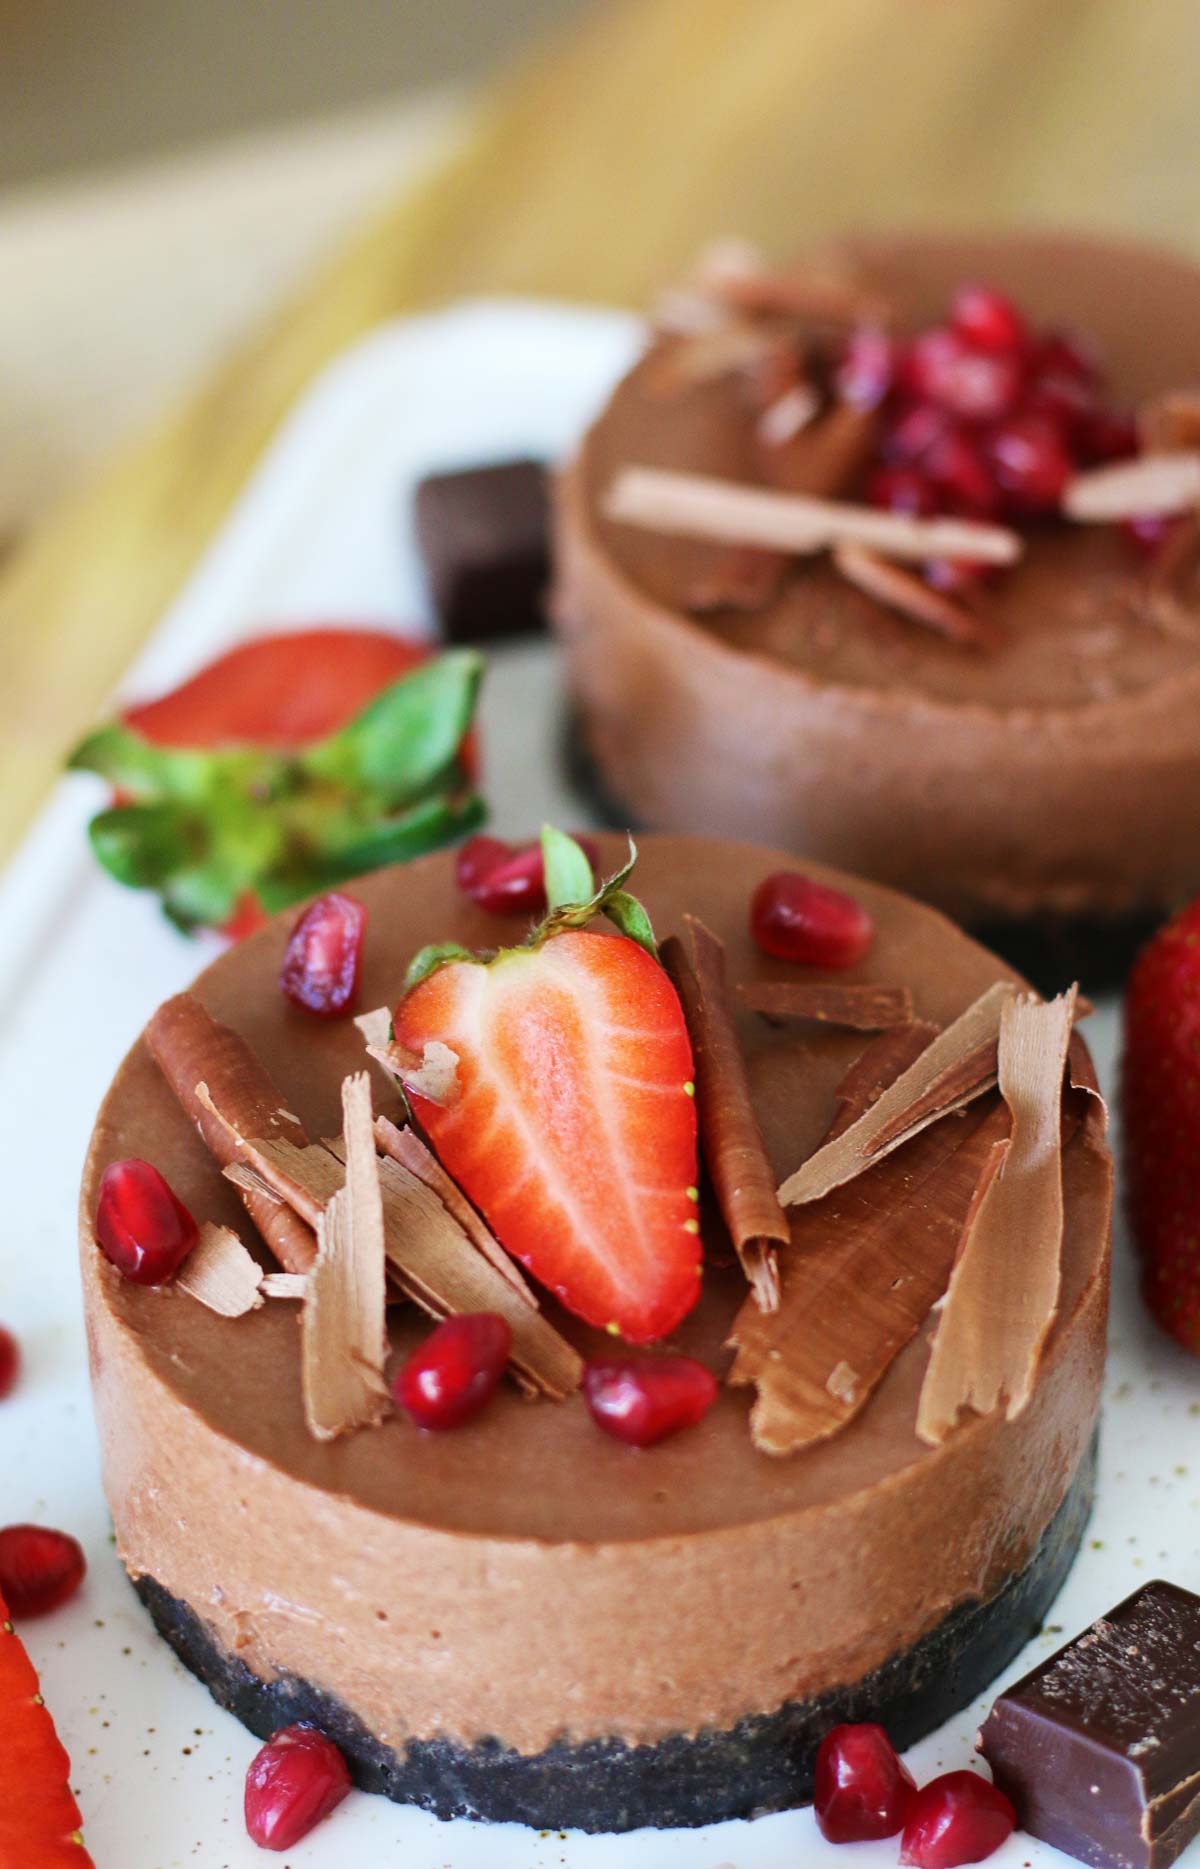
If you make this no-bake vegan chocolate cheesecake, I’d love to know how it turned out. Leave a star rating and drop a comment with which berries you chose on top, or any little tweak you made to the crust. Happy no-baking!
Vegan Chocolate Cheesecake
Ingredients
Crust:
- 120 g cocoa biscuits
- 3 Tbsp coconut oil melted
Cream:
- 400 ml coconut milk canned, full fat, the thick kind not the beverage
- 200 g dark chocolate I used Nestle Dessert Noir; check the label is dairy-free
Topping:
- berries of choice for topping; also chocolate, pomegranate, mint, whatever you like
Instructions
- Put the biscuits in a food processor or blender and pulse 2-3 times until they have the consistency of breadcrumbs.
- Transfer them to a bowl and pour in the melted coconut oil. Mix until combined.
- In a large bowl, add the coconut milk and mix well with a hand mixer for about 5 minutes.
- Melt the chocolate. You can do this simply by placing it in an oven-proof bowl set inside a warm oven.
- Pour the melted chocolate over the coconut milk and mix well.
- Use mini-cake tins or metal rings like I did (see the video above). Place these on a plate and add 2-3 tablespoons of the crust mixture. Press it gently into the bottom.
- Pour in the chocolate cream.
- Refrigerate for 1-2 hours, until firm.
- Serve with strawberries, pomegranate and more chocolate on top.
Notes
Frequently Asked Questions
Yes. It’s built on cocoa biscuits, coconut oil, full-fat canned coconut milk and dark chocolate, with berries on top, so there’s no dairy, egg or cream cheese anywhere in it. Just double-check your dark chocolate label, since some bars contain milk solids. Choose one that’s free of milk to keep it fully plant-based.
Use full-fat canned coconut milk, the thick kind, not the thin coconut beverage sold in cartons for drinking. The high fat content is what whips up airy and then sets into the mousse-like filling once chilled. The thin drinking version does not have enough fat to firm up properly.
No, this is a completely no-bake dessert. The only heat involved is melting the chocolate and the coconut oil. After you assemble the crust and pour in the chocolate cream, it sets entirely in the fridge over 1 to 2 hours.
Plan on 1 to 2 hours of chilling until the filling is firm. Hands-on prep takes under 15 minutes, so most of the time is just waiting. It sets faster in individual mini portions than it would as one large cheesecake.
Absolutely, it’s ideal for making ahead. Since it needs chilling time anyway, you can prepare it the morning of or even the day before and keep it covered in the fridge. Add the fresh berry topping just before serving so it stays bright and fresh.
Keep leftovers in an airtight container in the fridge for up to 3 to 4 days. Store any fresh berries separately and add them at serving time. You can also freeze the cheesecakes without topping, then let them soften in the fridge for 15 to 20 minutes before eating.



Does it have to be served cold? Does it melt at room temp?
It doesn’t melt at room temp but it gets softer if left unrefrigerated for a long time.
Can I substitute the chocolate with something else? Like carob flour
You’ll have to add carob + coconut oil or cocoa butter to act the same as chocolate. Chocolate when it cools down it solidifies again ad this is important in this recipe.
Truly a nice recipe. Especially the idea of a vegan cheese cake. But please folks inform about the products you use either NESTLE is The Hell of a company. Any good approach is going to dirt when using any of their products.
Hi! Do you know if this can be frozen? Thanks! Jen
Hi, Jen. I don’t know, it never lasted too long in my fridge, but you can give it a try.
It sound great!One question:do you add only the thick part of the coconut Milk or even the water left at the bottom of the can?Thanks!
Leave the can in the fridge before using. When cold it has more of the thick part than liquid. I usually add just the thick part if there is too much liquid. Always use coconut milk with high fat percentage.
Hi!! Does it taste like coconut?
Not at all! 🙂 Give it a try, you’ll love it, I promise! 🙂
Hi can I use cocoa powder instead of bar chocolate? Thanks!
Unfortunately, no. Chocolate also has cocoa butter in it. You could use cocoa butter + cocoa, however, I cannot estimate the exact quantities. It’s best to use chocolate.
Haven’t tried it yet, but it sound delicious, and really easy and simple 😀 I just wonder why you call it cheesecake? Isn’t it more like a moussecake with that recipe or does it get a cheesecake flavor despite the ingredients 🙂
You’re right! 😀 I didn’t think moussecake was a thing when I made it so I thought cheesecake is the closest type of recipe to this. 😀
Doubled the quantities and made a large cake for my husband’s birthday. It was mindblowing!!! The guests loved the extra-smooth rich chocolate texture and I can’t believe I made his cake in under 30 minutes of prep time! Thank you, Ruxandra!
Oh, YUM! Sounds delicious! Never thought about making it into a birthday cake but why not?! Sounds like a great idea and I’m happy to hear your guests loved it!
This was SO good! Loved it! And only 4 ingredients… I was amazed! Thank you, Ruxandra!
You’re welcome! 😀