
Vegan Popsicles | Under 3 ingredients / 5 minutes prep time
Vegan popsicles are frozen fruit-and-coconut-milk ice pops made without any dairy. You layer sliced fresh fruit into popsicle molds, pour over a sweetened plant milk mix, add the sticks, and freeze. With under three core ingredients and about five minutes of hands-on work, they are the easiest cooling dessert you can make at home for hot Summer days.
I’m not a huge fan of sweets, but I must admit, I crave them sometimes now, especially because it’s Summer and the temperatures are rising. All I’m thinking about are Frappes, ice-creams, popsicles and a Mai Tai on the beach! Recently, I decided to give up dairy, at least for a while. I wasn’t eating it daily, but I feel a lot better without it completely, so I wanted a frozen treat that fit that choice without feeling like a compromise.
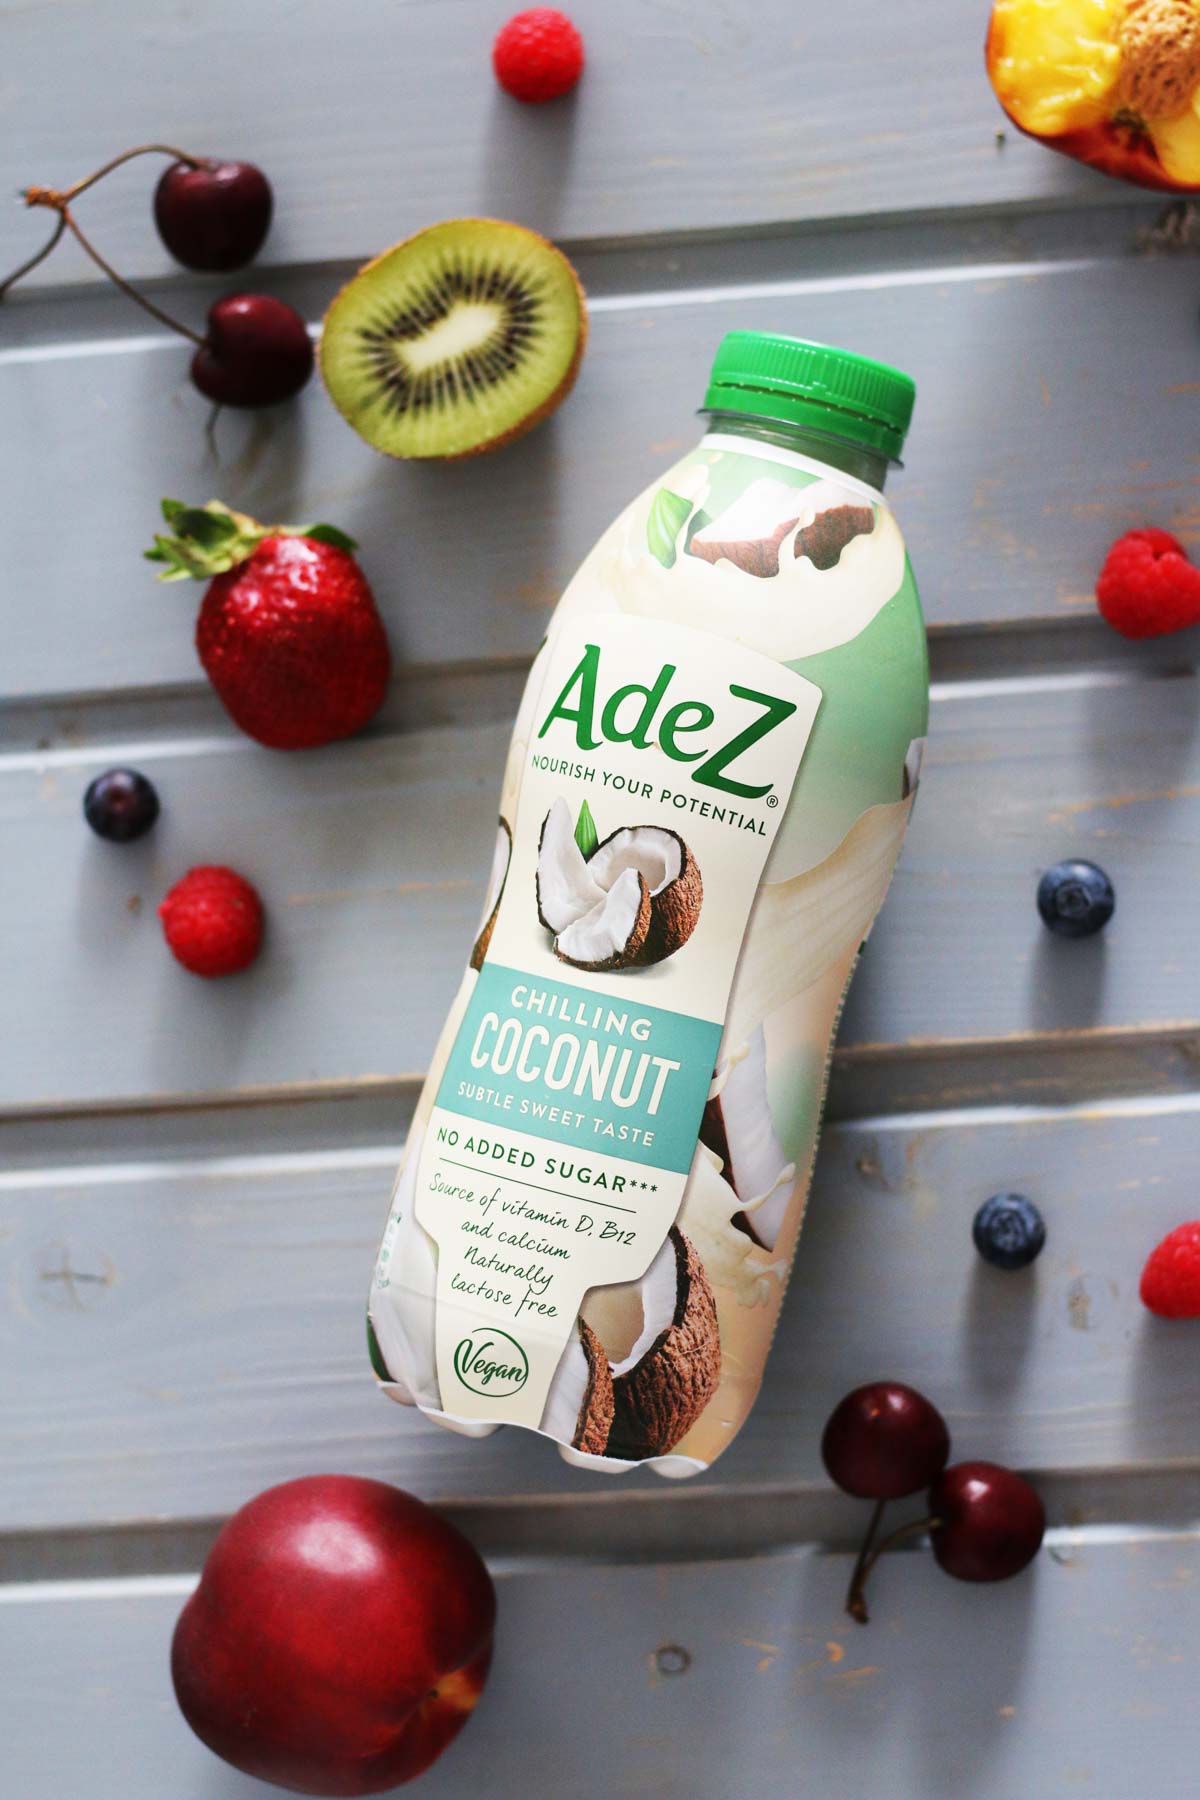
For this vegan popsicles recipe, I used the Adez Chilling Coconut milk. I’ve discovered the Adez brand a while ago, when I received a free sample along with my monthly online food order, and I loved it, especially because it has no added sugars. I’ve never found a soy milk that I can say I truly like, until now, so I started exploring their products to find my favorite. My fav is Adez Chilling Coconut, which is now always in my fridge, when I’m lucky enough to find it on the shelves because it usually is the first one to sell out. Thinking about how to emphasize the coconut flavor, I considered a vegan custard, a vegan pannacotta, or these popsicles. In the end I chose the popsicles because they are the perfect recipe for hot weather: quick, easy, refreshing.
The three-ingredient base, and how to choose it
The whole recipe rests on three things: a plant milk, a sweetener, and fruit. For the lighter, sorbet-style version I use around 500 ml of coconut plant milk on its own. For a creamier popsicle, I swap part of that milk for full-fat canned coconut milk, using roughly 300 ml of the drinking coconut milk plus 200 ml of the thick creamy part from the top of a can. The canned fat is what gives you that soft, ice-cream-like bite instead of an icy one.
Any plant milk you like will work here, so use your favorite if coconut isn’t it. For the sweetener, add it to taste: maple syrup, coconut sugar, or coconut syrup all dissolve nicely into the cold liquid. Because plant milks and fruit already carry sweetness, start with a small amount and taste the mix before it goes into the molds, since freezing dulls sweetness slightly and you cannot adjust once it’s solid. For the fruit, I reach for kiwi slices, strawberry slices, blueberries, and raspberries, but anything colorful and ripe belongs here.
Sliced fruit vs blended, and why it matters
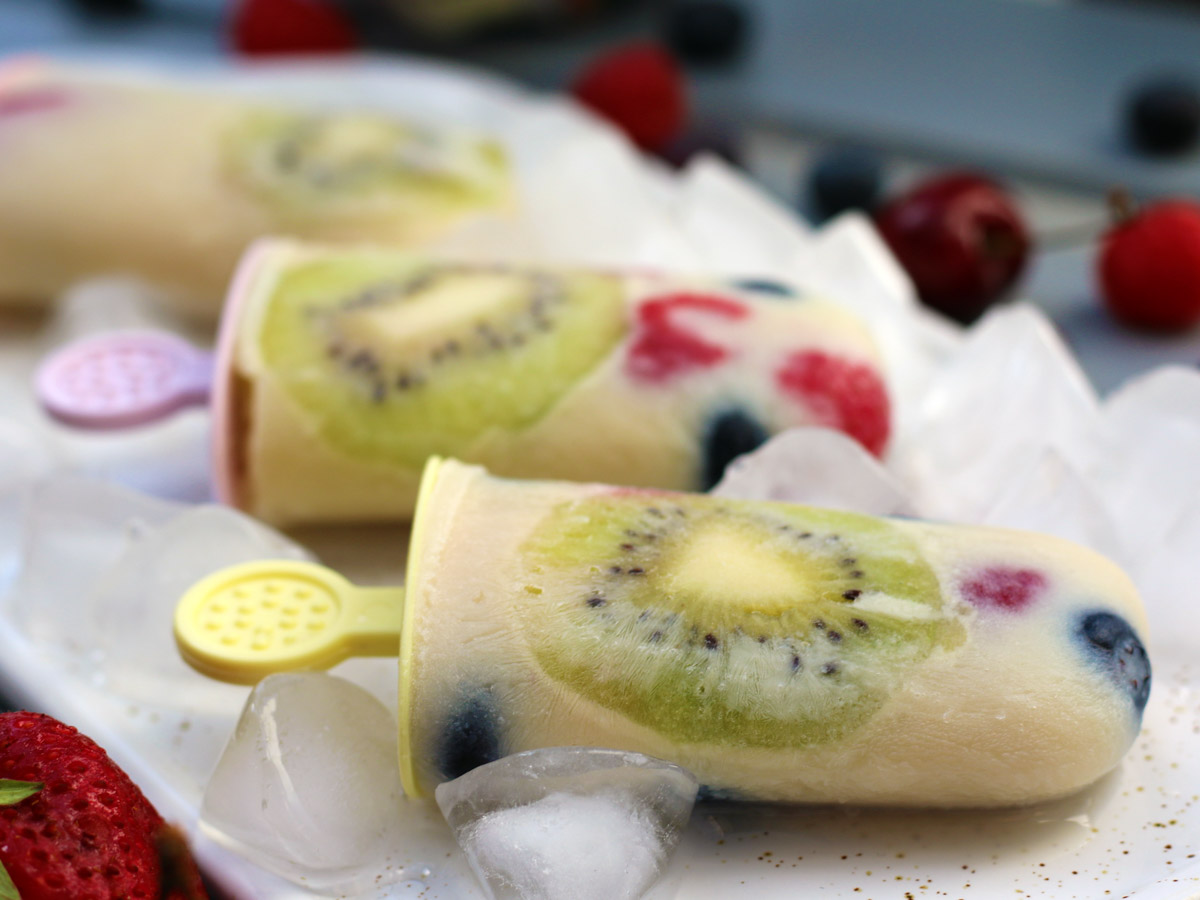
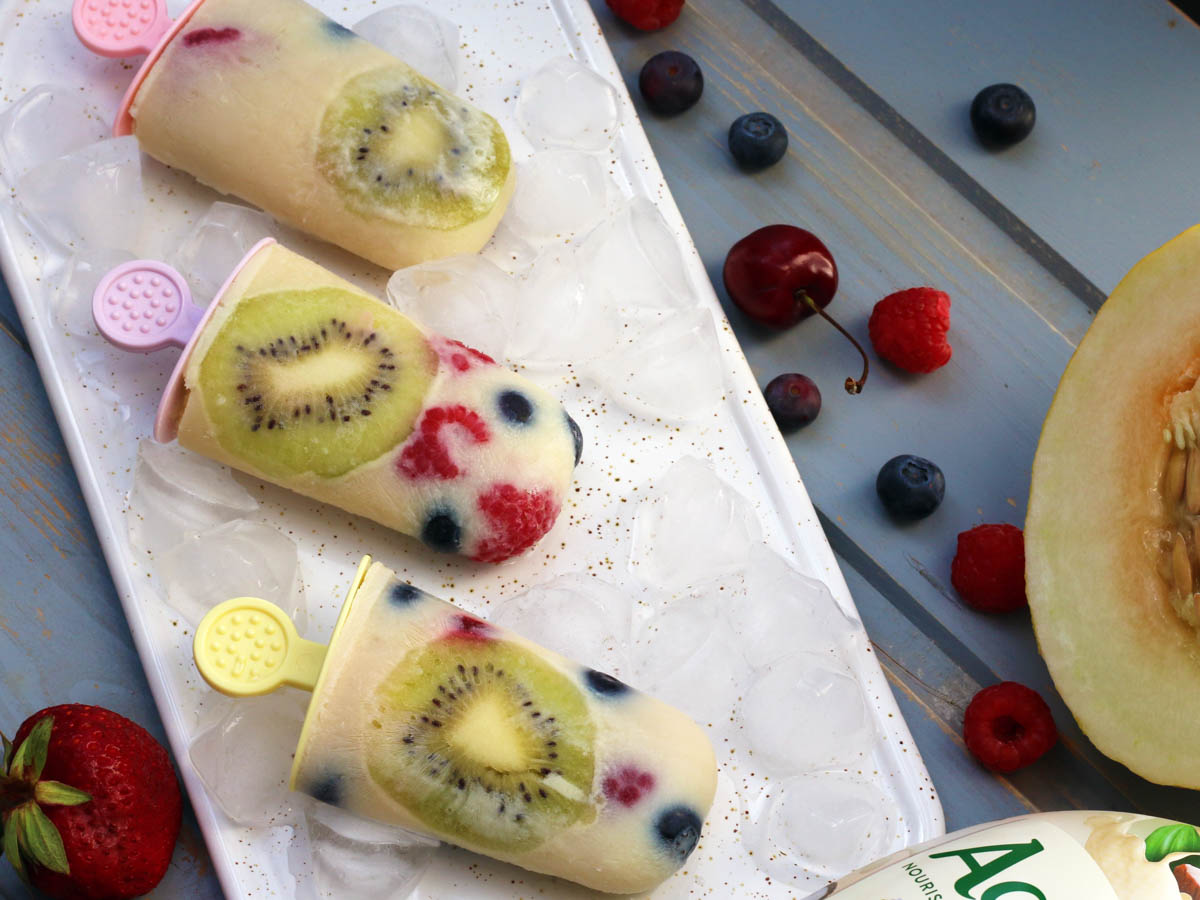
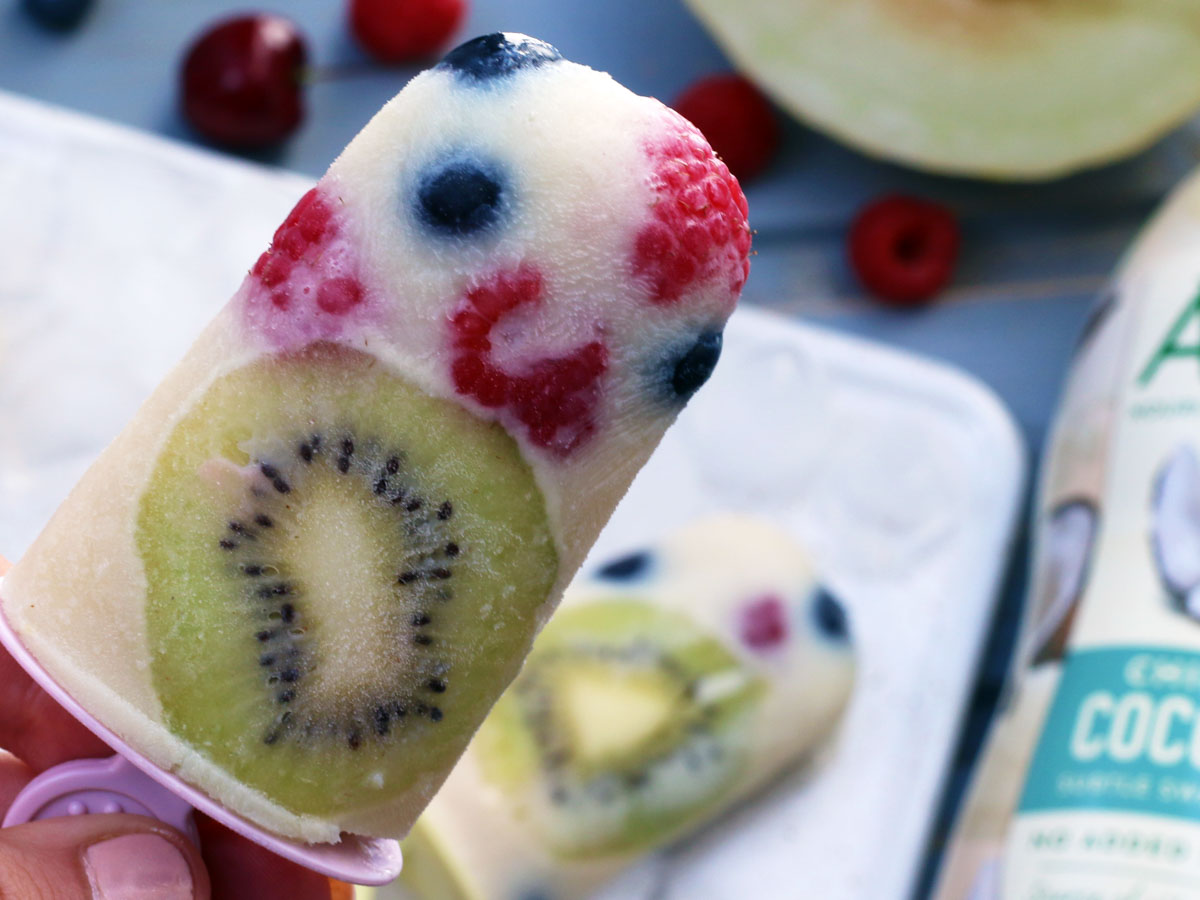
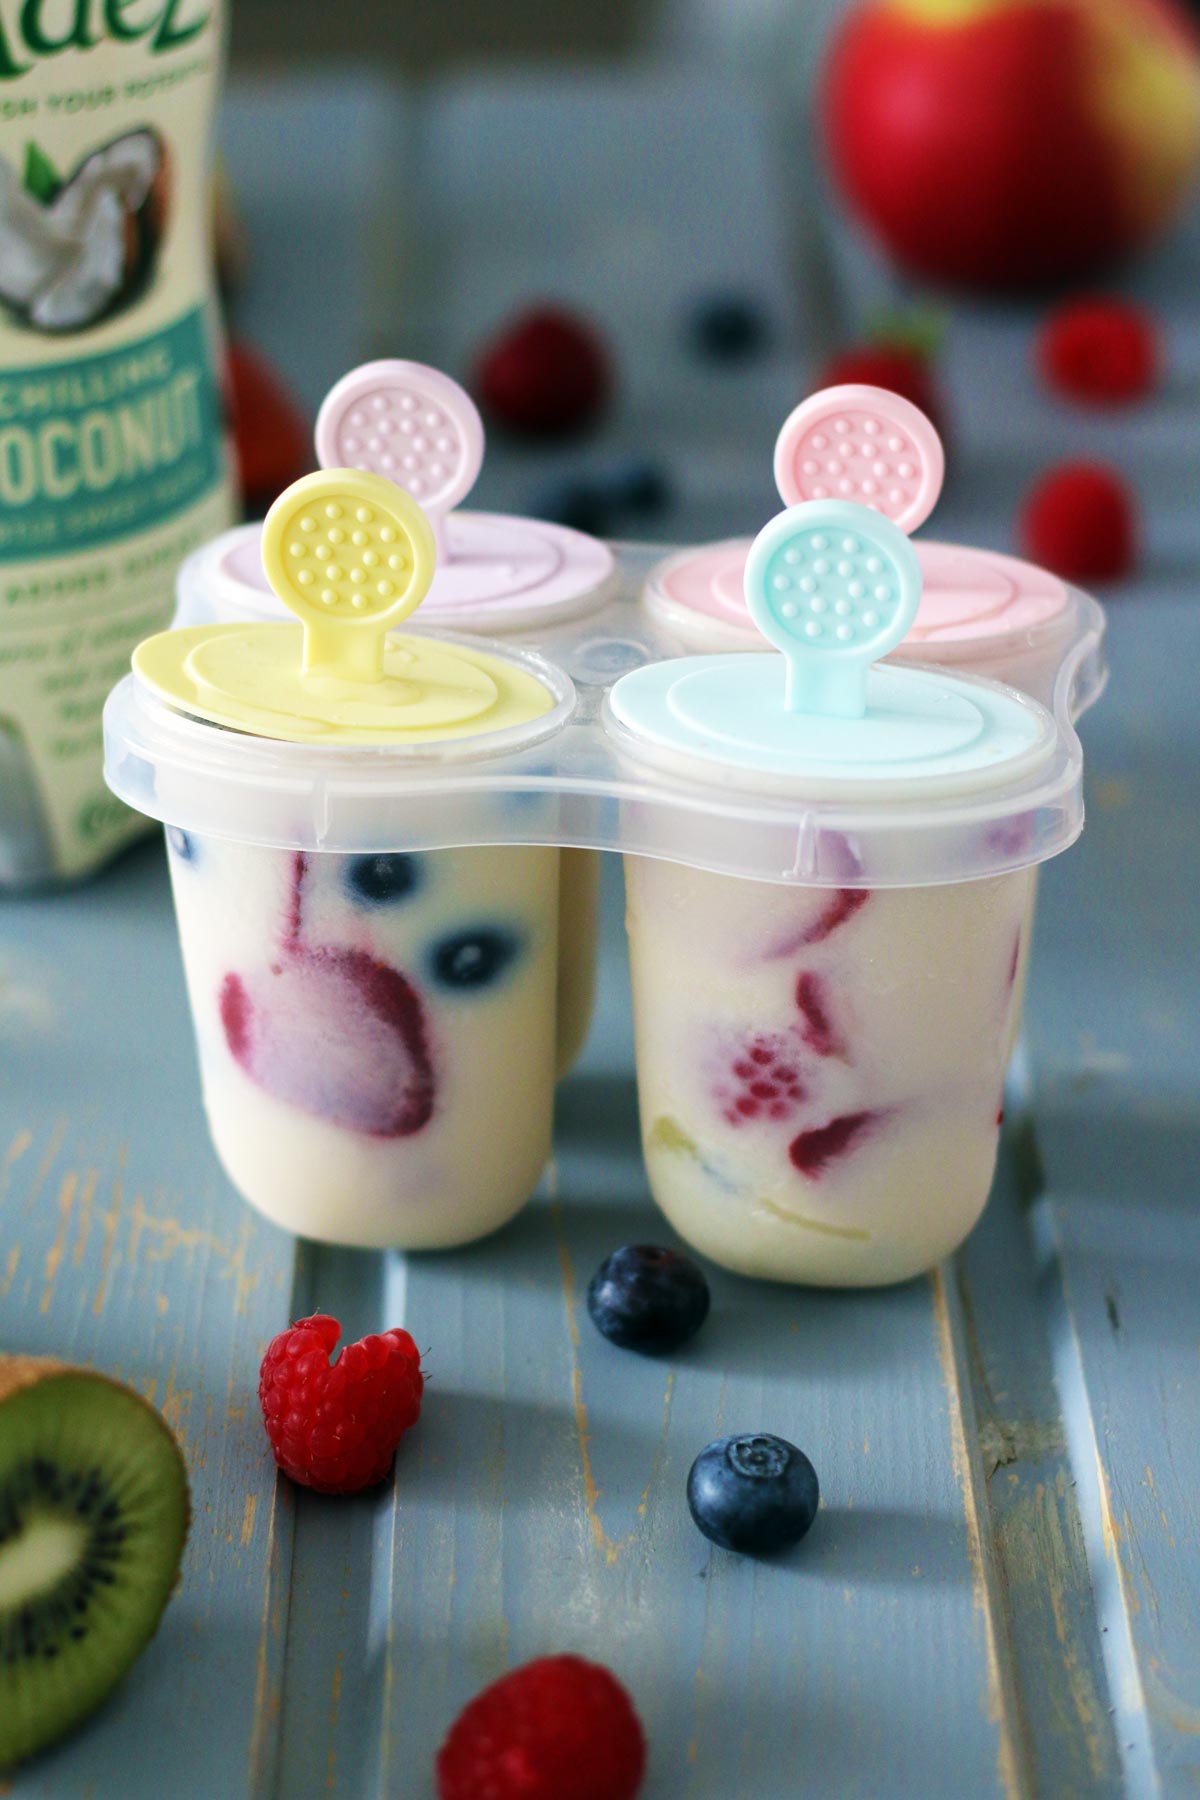
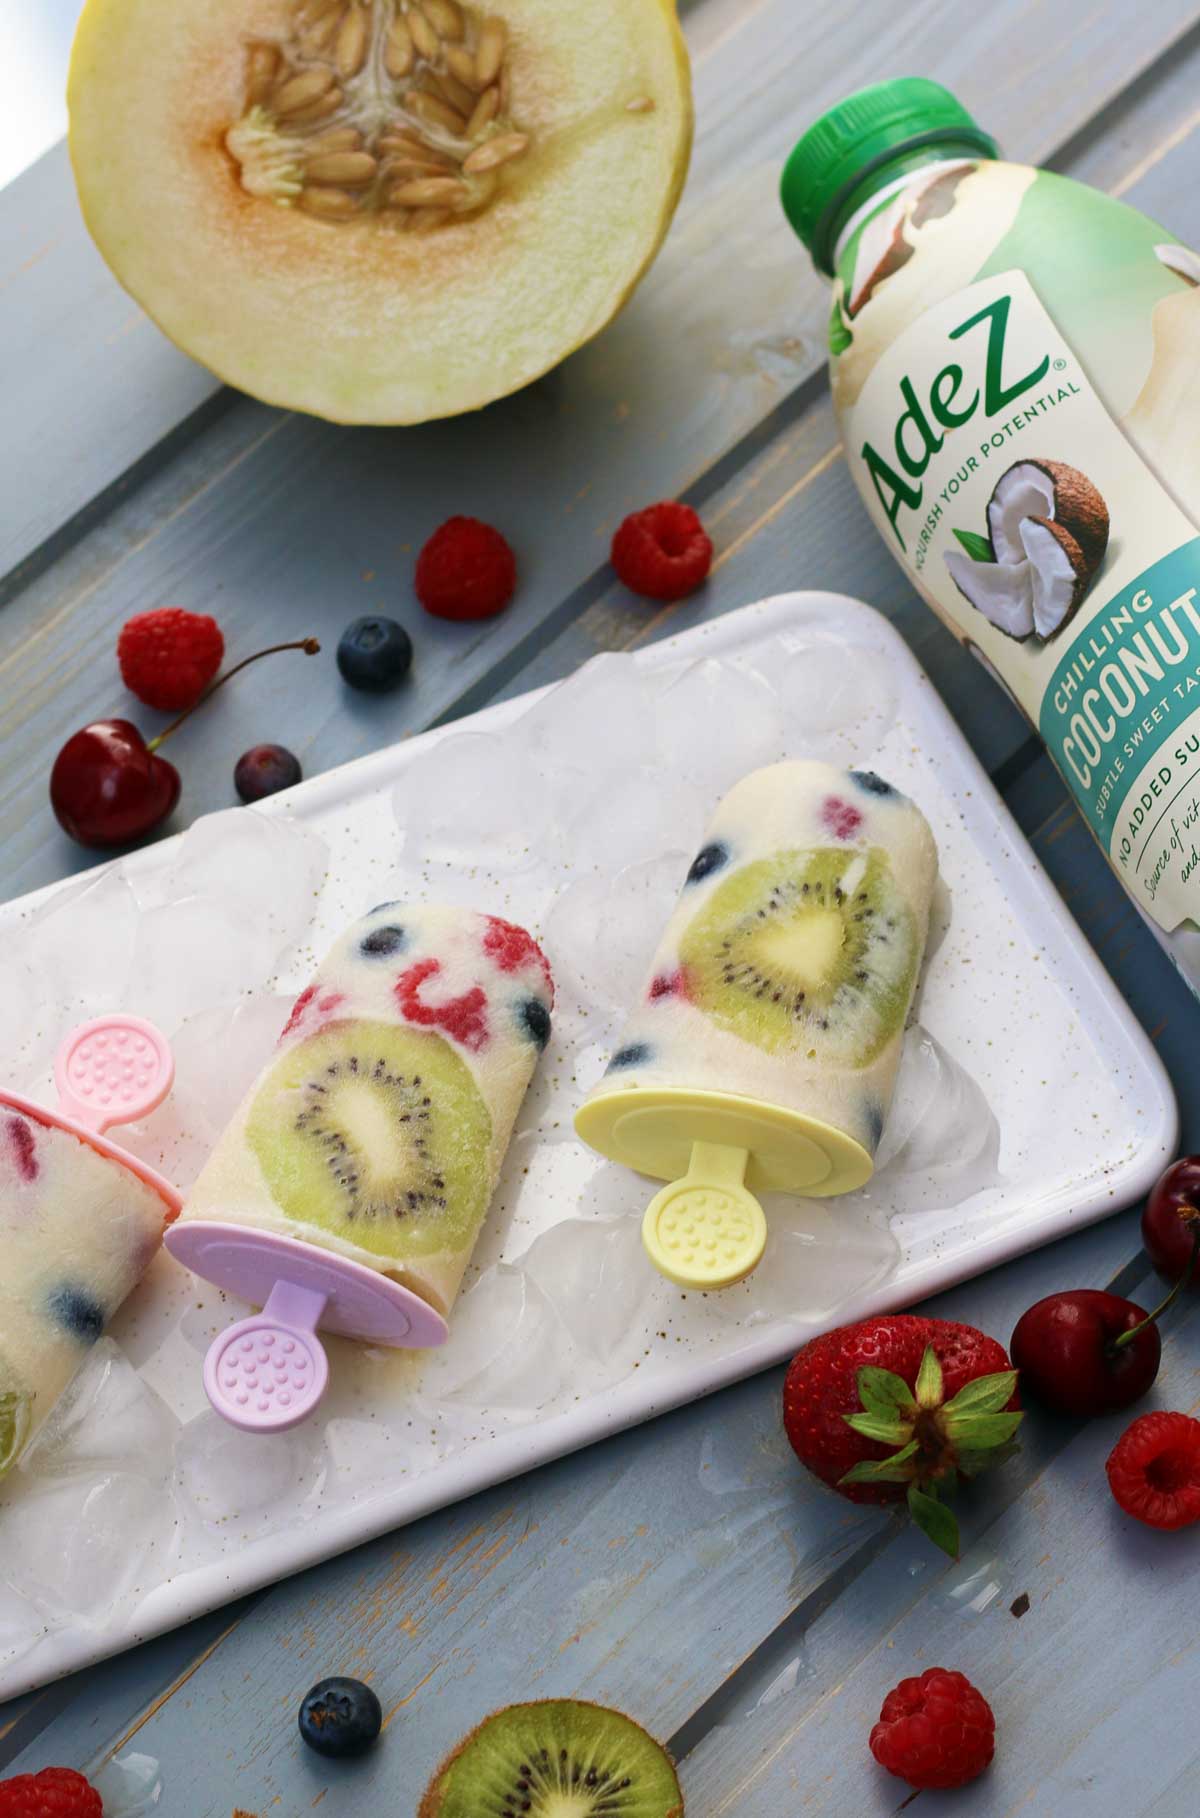
I preferred to enjoy the fruits sliced, not blended, because they were very sweet and it was like biting on candy! Sliced fruit also does the visual work: pressing thin slices of kiwi and strawberry against the walls of the mold gives you those bright, stained-glass popsicles you see in the photos. Push the fruit right up to the sides before pouring in the milk so it shows through the frozen surface.
There is also a texture choice at play. I prefer the sorbet texture for ice cream, so that is the lighter version I filmed, but if you like a creamier texture, the canned-coconut version has you covered. Neither is more correct than the other, so pick the one that matches the treat you’re craving that day.
Assembling and freezing them right
Assembly is simple: mix together everything except the fruit, drop your fruit slices into the molds, then pour the milky mix over the top. Insert the sticks and freeze until solid. A few small habits make the difference between neat pops and messy ones. Leave a little headspace at the top of each mold, because the liquid expands as it freezes and will overflow if filled to the brim.
If your molds don’t hold the sticks upright on their own, freeze the pops for about an hour first, until the mix is slushy enough to grip a stick, then insert them straight and finish freezing. Give them plenty of time to set fully, ideally overnight, so the centers freeze solid and the pops release cleanly. To unmold, run the outside of the mold under warm (not hot) tap water for a few seconds and pull the stick gently, rather than yanking it while the pop is still fused to the plastic.
Storing, making ahead, and what to serve alongside
These are a perfect make-ahead dessert. Once fully frozen, pop them out of the molds and store them in an airtight container or freezer bag, with a small piece of parchment between them so they don’t stick together. They keep their flavor best within about two weeks; after that they stay safe but can pick up freezer smells and lose a little of that fresh-fruit brightness. If you make them for a party, unmold everything in advance and keep them stacked in the freezer until you’re ready to hand them out.
Because they are so light and fruity, they round off almost any Summer meal. I like to serve them after something richer from the blog, like a batch of vegan whole grain cookies or a tray of gluten-free vegan brownies, so there’s a warm-and-cold contrast on the dessert table. If you want to keep the whole spread no-bake and coconut-forward, they sit beautifully next to these raw vegan coconut bonbons.
If you try these, I’d love to know which version won you over, the light sorbet one or the creamy canned-coconut one, and which fruits you froze inside. Leave a rating and a comment below with your combo. And in case you’d like me to try that vegan custard or pannacotta with the same coconut milk, tell me in the comments and I’ll put it on my list.
Vegan Popsicles | Under 3 ingredients / 5 minutes prep time!
Ingredients
For the 'sorbet' version:
- 500 ml coconut milk Adez Coconut ‘Milk’, or any other plant milk you prefer
- healthy sweetener of choice to taste (maple syrup, coconut sugar, or coconut syrup – anything you like)
- lots of fruits kiwi slices, strawberry slices, blueberries, raspberries, and any other fruit you like
For the 'creamy' version:
- 300 ml coconut milk Adez Coconut ‘Milk’, or any other plant milk you prefer
- 200 ml full-fat coconut milk the canned type – use only the thick, creamy part
- healthy sweetener of choice to taste
- lots of fruits
Instructions
- For both versions, mix together all the ingredients except the fruits.
- Add the fruit slices to the popsicle molds, then pour the coconut milk mixture over them.
- Insert the popsicle sticks and place in the freezer until fully frozen.
Notes
Frequently Asked Questions
Yes. The base is plant milk, here coconut milk, plus fruit and a sweetener, with no dairy at all. For a fully vegan version, use a plant-based sweetener like maple syrup, coconut sugar, or coconut syrup instead of honey.
Any plant milk you enjoy will work. Coconut drinking milk gives a light, sorbet-like pop, while adding the thick creamy part from a can of full-fat coconut milk makes them creamier and more like ice cream. Use roughly 300 ml drinking coconut milk plus 200 ml canned coconut cream for the richer version.
Sliced fruit is my favorite here because ripe fruit tastes almost like candy and thin slices pressed against the mold walls create that stained-glass look. Blending is fine if you prefer a smooth, uniform pop, but you lose the fruit chunks and the see-through effect.
Hands-on prep is about five minutes, but they need several hours in the freezer to set fully, ideally overnight. Freezing them completely solid helps them release cleanly from the molds and hold their shape.
Run the outside of the mold under warm, not hot, tap water for a few seconds, then pull the stick gently and steadily. Yanking a stick while the pop is still fused to the plastic is what usually snaps them.
Store them unmolded in an airtight container or freezer bag with parchment between them so they don’t stick. They taste best within about two weeks; after that they stay safe to eat but can absorb freezer odors and lose some fresh-fruit flavor.


Wow, these are so easy to make and perfect for summer. My kids loved them so much! 🙂
Thank you!