Apple Hand Pies
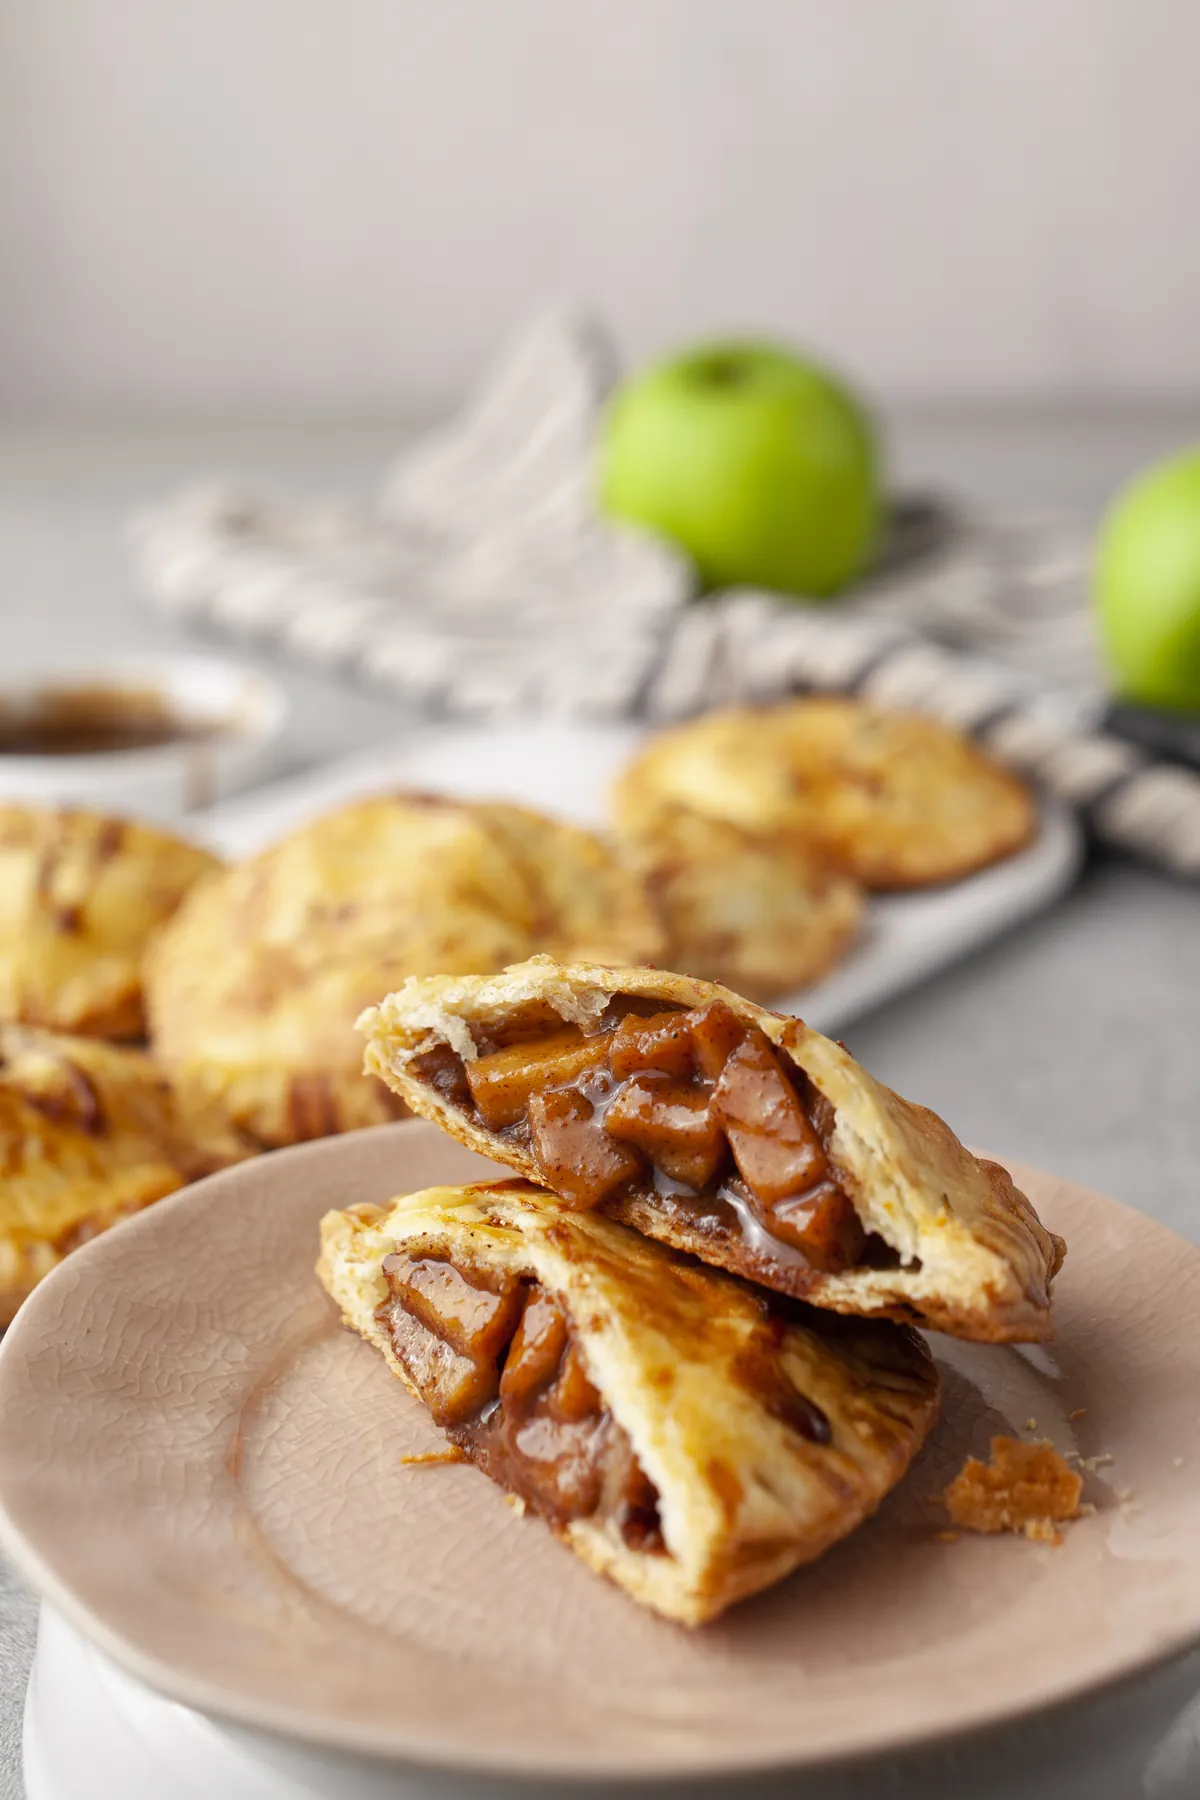
These apple hand pies tuck a spiced cinnamon apple filling inside flaky, buttery pastry, then bake into golden individual pies you can eat straight from your hand. The diced apples cook down with butter, orange zest, sugar, and warm spices until they start to caramelize, so every bite tastes like the inside of a classic apple pie.
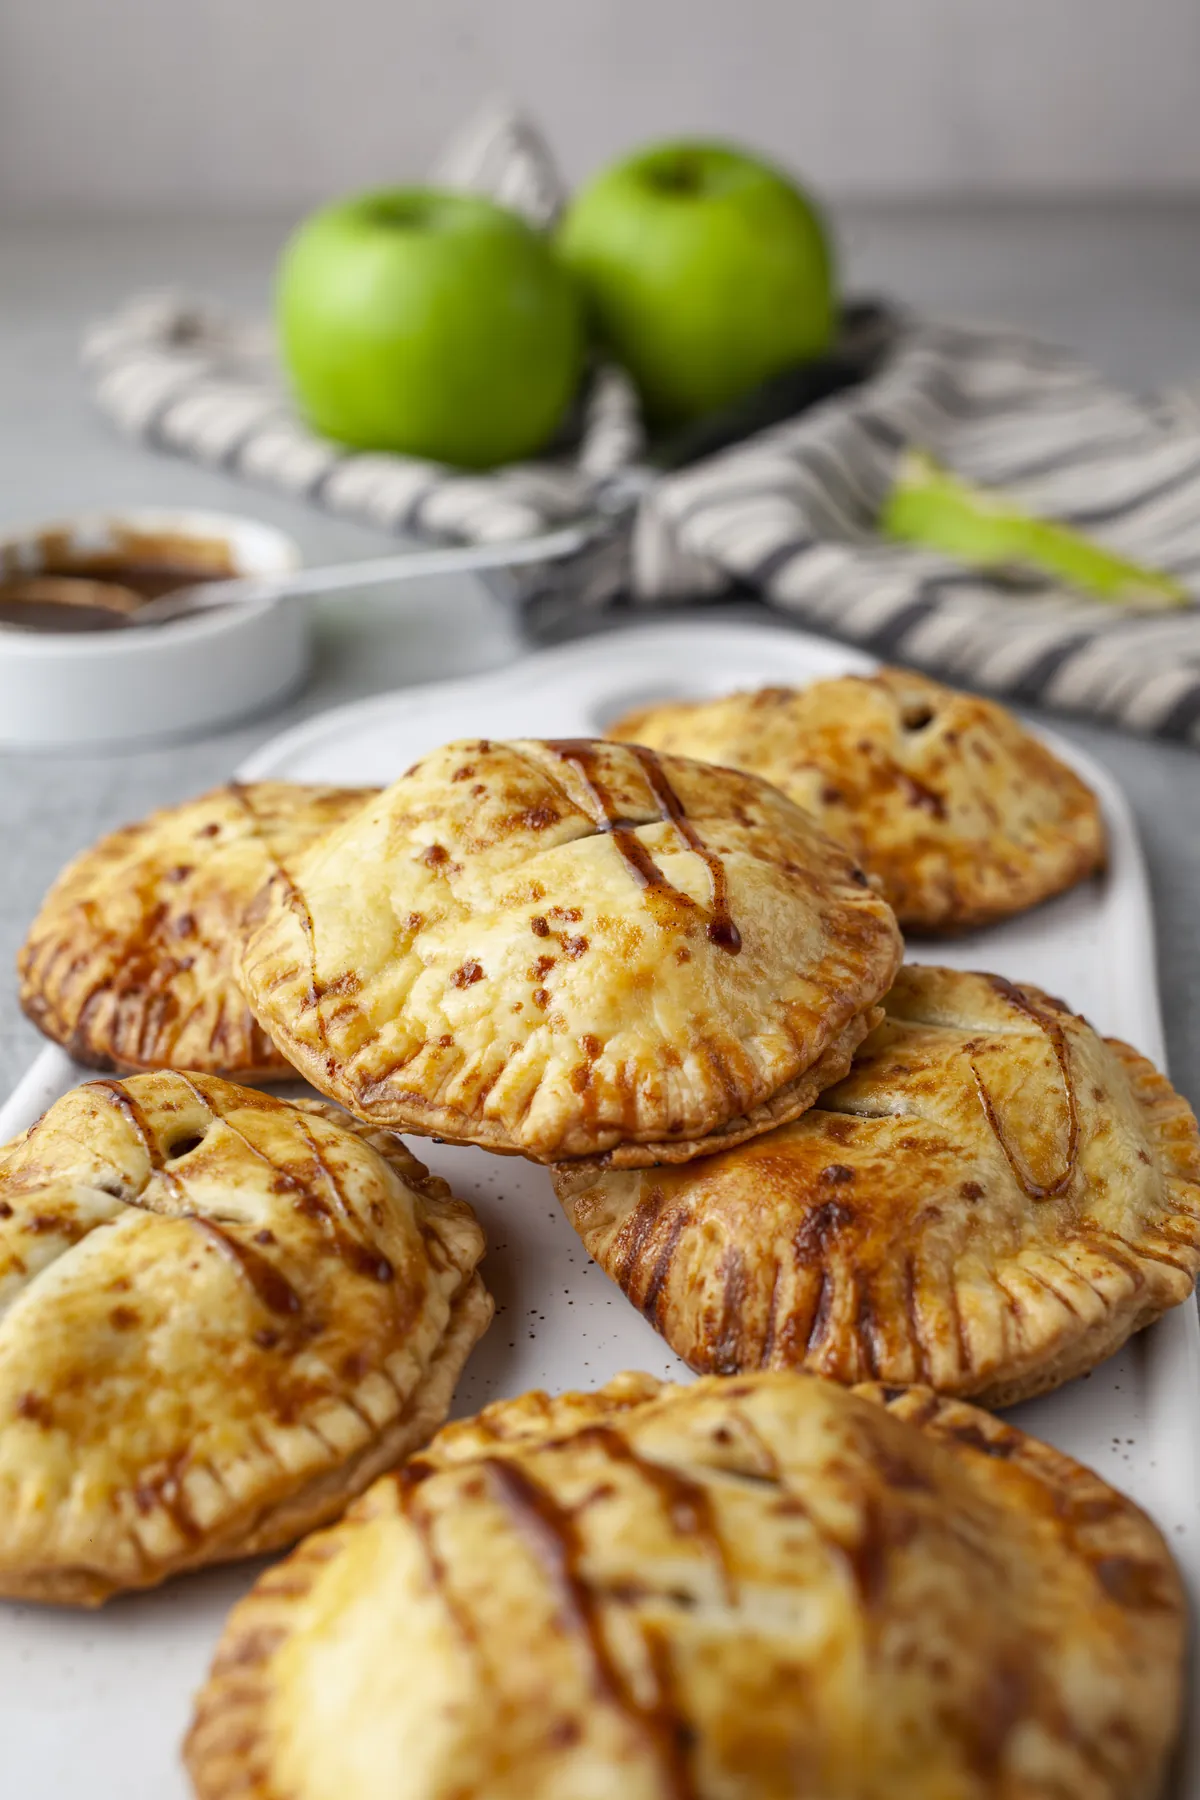
Hand pies are my answer to loving pie but hating the moment you have to slice and serve it without wrecking it. These come already portioned, travel well, and have the best crust-to-filling ratio of any pie: every single bite has edge. I bake one tray and freeze the rest unbaked, so I can put two in the oven on a whim. Cut the little vents on top, though, or they burst and leak filling all over the tray; ask me how I know.
Why Hand Pies Instead of One Big Pie
- Already portioned. No slicing, no collapsing wedges, no pie server. Everyone just grabs one.
- More crust in every bite. The crimped edge runs all the way around, so the flaky part never runs out.
- They travel. Lunchboxes, picnics, a school bake sale: they hold up at room temperature for a day or two.
- No special pan. A glass or round cutter, a baking sheet and a fork are all you need.
- Freezer-friendly. Freeze them unbaked and bake a couple whenever the craving hits.
The Filling: Firm Apples and a Quick Caramelize
Apples. Pick a firm baking apple that stays in cubes: Granny Smith (what I use), Braeburn or Honeycrisp. Soft, mealy eating apples collapse into applesauce and make the pastry soggy. Cut the cubes small, about 1/2 inch (1 cm), so they fit a mini pie and soften quickly.
Why the filling is cooked first. The apples spend only a few minutes in the pan with butter, sugar and spices, just until the juices turn syrupy and start to caramelize. That short cook drives off water that would otherwise steam the pastry from the inside. Let it cool completely, because warm filling melts the butter in the dough.
Orange zest and warm spices. Cinnamon, nutmeg and allspice are the classic apple pie trio. The teaspoon of orange zest is my small twist: you will not taste orange, just a brighter apple.
Cold butter. The flaky layers come from little pieces of butter that stay solid until they hit the hot oven. Keep it cold and cubed, and do not overwork the dough.
How to Shape Hand Pies That Don’t Leak
- Work with cold dough. This pastry softens fast. Roll out half at a time and keep the rest in the fridge; if the circles stretch when you lift them, chill them for 10 minutes.
- Roll it thin, about 1/8 inch (3 mm). Thicker, and the edges stay doughy. Reroll the scraps once to get 20 to 24 circles.
- Do not overfill. About 2 tablespoons per pie, mounded in the center with a clean border. Filling on the rim stops the edges from sealing.
- Seal, then crimp. Brush the rim with a little egg wash, press the top circle on, then crimp all the way around with a fork.
- Cut the vents. Two small slits on top let the steam out. Skip them and the seams split open in the oven.
Make Ahead, Freeze and Reheat
- Dough: keeps in the fridge for up to 2 days, wrapped well.
- Filling: cook it a day ahead and keep it covered in the fridge.
- Baked pies: store airtight at room temperature for up to 2 days or in the fridge for up to 4. Warm them for 5 to 8 minutes at 350°F (175°C) to crisp the crust again; the microwave makes it soft.
- Unbaked pies: freeze on the tray until solid, then bag them for up to 2 months. Brush with egg wash and bake straight from frozen, adding 5 to 10 minutes.
- Baked, then frozen: up to 2 months; reheat from frozen in the oven until hot in the middle.
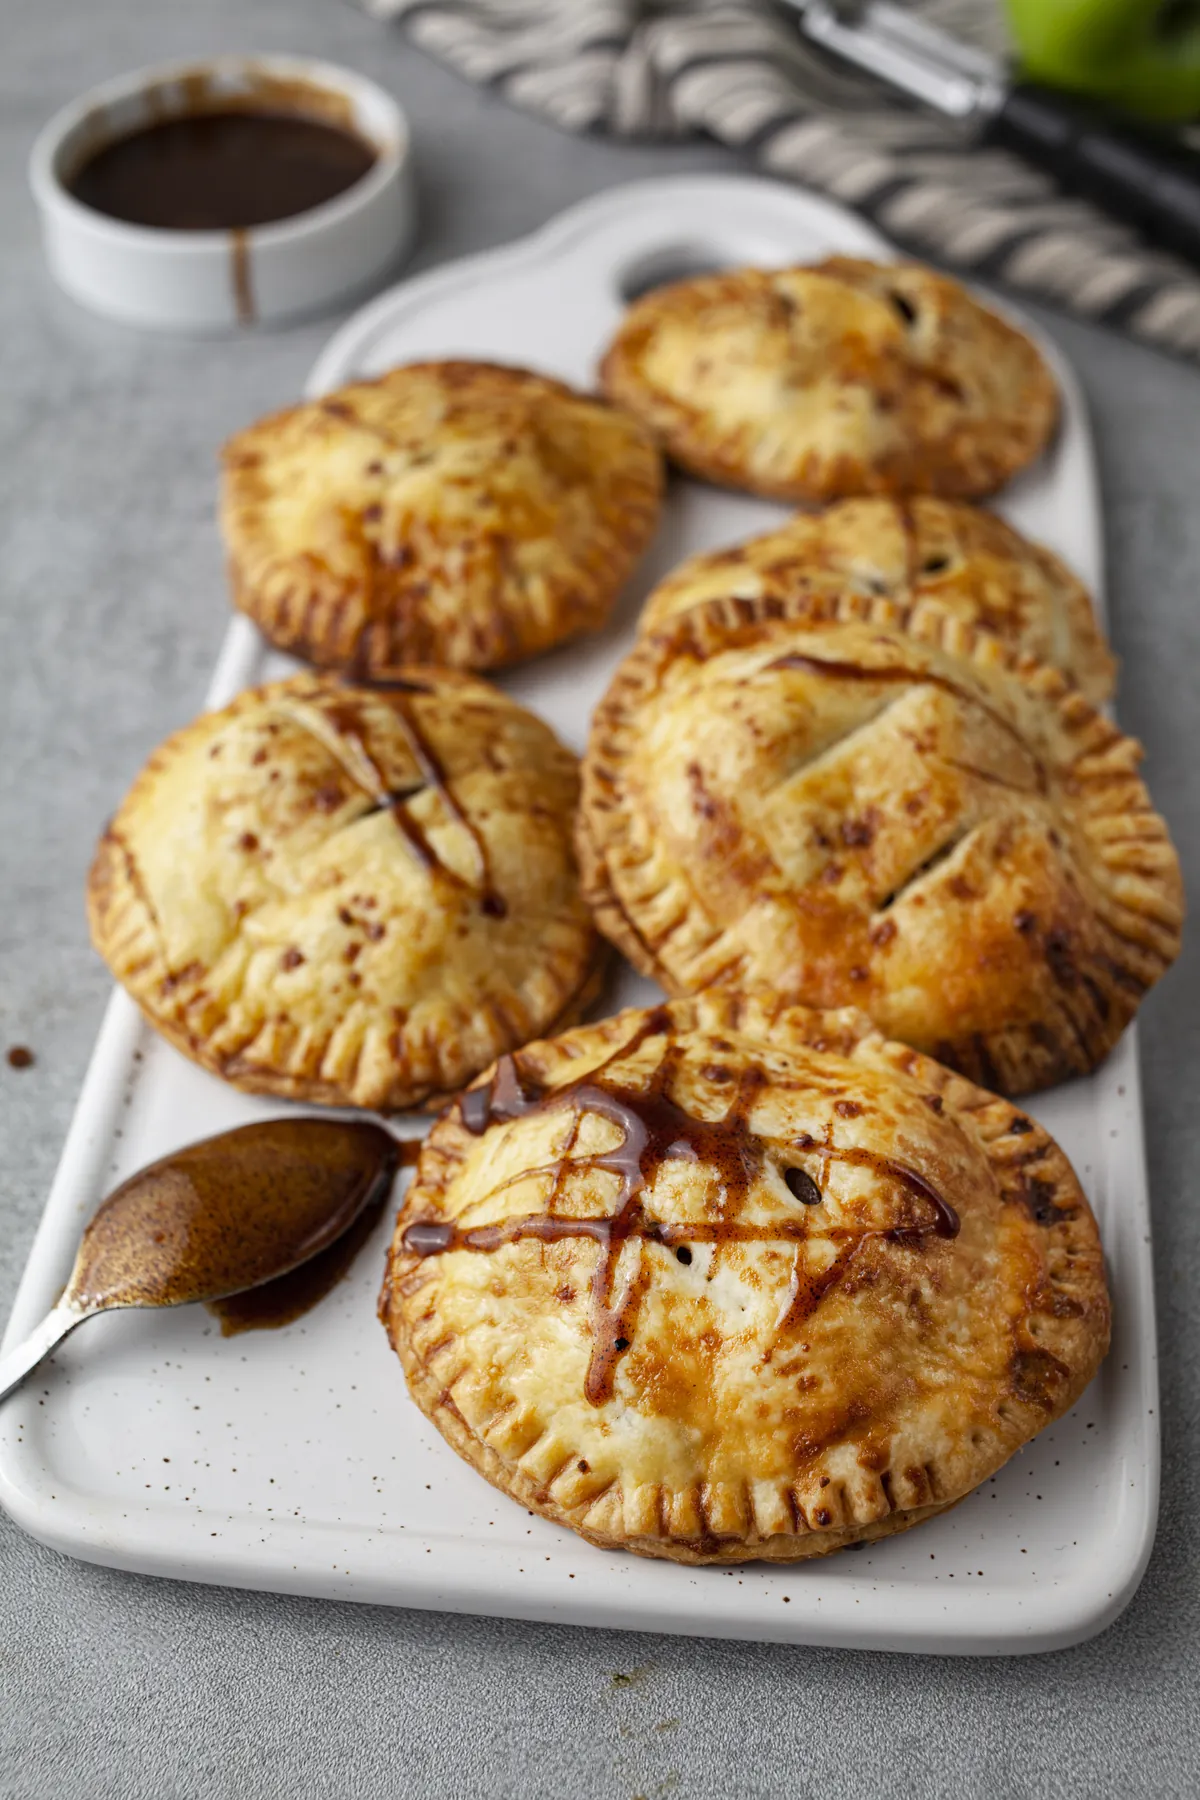
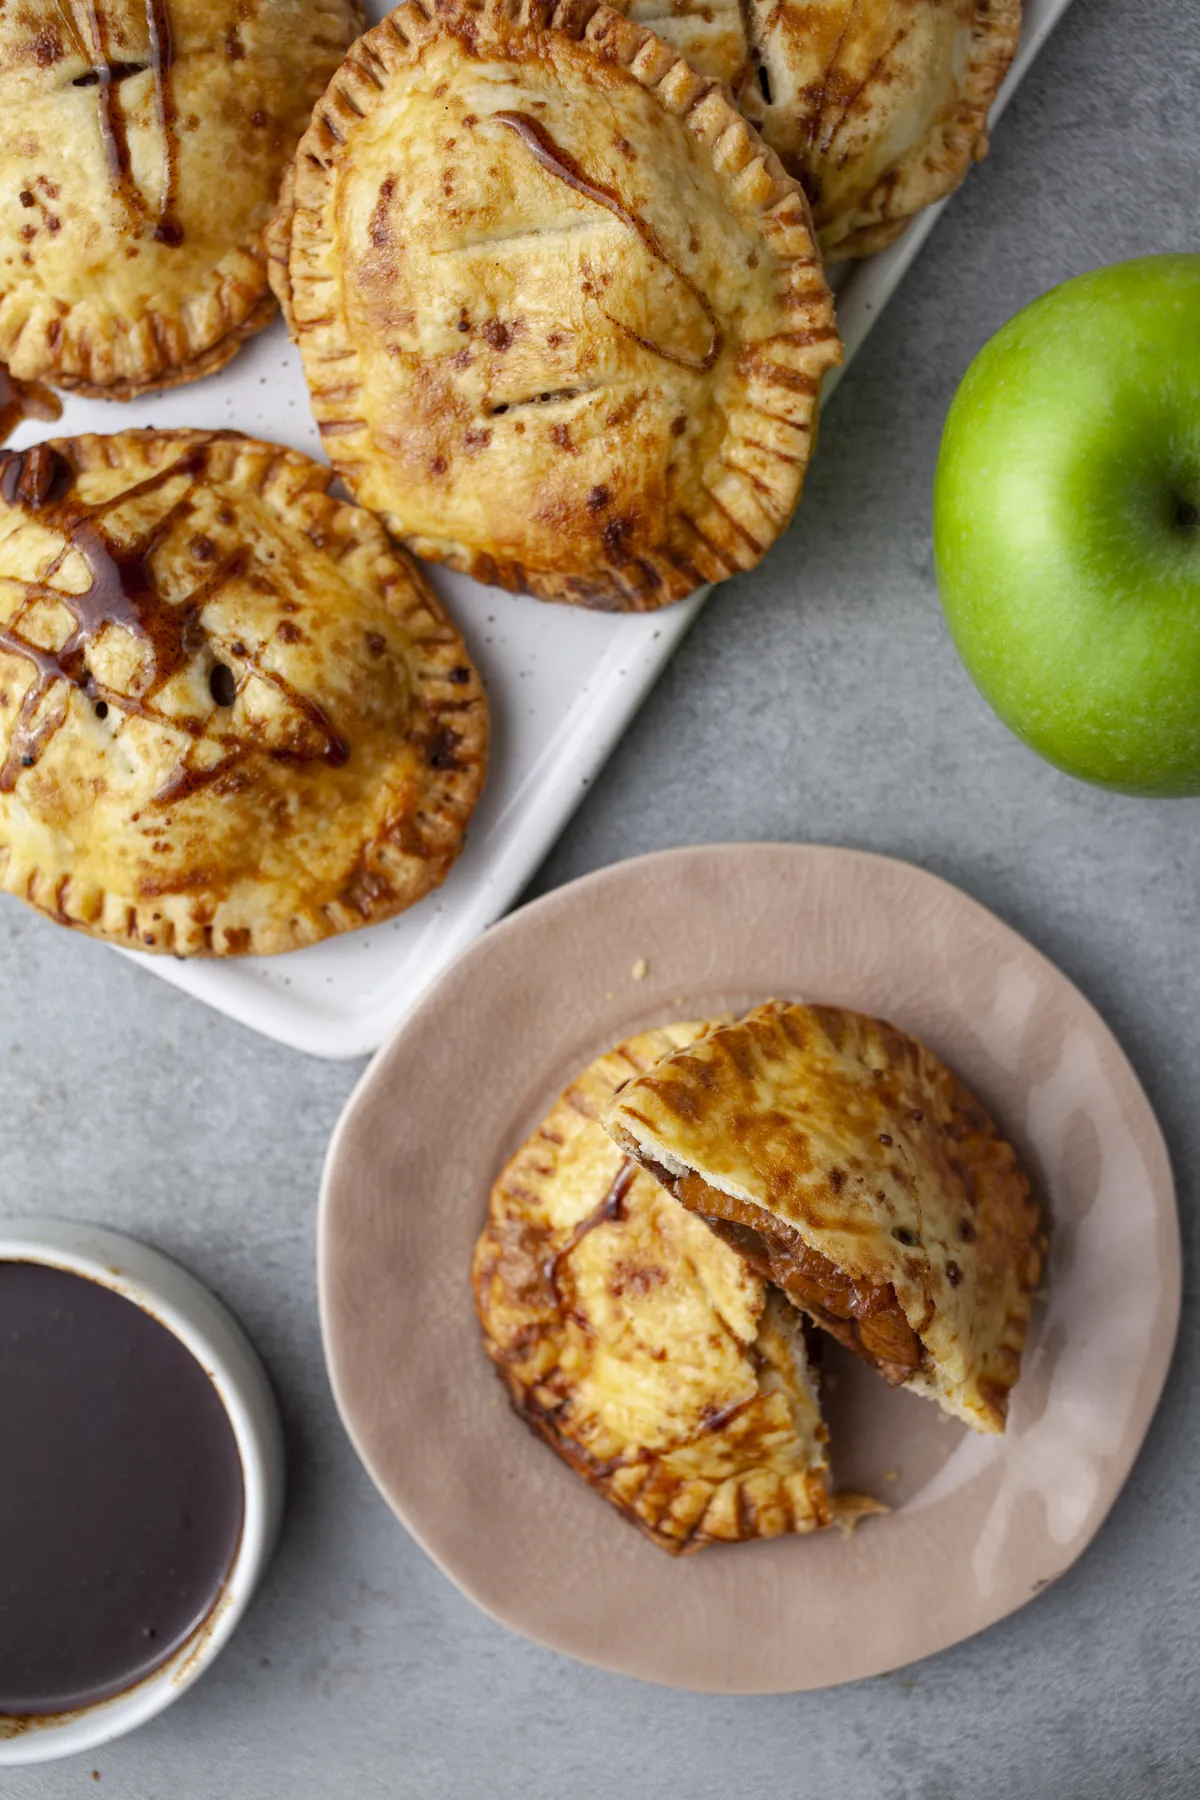
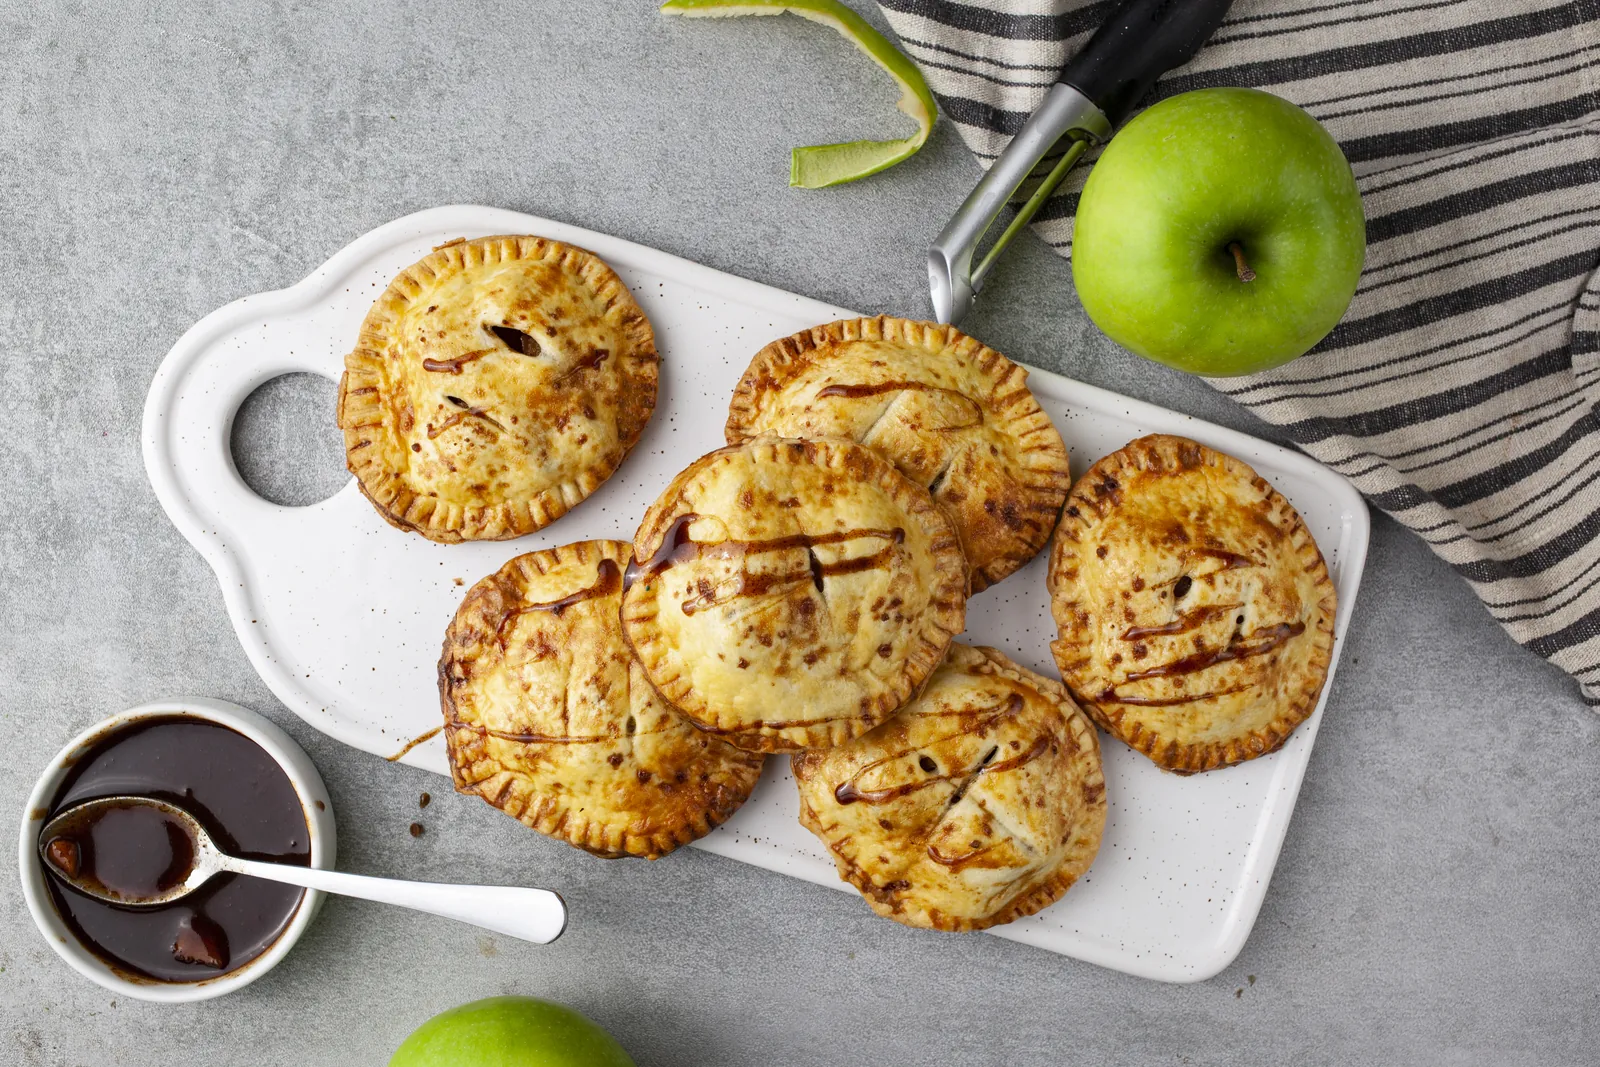
Serve them warm with a thin drizzle of caramel sauce, like in the photos, or just dust them with powdered sugar. A scoop of vanilla ice cream next to a warm one is never a bad idea.
If you love baking with apples, try our vegan apple pie, a comforting easy apple crisp, or our flaky vegan apple strudel.
Summarise & Save This Recipe
★ Add us as a trusted Google source
Apple Hand Pies
Equipment
- Food processor
- Rolling Pin
- Round cutter or glass
- Baking sheets
- Parchment paper
- Pastry brush
Ingredients
For the dough
- 2 ½ cups all-purpose flour 315 g
- 1 tsp salt fine
- ⅞ cup butter 1 3/4 sticks or 200 g, cold and cubed
- ½ cup water cold
For the filling
- 3 apples firm baking apples, peeled and cut into small cubes
- 1 tsp orange zest finely grated
- ⅓ cup sugar
- 2 tbsp butter
- 1 tsp cinnamon ground
- ¼ tsp nutmeg ground
- ¼ tsp allspice ground
For the egg wash
- 1 egg
- 2 tbsp milk
For topping
- 1 tbsp sugar for sprinkling
- caramel sauce for drizzling, optional
Instructions
- Add the flour, salt and cold cubed butter to a food processor. Pulse until the mixture looks like small crumbs. Add the cold water and pulse in short bursts just until the dough comes together.
- Turn the dough out onto a floured surface, shape it into a ball, wrap it in plastic wrap and chill for 2 to 3 hours.
- Meanwhile, make the filling. In a pan over medium heat, add the apples, orange zest, sugar, butter, cinnamon, nutmeg and allspice. Cook, stirring, until the butter melts, then 2 to 3 minutes more, until the juices turn syrupy and start to caramelize.
- Transfer the filling to a bowl and let it cool completely, 20 to 30 minutes.
- Heat the oven to 400°F (200°C) and line two baking sheets with parchment paper.
- Roll out the chilled dough on a floured surface to about 1/8 inch (3 mm) thick. Using a glass or round cutter, cut circles about 3 inches (8 cm) across. Reroll the scraps once; you need 20 to 24 circles.
- Place half the circles on the baking sheets. Spoon about 2 tablespoons of filling into the center of each, leaving a clean border. Brush the border with a little egg wash, top with the remaining circles and seal the edges by pressing with a fork.
- Cut two small slits in the top of each pie. Brush with egg wash and sprinkle with a little sugar.
- Bake for about 30 minutes, until golden brown. Let cool for 10 minutes (the filling is very hot), then drizzle with caramel sauce and serve.
Notes
Apple Hand Pie Questions
Firm baking apples that hold their shape, such as Granny Smith, Braeburn or Honeycrisp. They stay slightly tart and keep their cubes, so the filling is chunky and the pies are not overly sweet. Avoid soft, mealy apples, which turn to mush.
Yes. Make the dough up to 2 days ahead and the filling a day ahead, and keep both in the fridge. You can also shape the pies and freeze them unbaked, or bake them and keep them airtight for up to 2 days, then warm them in the oven before serving.
Do not overfill, and leave a clean border around the edge. Brush the rim lightly with egg wash, press the edges together, then crimp firmly with a fork. Cut two small vents in the top so steam escapes instead of bursting the seal.
Yes. Shallow fry the sealed pies in a little oil over medium heat until golden on both sides, instead of baking them. Baking is easier and less messy, but frying gives an extra crisp, doughnut-like crust.
Yes, baked or unbaked, for up to 2 months. Freeze them in a single layer on a tray, then move them to a bag or container. Bake unbaked pies straight from frozen, adding 5 to 10 minutes, and reheat baked ones from frozen in a hot oven until warmed through.
Yes. Rub the cold cubed butter into the flour and salt with your fingertips until it looks like coarse crumbs, then add the cold water a little at a time and bring it together into a dough. Chill it well before rolling.