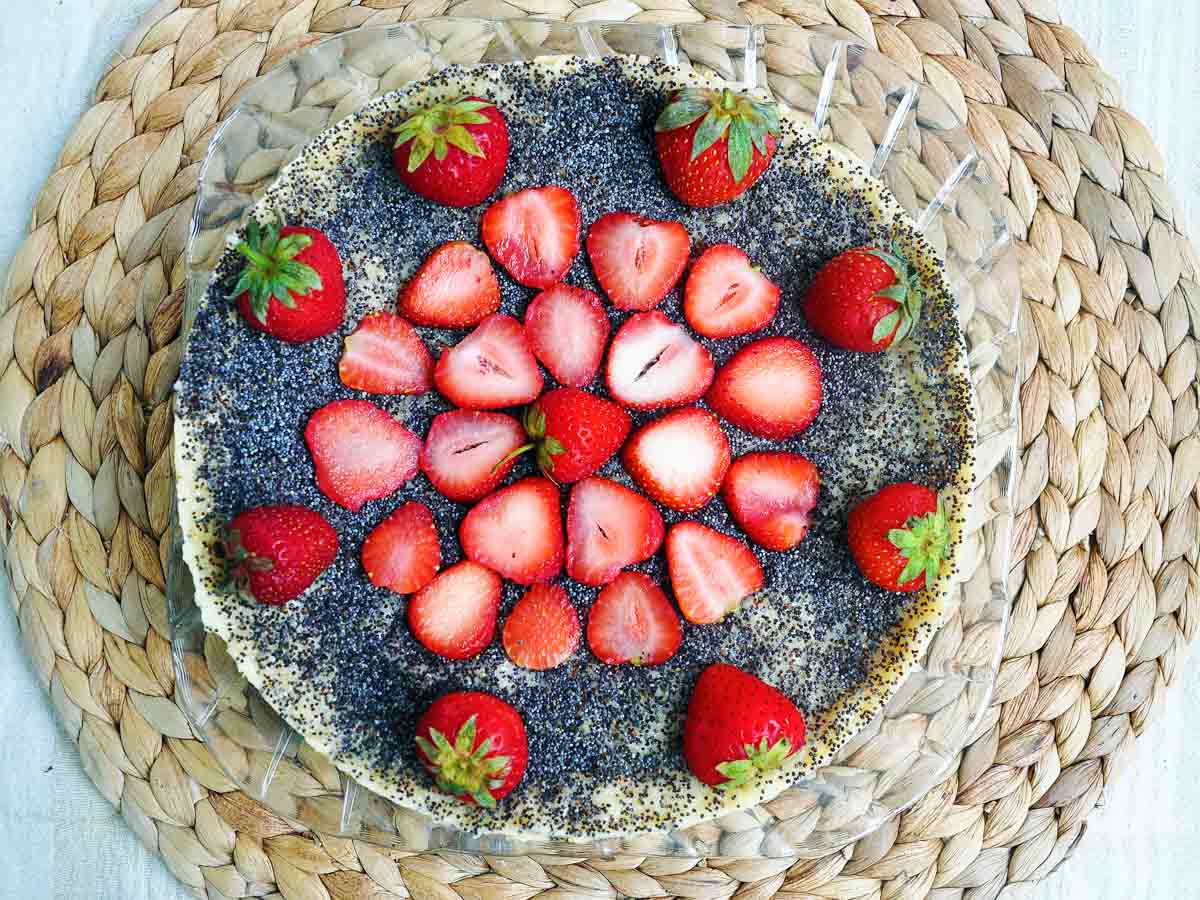
No-Bake Poppy Seed Cheesecake with Strawberries
This no-bake vegan poppy seed cheesecake with strawberries is a delicious, healthy and quick Summer dessert — no oven, no dairy, no eggs.
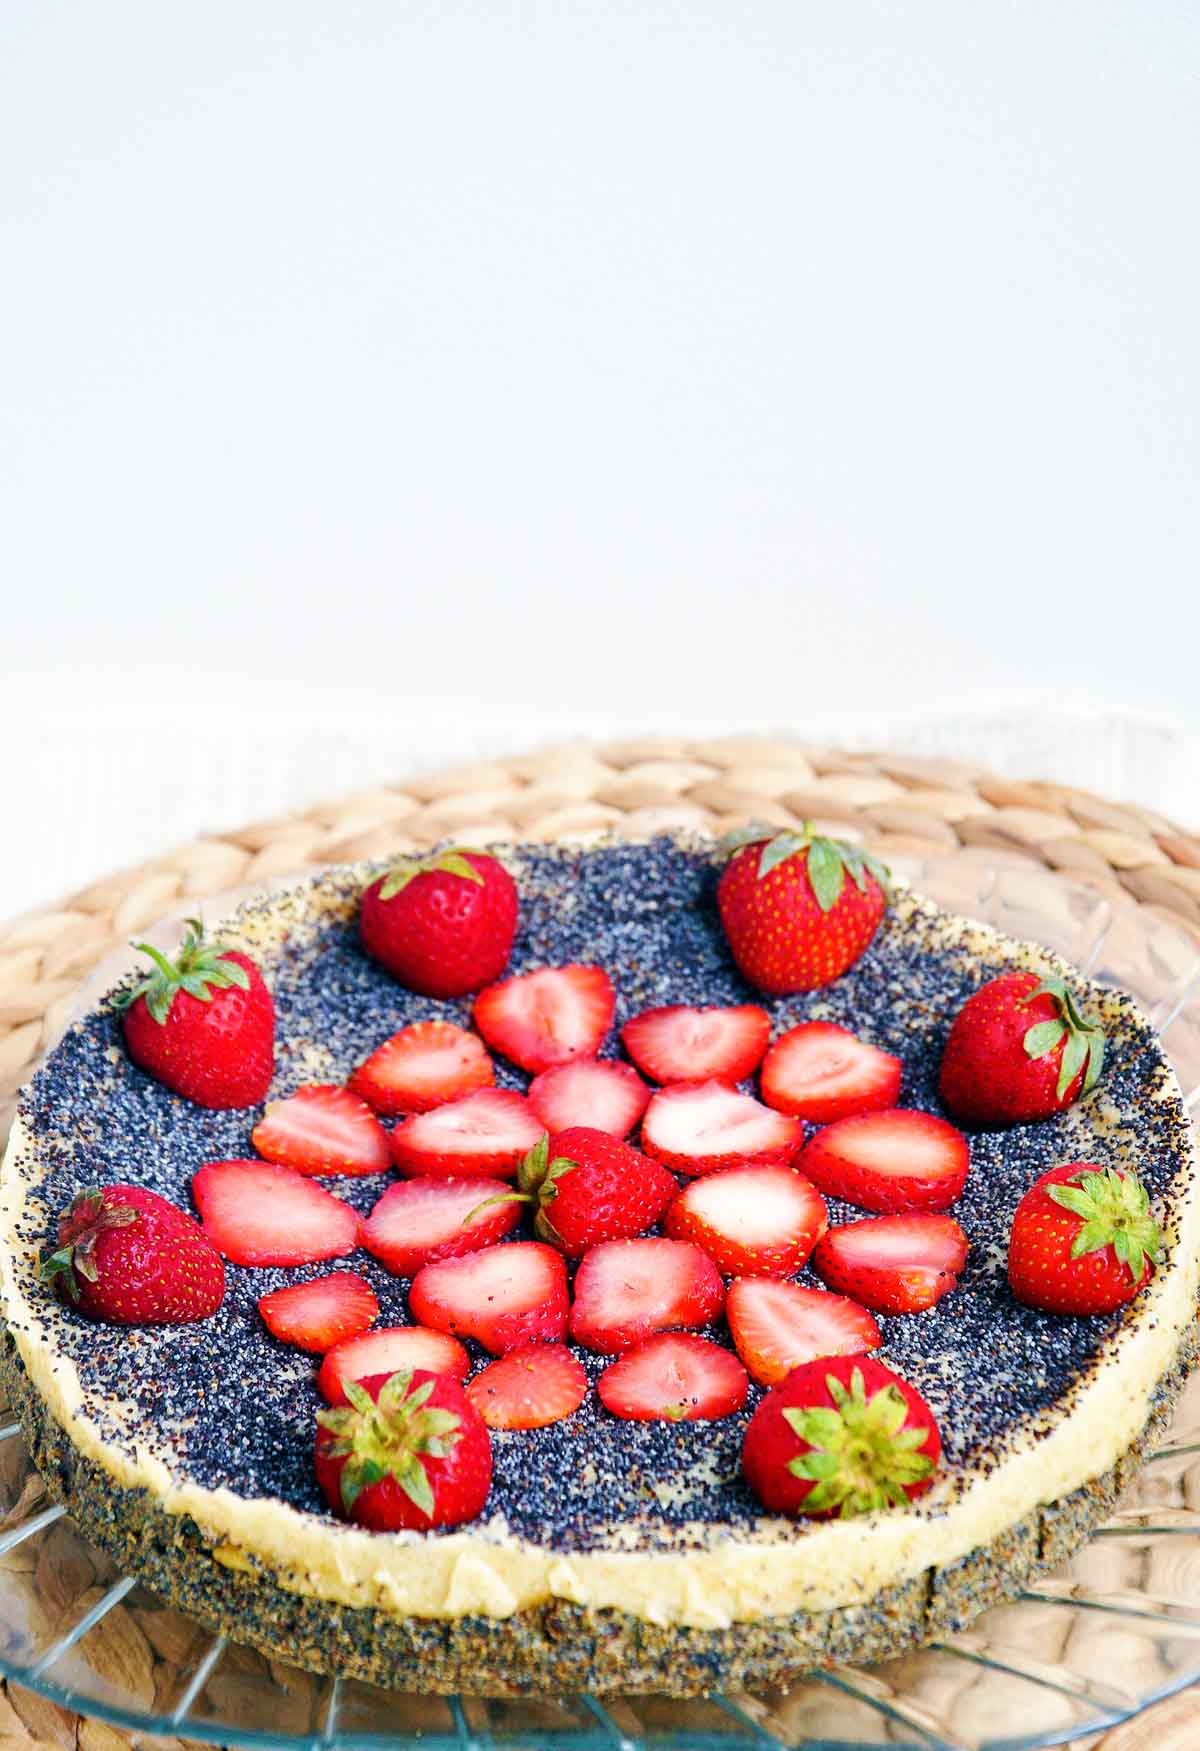
This is a creamy, dairy-free poppy seed cheesecake you set in the fridge instead of baking. The base is a soft date-and-coconut-flour crust, the filling is a thickened vanilla soy “cheese” cream studded with poppy seeds, and the top is fresh strawberries. It comes together in one blender plus a quick stir on the stove, which makes it an easy dessert for warm days when you don’t want to turn on the oven.
The story behind this cheesecake
I wanted to make a no-bake vegan cheesecake since Easter! That’s when I first made the traditional Romanian “pasca” dessert, veganized of course, and I loved the “cheese” cream so much that I wanted to share it with you too. Unfortunately, I didn’t have time to photograph the recipe then. This vegan poppy seed cheesecake doesn’t resemble the traditional pasca recipe, but I used the same vanilla “cheese” cream and added a few extra ingredients to turn it into a proper cheesecake.
I was also invited to take part in a campaign meant to emphasize the great benefits coconut flour has to offer, so I used coconut flour in the crust here, and it was just perfect.
What goes into it
The ingredient list is short and every part earns its place. A few notes before you start:
- Dates — soak them for about 10 minutes first so they blend into a smooth, sticky paste that holds the crust together without any added syrup.
- Coconut flour — it goes into the crust and is very thirsty, so it absorbs moisture from the dates and gives the base structure. A little goes a long way.
- Poppy seeds — you use them in two places, some blended into the cream and more on top for decoration, so they give both flavor and that classic speckled look.
- Soy yogurt and soy milk — the vanilla soy yogurt is the tangy “cheese” base, and the soy milk loosens the cream so it cooks evenly.
- Tapioca flour — this is the setting agent. Cooked with the cream, it thickens everything into a sliceable filling once chilled.
- Stevia, lemon juice and vanilla — stevia sweetens to taste, the lemon juice brightens and adds that cheesecake tang, and vanilla rounds it all out.
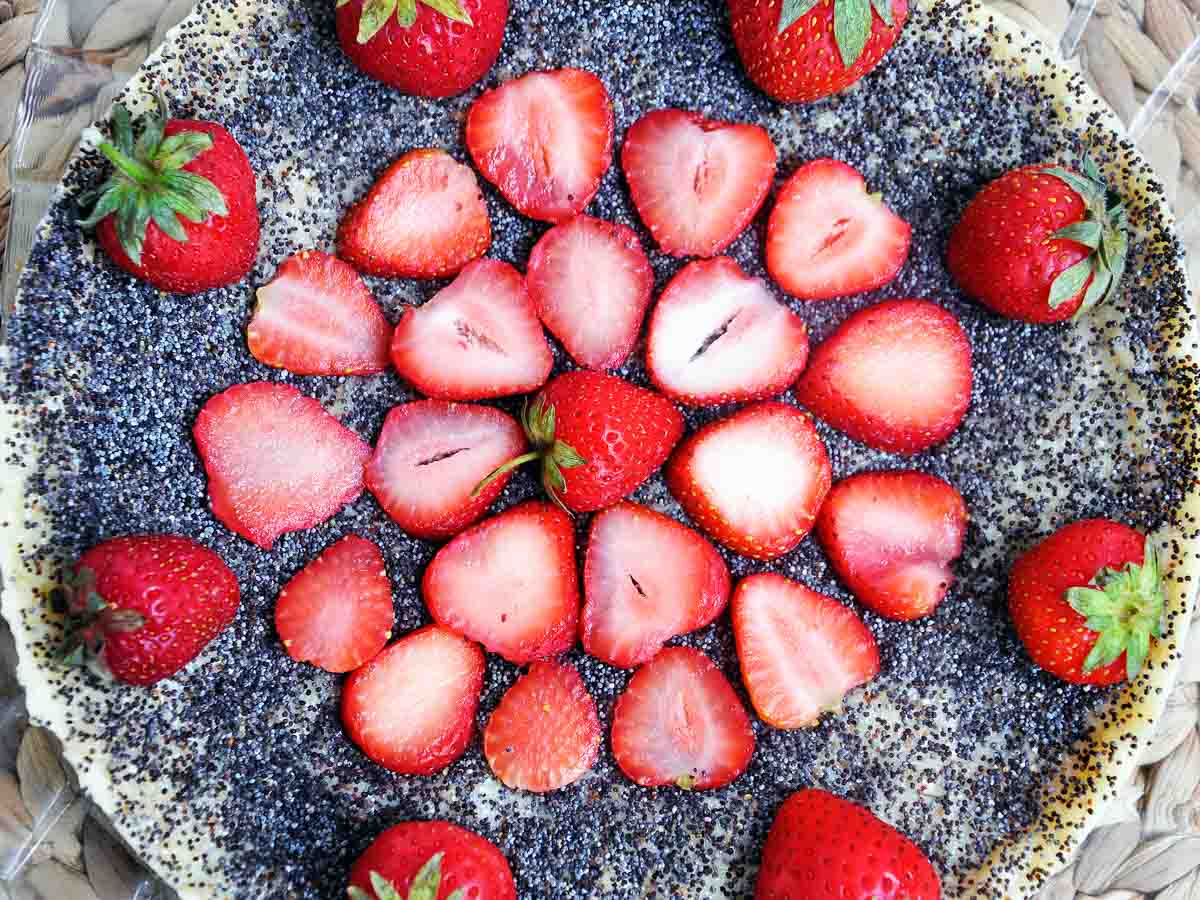
- Strawberries — sliced over the top for a fresh, juicy finish.

Why the stovetop step matters
This cheesecake is “no-bake,” but it isn’t entirely raw. The filling gets a short cook on the stove, and that step is what makes it set. Tapioca flour only thickens once it’s heated, so blending the cream and pouring it cold would leave you with a loose, runny layer. Stirring continuously over medium heat for about ten minutes hydrates and activates the tapioca, and as it cools and chills it firms into a clean, sliceable filling.
Keep stirring the whole time so the bottom doesn’t catch and the cream stays smooth. You’ll feel it go from watery to thick and glossy, that’s your cue it’s ready to come off the heat.
Tips for getting it right
- Use a springform tin. A cake tin with detachable walls is the only way to release a no-bake cheesecake cleanly. Line the bottom with plastic wrap first.
- Press the crust firmly and evenly. A compact, level base gives you neat slices and stops the crust from crumbling.
- Don’t rush the cream. Take it off the heat only once it has visibly thickened. Underdone cream won’t set properly in the fridge.
- Chill fully before decorating. Give it the full hour (the freezer speeds this up) so the filling is firm before you add poppy seeds and strawberries on top.
- Sweeten to taste. Stevia varies in strength between brands, so taste the cream before cooking and adjust.
Storing and making it ahead
This is a great make-ahead dessert. Keep it covered in the fridge and slice it as you go; it holds well for a few days, though it’s best to add the fresh strawberries closer to serving so they stay juicy and bright. If you want to get ahead even further, the chilled cheesecake firms up nicely in the freezer, just let it sit at room temperature for a few minutes before slicing.
If no-bake desserts are your kind of thing, you’ll find plenty more in my collection of vegan no-bake desserts. For more fridge-and-freezer ideas, the plum crisp with blackberry sorbet is a lovely summer option, and when you do feel like reaching for the oven, this peanut butter cake is a reader favorite. For a raw take on a celebration cake, try the raw vegan chocolate and raspberry birthday cake.
If you make this poppy seed cheesecake, I’d love to know how the cream set for you and which berries you topped it with. Leave a star rating and a comment below with your tweaks, it always makes my day to read them.
Summarise & Save This Recipe
★ Add us as a trusted Google source
No Bake Vegan Poppy Seed Cheesecake with Strawberries
Ingredients
Crust:
- 200 g dates previously soaked for 10 minutes
- 4 Tbsps poppy seeds
- ½ cup coconut flour
Cream:
- 500 g soy yogurt vanilla flavored (I used 4x125g yogurts)
- 4 Tbsps stevia powder – or any other healthy sweetener of choice, to taste
- 5 Tbsps tapioca flour
- 250 ml soy milk
- 1 Tbsp lemon juice
- 1 tsp vanilla extract
Toppings:
- 15 strawberries
- 4 Tbsps poppy seeds
Instructions
- Cover the bottom of a cake tin with plastic wrap. Use cake tins with detachable walls only.
- Add crust ingredients in your blender. Blend them until you get a smooth paste.
- Pour the paste into the cake tin and start spreading it evenly.
- Clean your blender and add all cream ingredients in it. Blend for 20 seconds.
- Pour the composition into a large, non-stick saucepan and place it on the stove over medium heat.
- Start stirring continuously until the cream thickens – about 10 minutes or so.
- Remove from heat.
- Pour the cream into the cake tin.
- Place in fridge or freezer for 1 hour.
- Decorate with poppy seeds and sliced strawberries and serve.
Notes
Frequently Asked Questions
Yes. It is fully plant-based, with no dairy, eggs or honey. The creamy filling comes from vanilla soy yogurt and soy milk thickened with tapioca flour, and the crust is made from dates and coconut flour.
The filling is set with tapioca flour, which only thickens once it is heated. A short stir over medium heat activates the tapioca so the cream firms into a sliceable layer as it chills. Pouring it cold would leave the filling runny.
Yes, it is an excellent make-ahead dessert. Keep it covered in the fridge for a few days, or firm it up in the freezer. Add the fresh strawberries closer to serving so they stay juicy and bright.
Any healthy sweetener of your choice works, used to taste. Sweeteners vary in strength, so taste the cream before cooking and adjust until it is sweet enough for you.
Use a cake tin with detachable walls (a springform). It is the only way to release a no-bake cheesecake cleanly. Line the bottom with plastic wrap before adding the crust.
Stir the cream continuously over medium heat for about ten minutes. It is ready when it goes from watery to thick and glossy and visibly coats the spoon. Take it off the heat at that point, as it will set further once chilled.

This is the first poppy seed cake I ever see. I thought it was a special recipe and I was right! I made it for a party and everyone loved it. It was gone in a minute, I only got a small piece to taste. I guess this means I have to make it again, right? Haha
Thank you for writing this recipe, Ruxandra!
You’re welcome! 😀
Am intrat din newsletter pentru poza frumoasa precum un tablou pictat:)
Multumesc mult, Didi! Ma bucur ca iti place! 🙂