
Protein-Power Black Bean Brownies
These protein-power black bean brownies are fudgy, rich, chocolatey squares made with cooked black beans instead of flour. The beans blend into a smooth batter that bakes up moist and dense, so you get a satisfying dessert with a protein and fiber boost and no one has to know the secret ingredient. Make them when you want a treat that tastes indulgent but leans healthy.
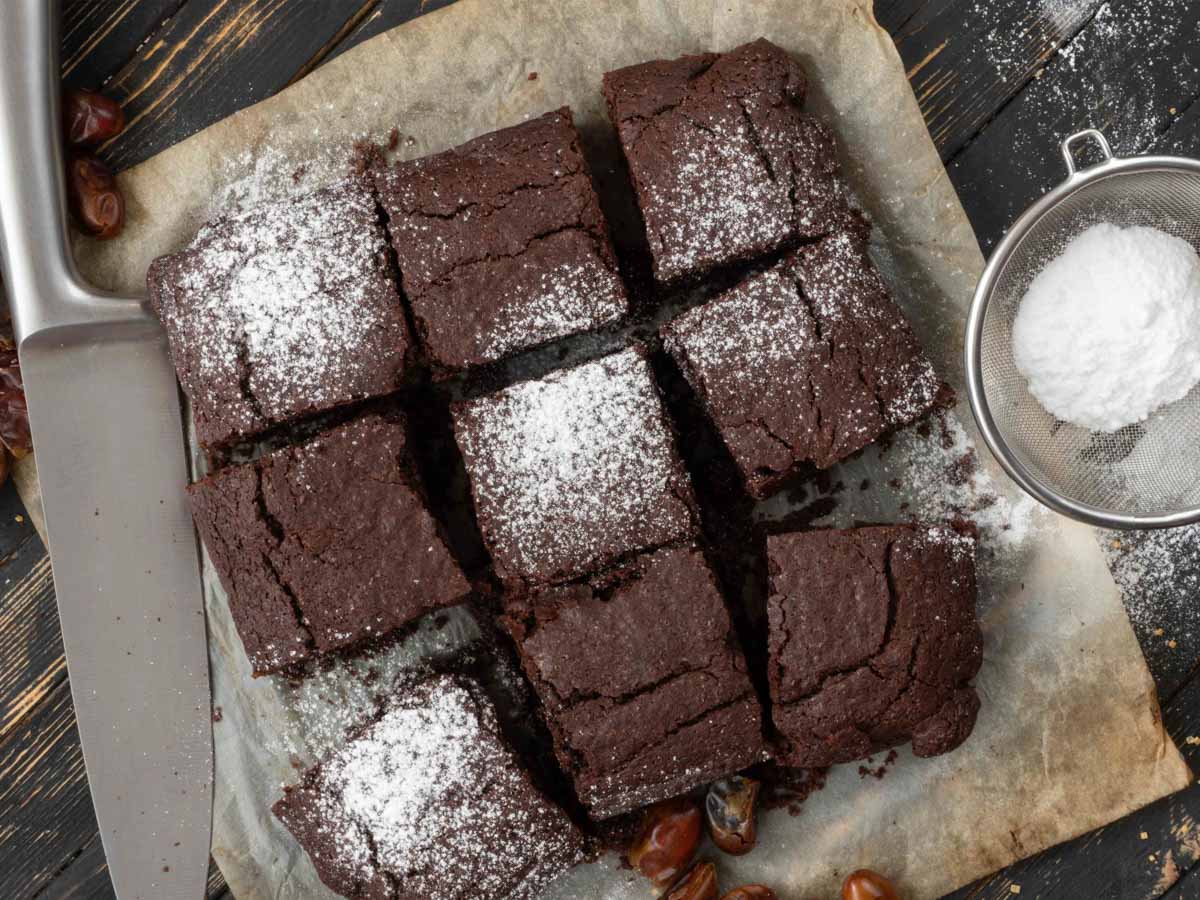
Yes, I know, I know. You’ve only read the title and you’re already looking at me in disbelief. Black beans? In a dessert? Have I gone mad? Possibly. But hear me out. I’ve been meaning to try one of these recipes for a while now, and I did not regret this one. Nothing intrigued me so much as the black bean brownie, and once I got past that little “ew” voice in my head, I had way more to win than to lose.
Now, brownies — I don’t think I’ll need to say so much here. We all love them (or at least I hope so!). Of course, nothing can beat the classic brownie: perfectly sweet, rich and chocolatey, crispy on the outside and moist on the inside. But over the years I’ve seen quite a few brownie variations, and some of them were almost, or equally, delicious. So what if I told you you can have a healthy brownie without skimping on the taste?
Why black beans make surprisingly good brownies
The magic here is texture. Cooked black beans, once blended smooth, have a soft, starchy body that mimics the dense, fudgy crumb of a classic brownie without any flour. They carry a lot of moisture and very little flavor of their own, so cocoa, vanilla, and espresso completely take over the taste while the beans quietly do the structural work. That is why the single most important step is draining and drying the beans very well — any leftover liquid turns the batter runny and gives you a soggy centre instead of a set, sliceable brownie.
A look at the ingredients
Everything in these brownies earns its place, and most of it is probably already in your pantry. Here is what each ingredient brings:
- Cooked black beans — the flour-free base. Cook and drain them very well so they hold no liquid.
- Dried dates and banana — natural sweetness plus binding. Soaking the dates overnight softens them so they blend into the batter smoothly.
- Cocoa powder — the real brownie flavor. Unsweetened cocoa gives depth without extra sugar.
- Espresso powder — a small amount that sharpens and deepens the chocolate. You won’t taste coffee, just a richer chocolate.
- Stevia powder — the sugar-free sweetener, since the dates and banana already do part of the job.
- Coconut oil — melted, for a moist crumb and a little richness.
- Pecans — chopped and folded in at the end for crunch against the fudgy centre.
- Baking powder — a gentle lift so the brownies aren’t overly heavy.
- Vanilla, chili powder, and a pinch of salt — the finishing touches. The chili is subtle and the salt makes the chocolate taste more like chocolate.
Tips for the best fudgy texture
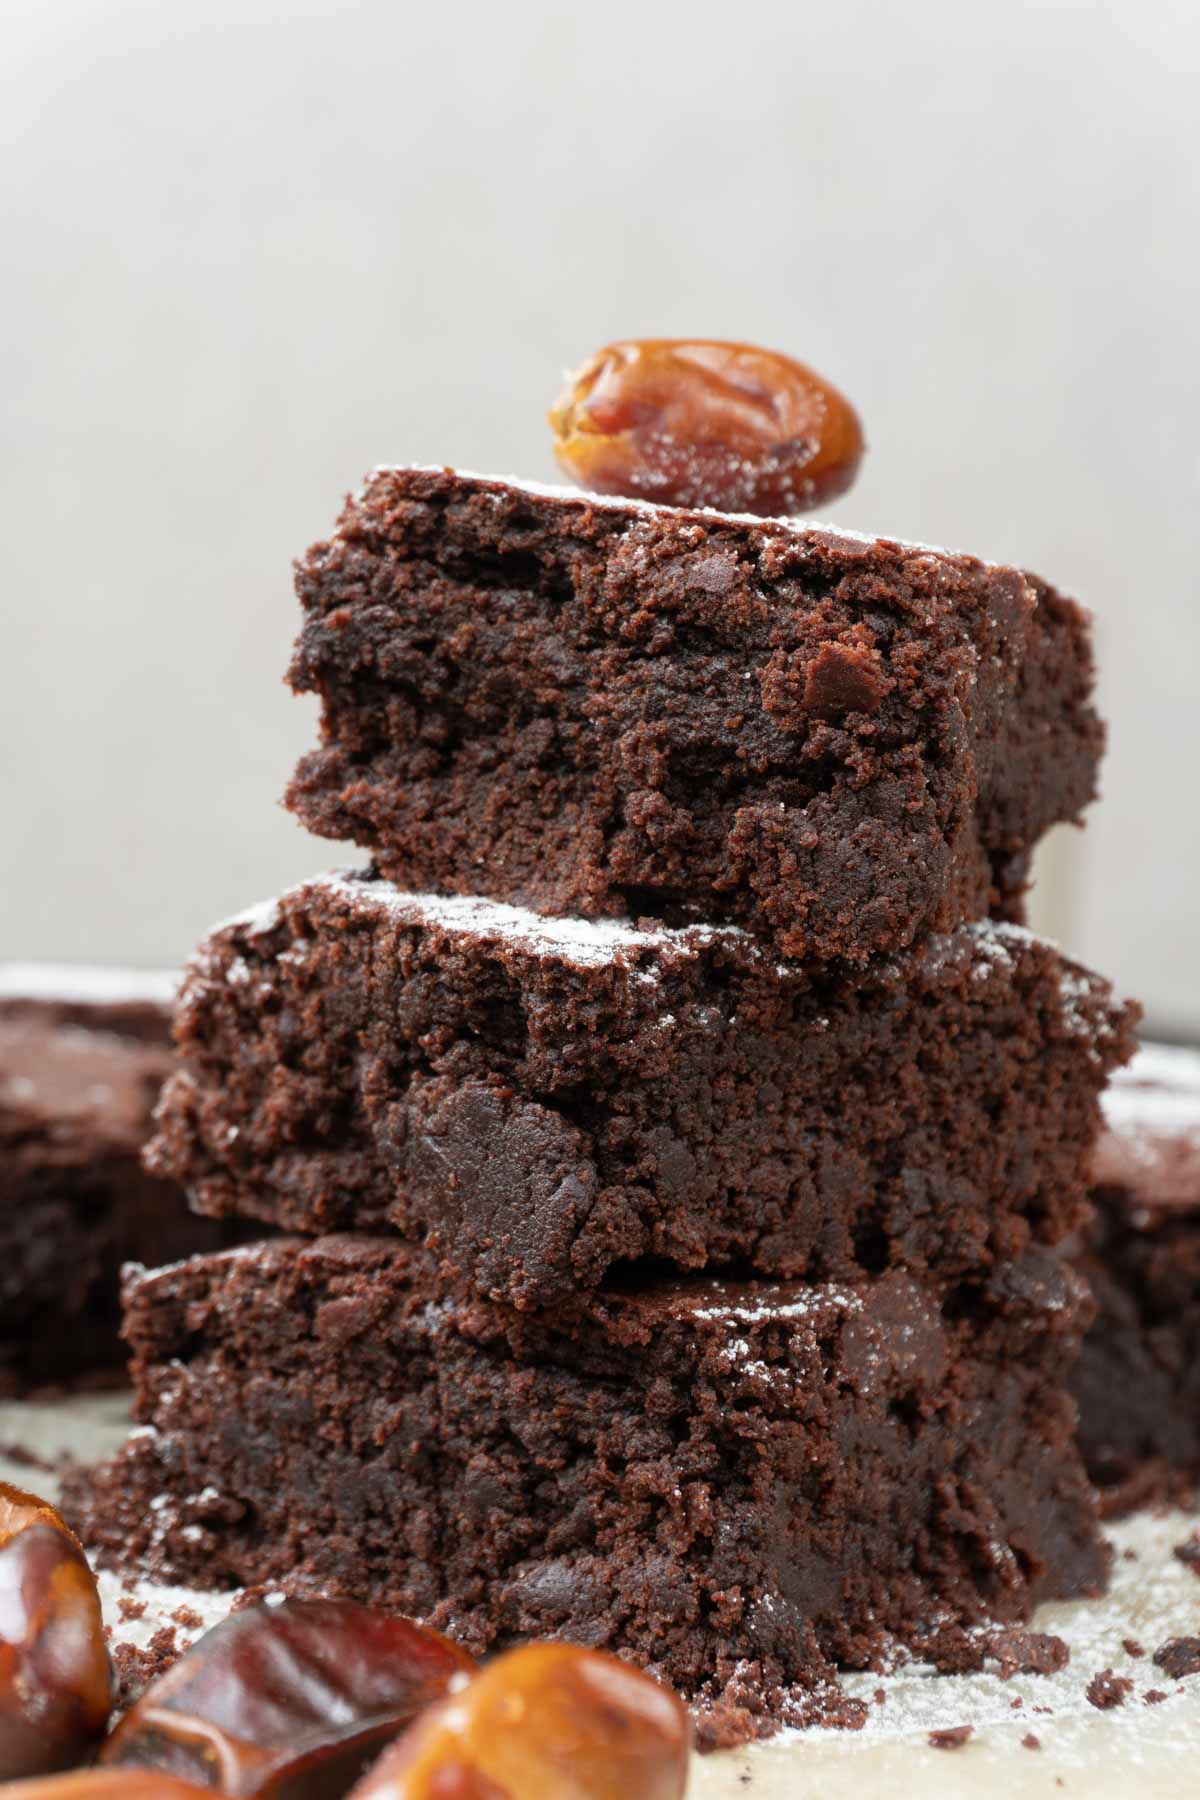
- Drain the beans thoroughly. This is the make-or-break step. Wet beans mean a wet batter. Pat them dry if you need to.
- Blend until completely smooth. Add everything except the baking powder and nuts to the food processor and run it until you have a smooth paste with no visible bean skins. Any grittiness in the batter shows up in the finished brownie.
- Fold in the baking powder and pecans by hand. Stir them in with a spatula at the end so the leavening stays active and the nuts keep their crunch.
- Don’t overbake. Twenty to twenty-five minutes at 180 C is enough. The brownies should look set at the edges with a slightly soft centre; they firm up as they cool.
- Let them cool fully before cutting. Warm bean brownies are fragile. Give them time to set and you’ll get clean squares.
How to serve them
You can serve these brownies exactly as they are, because they’re irresistible on their own. Or, if you really want to level up your dessert game and feel like an over-the-top treat, heat a brownie up just a bit and serve it with a scoop of ice cream on the side. You can opt for your favorite flavor, obviously, but in my opinion the ones that go best here are vanilla or caramel. It’s all about those contrasting tastes — warm, dense, and chocolatey against cold and creamy. A batch of homemade vegan ice cream or a simple banana nice cream works beautifully. If you love this bean-based dessert trick, you might also enjoy my gluten-free vegan brownies.
Storing and making them ahead
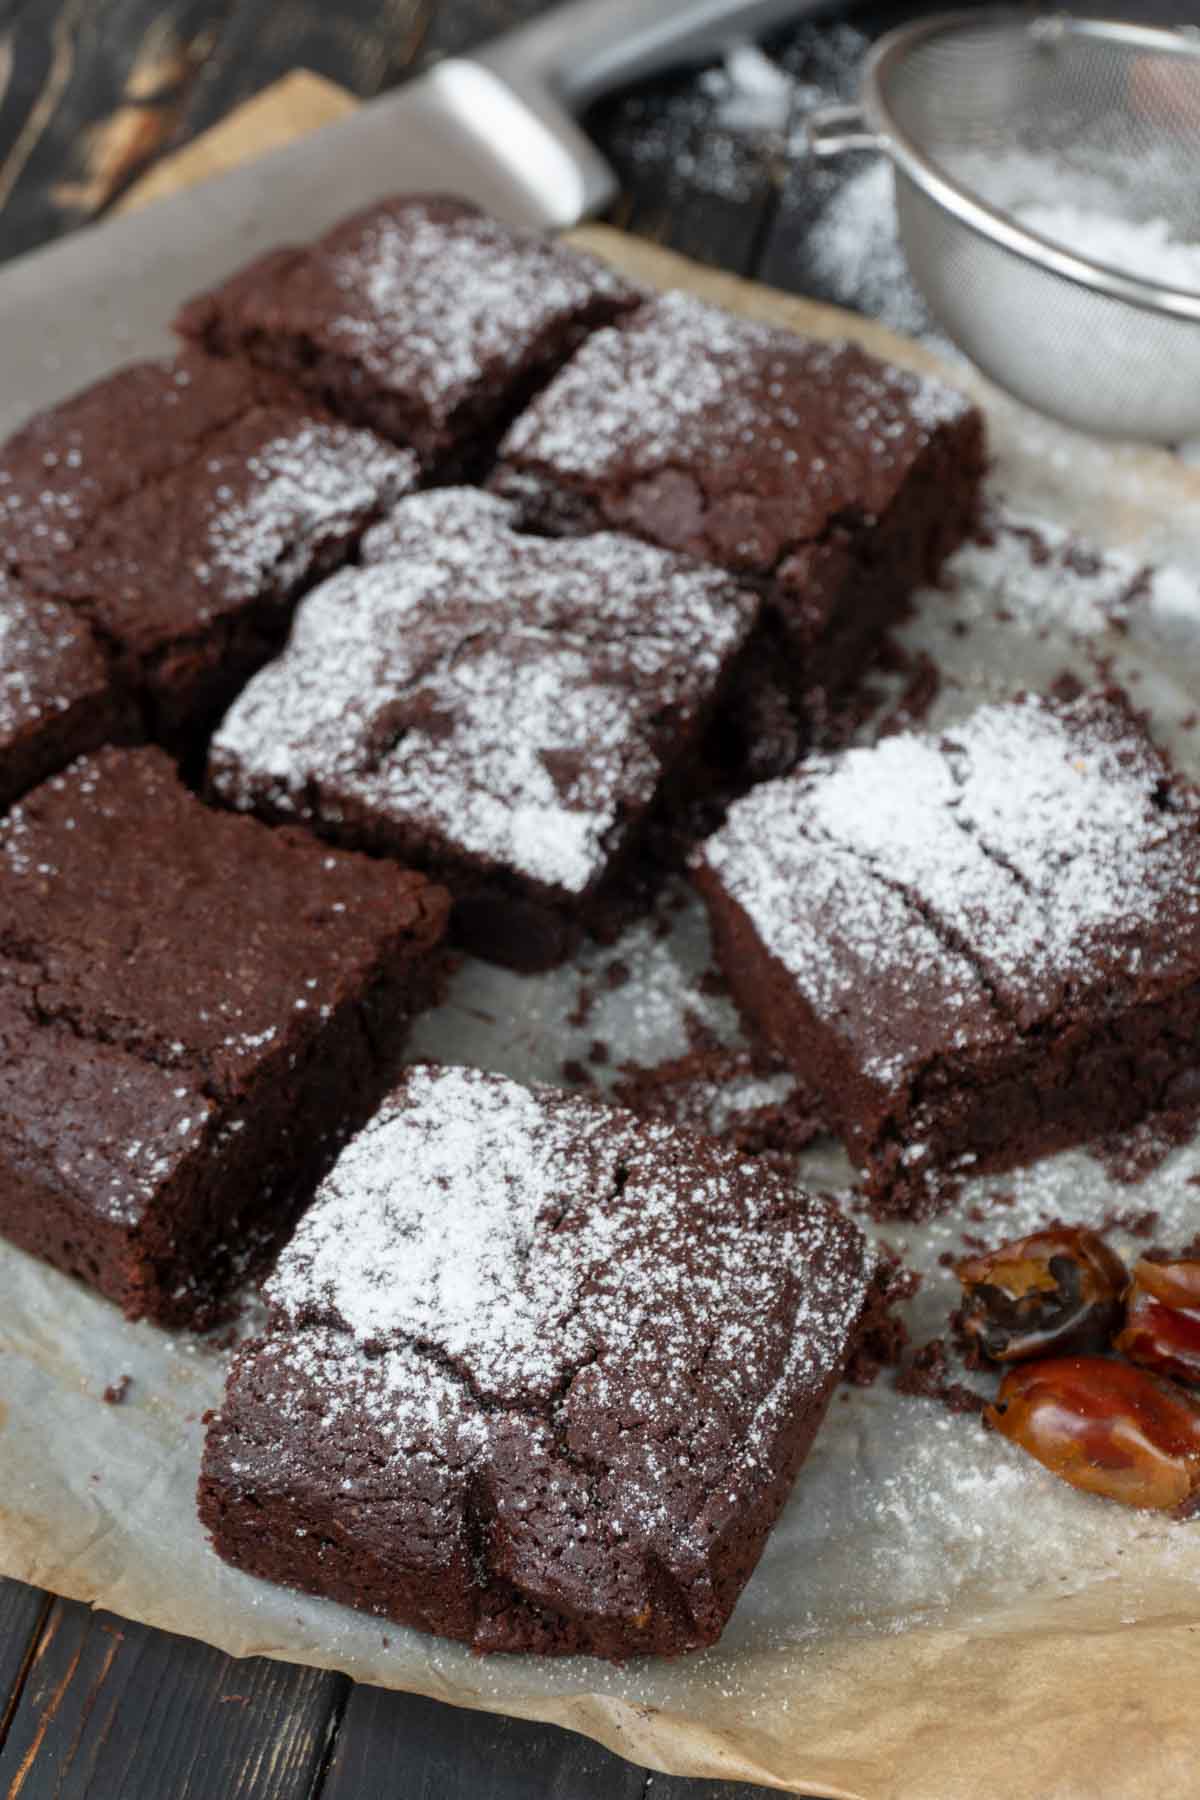
These brownies keep well, which makes them a good make-ahead treat. Once fully cooled, store them in an airtight container in the fridge for up to four or five days — chilling actually makes the texture firmer and even more fudgy. They also freeze nicely: wrap the squares individually and freeze for up to two months, then thaw at room temperature or warm gently before serving. Because the base is beans, dates, and banana, they hold their moisture well and don’t dry out the way flour-based brownies can. If you’re building a stash of better-for-you desserts, they sit right alongside other vegan sugar-free desserts, and if you’re curious about where the protein comes from on a plant-based plate, this guide to proteins in the vegan diet is worth a read.
I really hope you’ll get past preconceptions and give black beans a try when it comes to desserts. If you bake a batch, come back and rate the recipe and leave a comment telling me how they turned out — whether you served them warm with ice cream or swapped the pecans for another nut, I’d love to hear your tweaks.
Protein-Power Black Bean Brownies
Ingredients
- 3 cups black beans cooked
- 8 dried dates soaked overnight
- 1 ½ banana
- ⅓ cup cocoa powder
- 1 tsp espresso powder
- 2 Tbsp stevia powder
- 2 Tbsp coconut oil melted
- ¼ cup pecans chopped
- 2 tsp baking powder
- 1 tsp vanilla extract
- ¼ tsp chili powder
- 1 pinch salt
Instructions
- Cook and drain the black beans very well so they hold no liquid.
- Add all the ingredients to the food processor (except the baking powder and nuts) and blend well until you get a smooth paste.
- Add the baking powder and chopped nuts to the paste and use a spatula to combine.
- Pour the batter into a baking dish (I used an 8×8 square one).
- Bake at 180°C (350°F) for 20-25 minutes.
- Let it cool before cutting into squares.
Notes
Frequently Asked Questions
No. When the cooked black beans are blended completely smooth and combined with cocoa, vanilla, and a little espresso powder, the bean flavor disappears entirely. What you taste is rich, fudgy chocolate. The beans provide the dense texture and a protein and fiber boost, not the flavor.
Yes. This recipe uses only plant-based ingredients — black beans, dates, banana, cocoa, coconut oil, pecans, and stevia — so it is fully vegan. There is no flour at all, so it is naturally gluten-free as well. Just double-check that your baking powder and cocoa are certified gluten-free if you are highly sensitive.
Excess liquid is the main reason bean brownies turn out soggy or fail to set. Cooked black beans hold a lot of moisture, and if that water carries into the batter it stays runny and won’t bake into a sliceable brownie. Drain them thoroughly, and pat them dry if needed, before blending.
Yes, canned black beans work well as long as you rinse and drain them very thoroughly. Three cups of cooked beans is roughly two standard cans. Drain off all the liquid and pat the beans dry so the batter stays thick enough to bake into a proper fudgy brownie.
Store fully cooled brownies in an airtight container in the fridge for up to four or five days; chilling makes them firmer and more fudgy. They also freeze well: wrap the squares individually and freeze for up to two months, then thaw at room temperature or warm gently before serving.
The pecans are folded in for crunch, so you can swap them for walnuts, almonds, or hazelnuts, or leave them out entirely for a smoother brownie. You could also fold in dairy-free chocolate chips instead. Add whatever mix-in you like along with the baking powder at the end, using a spatula.



Where do I find a 19 oz can of black beans? Can only get 15 or 26 ounce.
15oz it’s fine too.
I admit I was a bit hesitant at first, but this recipe is simply amazing!!! glad I tried it and I’ll definitely make it again, thanks!